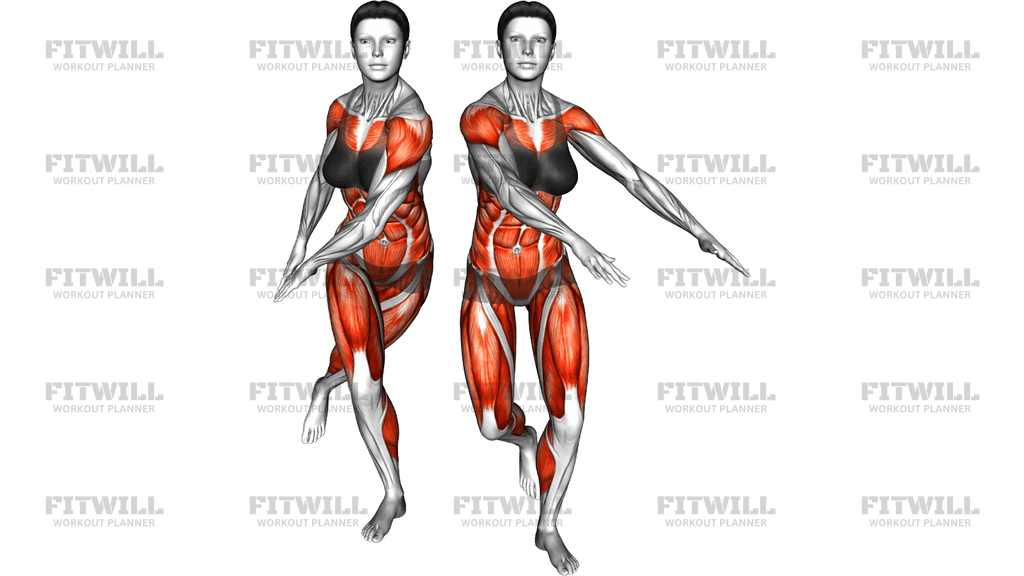
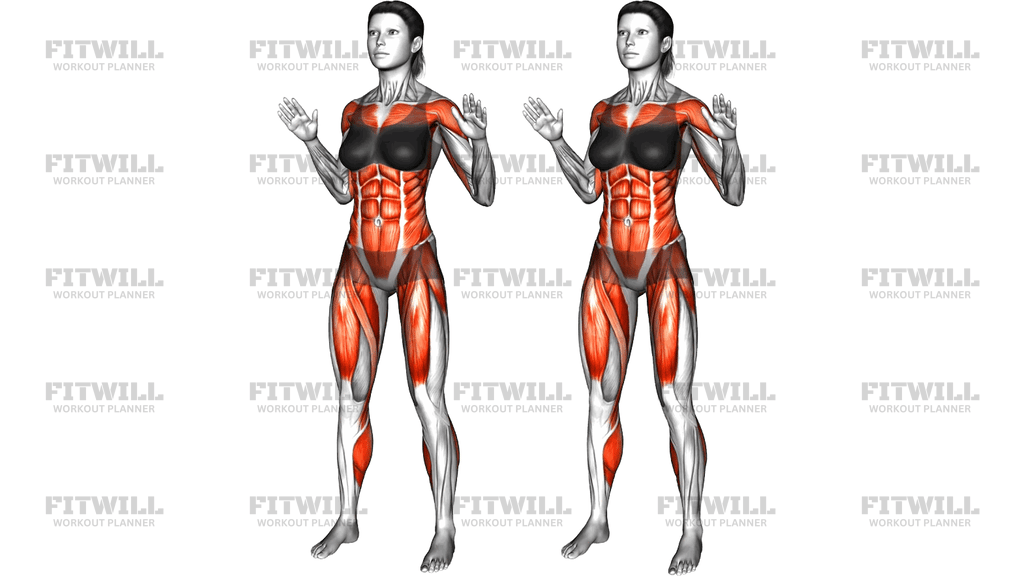
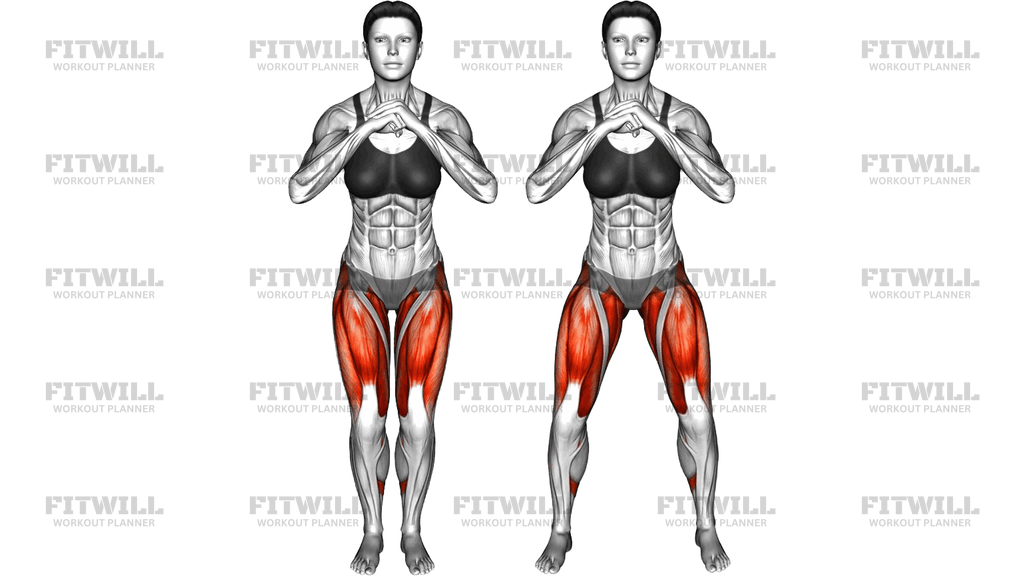
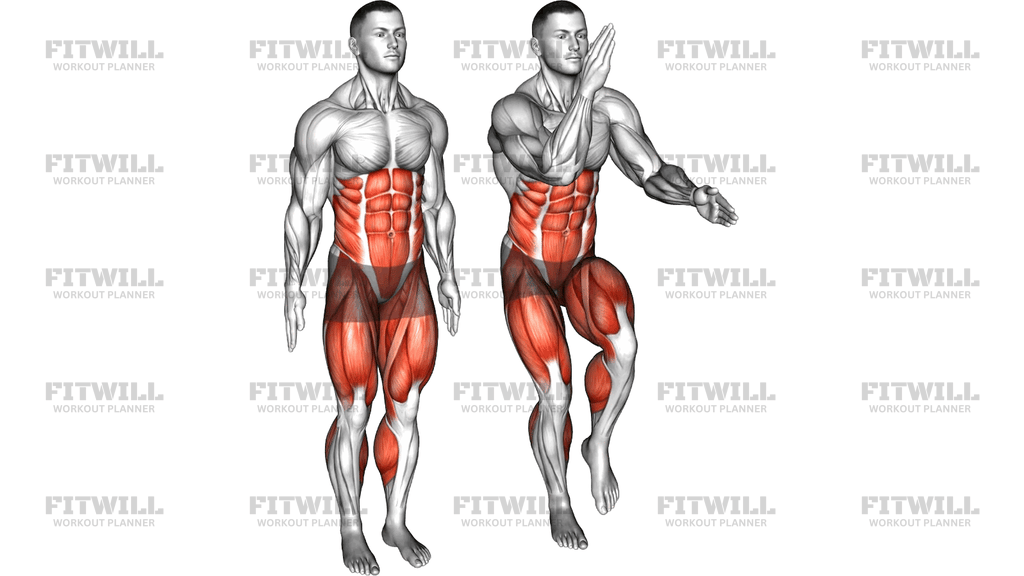
Marching Kick On Spot
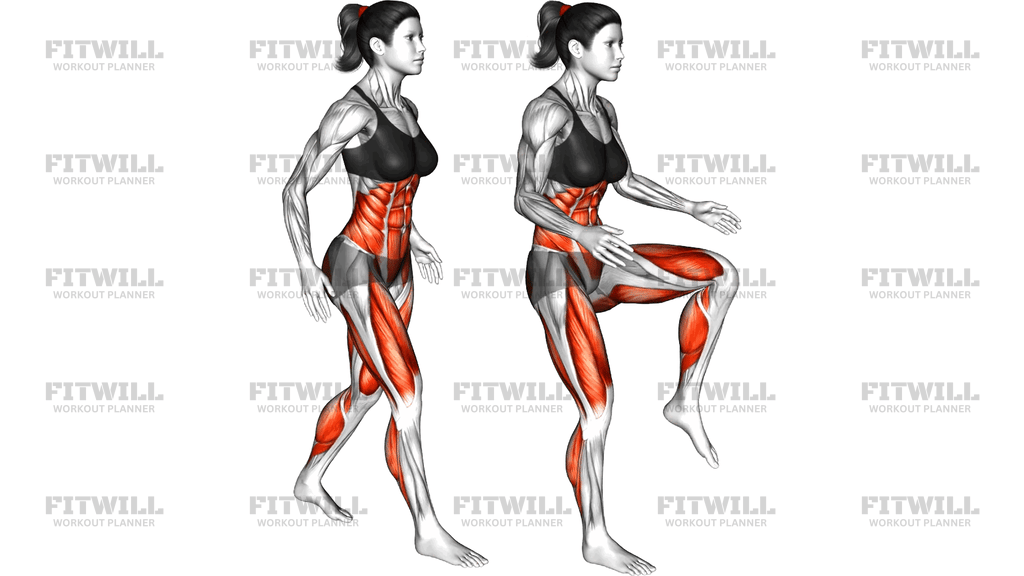
Marching Kick On Spot is a standing bodyweight drill where you march in place and extend each knee forward at the top of the lift, snapping the lower leg out into a short, controlled kick before pulling the foot back down. Your arms bend at the elbows and swing in rhythm with the opposite leg, which keeps the movement coordinated and helps you hold a steady tempo. Because everything happens on the spot, you need no equipment and very little floor space, which makes it an easy fit for warm-ups, low-impact cardio intervals, or active recovery between harder exercises.
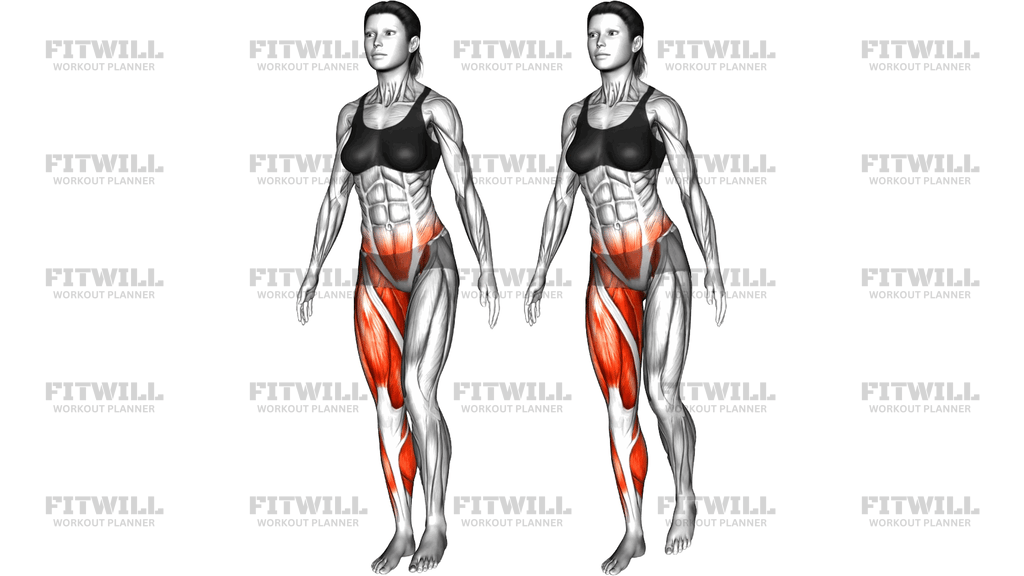
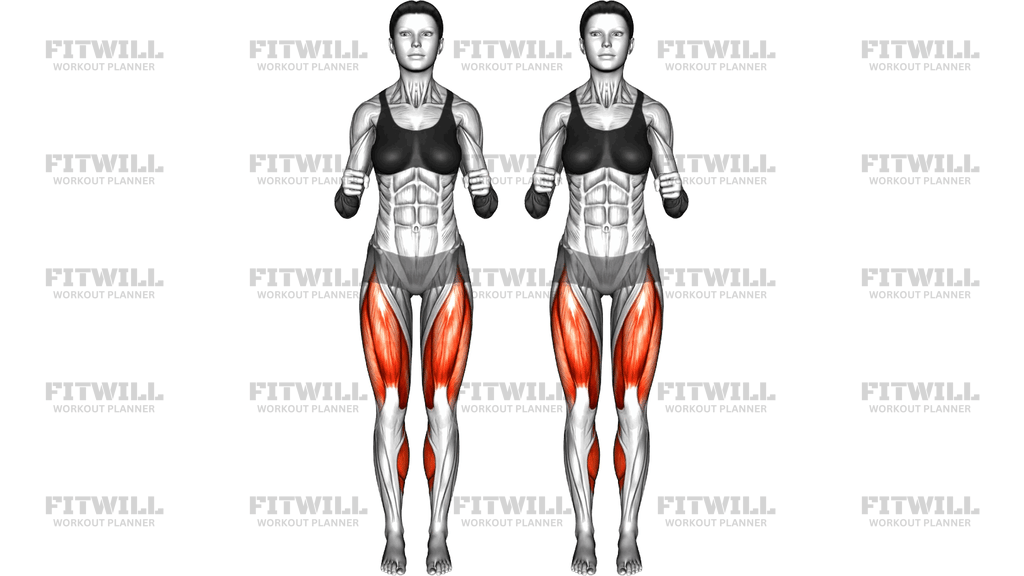
The main work comes from the quads, which drive the knee extension on every kick. The hip flexors lift the thigh to marching height, the calves and ankle stabilizers handle the repeated push-off and landing, and the core stays busy the entire time keeping your torso upright while one leg leaves the floor. It looks simple, but holding good posture for a minute or more at a brisk pace is genuinely demanding on the legs and breathing.
Setup matters more than people expect for a stationary drill. Stand tall with your feet hip-width apart, soften your knees, and brace your abs so your ribcage sits over your pelvis. If you lean back or arch your lower back as each knee comes up, the kick loses its crispness and your hip flexors start doing work your core should be sharing. Keeping your weight over the mid-foot on the supporting leg is what lets you kick quickly without wobbling.
To execute well, lift one knee to roughly hip height, then extend that knee to straighten the leg forward in a quick but controlled snap. Pull the heel back in and set the foot down as the opposite knee drives up, so the rhythm flows knee up, kick out, down, and switch. Avoid locking the knee hard at the end of the kick; stop just short of full lockout and keep tension in the thigh. The arms should swing naturally from the elbows, opposite arm to opposite leg, without shrugging the shoulders.
This movement suits beginners building basic leg strength and coordination, older adults who want joint-friendly cardio, and anyone doing home workouts without equipment. It also works as a low-impact substitute for jumping drills, since one foot always returns to the floor and there is no impact from landing. You can slow the tempo to make it a warm-up or speed it up and extend the set to raise your heart rate.
For form and safety, keep the kick height at or slightly below hip level at first, and only kick higher once you can do it without leaning back. Wear supportive shoes or work on a firm, non-slip surface, and stop if your supporting knee or ankle feels unstable rather than just tired.
[ Workout Log & Planner ]
Put your next workout in Fitwill
Keep your plan and training log ready when you are.


Instructions
- Stand tall with your feet hip-width apart, arms bent at the elbows and held loosely at your sides, and your weight centered over the mid-foot.
- Brace your abdominals lightly, relax your shoulders down, and soften both knees so you are ready to shift weight one leg at a time.
- Lift your right knee up to about hip height, keeping your torso upright and your ribcage stacked over your pelvis.
- Extend the right knee to snap the lower leg forward into a short kick, stopping just before the knee locks out.
- Bend the knee again to pull the foot back under your body and set it down on the spot where it started.
- As the right foot lowers, drive the left knee up and repeat the same kick-and-return pattern on the left leg.
- Swing your bent arms opposite to the legs — left arm forward as the right knee lifts — and keep the elbows close to your sides.
- Breathe steadily throughout, inhaling for a few marches and exhaling for a few, rather than holding your breath as the tempo rises.
- Continue alternating legs at an even rhythm for your target time or rep count, keeping each kick crisp rather than swinging the leg loosely.
- To finish, slow the kicks down for several reps, then bring both feet together and stand still to let your breathing settle before your next exercise.
Tips & Tricks
- If you find yourself leaning backward as each knee rises, your hip flexors are pulling your torso with them — squeeze your abs harder and imagine a string lifting the crown of your head toward the ceiling.
- A common mistake is snapping the knee into a hard lockout at the end of every kick. Stop just short of full extension; this keeps tension in the quads and spares the joint.
- Keep the kick height at hip level or slightly lower at first. Kicking toward chest height almost always forces a backward lean and turns the move into a balance struggle.
- Watch that the supporting foot stays flat and quiet on the floor. If you are rocking onto the outside edge or lifting the heel, slow the tempo and center your weight before speeding up again.
- Let the arm swing come from the elbows at your sides, not from shrugging the shoulders. Raised, tense shoulders are a sign you are working harder in the upper body than this drill requires.
- If your lower back feels it instead of your thighs, shorten the knee lift rather than the kick — the height of the knee lift is usually what pulls people into an arch.
- Count reps per leg rather than total kicks when programming, so you do not accidentally favor one side over a longer set.
- On a soft or sprung floor, the landing foot can feel unstable at speed; switch to a firmer surface or slow the rhythm until each foot placement feels deliberate.
Frequently Asked Questions
Which muscles does Marching Kick On Spot work the most?
The quads do the main work during the knee extension of each kick, while the hip flexors lift the thigh and the calves absorb the repeated foot placements. Your core works continuously to keep the torso upright while one leg is off the floor.
Is Marching Kick On Spot good for beginners?
Yes, it is one of the more beginner-friendly standing cardio drills because there is no jumping, no equipment, and the height and speed are fully under your control. Start with 20 to 30 seconds at a relaxed pace and build from there.
How high should I kick in the Marching Kick On Spot?
Aim for hip height or slightly below when you are learning. Higher kicks are only useful once you can perform them without leaning your torso backward or locking the knee hard at the end of the extension.
Why do I keep leaning back when I lift my knee?
Leaning back usually means the hip flexors are dominating and the abs are not braced enough to counter them. Tighten your abdominals, reduce the knee height slightly, and think about keeping your ribs stacked over your pelvis on every rep.
Can I use Marching Kick On Spot as a warm-up?
Absolutely — at a slow to moderate tempo it raises your heart rate and takes the hips, knees, and ankles through a full, controlled range, which makes it a solid warm-up before squats, lunges, or any leg workout.
What can I substitute if the kicking motion bothers my knees?
Drop the kick and perform a plain high-knee march in place, which removes the end-range knee extension while keeping the rhythm and the cardio effect. If even marching is uncomfortable, try standing alternate knee raises while holding a chair for support.
How long should a set of Marching Kick On Spot last?
For conditioning, work in blocks of 30 to 60 seconds at a brisk but controlled pace. For warm-up or active recovery, 20 to 30 seconds at a relaxed tempo is usually enough.
Should I do Marching Kick On Spot barefoot or in shoes?
Supportive shoes are the safer choice because of the repeated single-leg foot placements and the quick push-off from the ball of the foot. Barefoot work on a firm, non-slip surface can work at slow tempos, but stop if your ankles feel strained.
Does the arm swing actually matter in this exercise?
Yes — swinging the bent arms opposite to the legs helps you keep rhythm, drives a slightly higher heart rate, and stops the shoulders from creeping up and tensing. Keep the elbows bent and the movement loose rather than forceful.