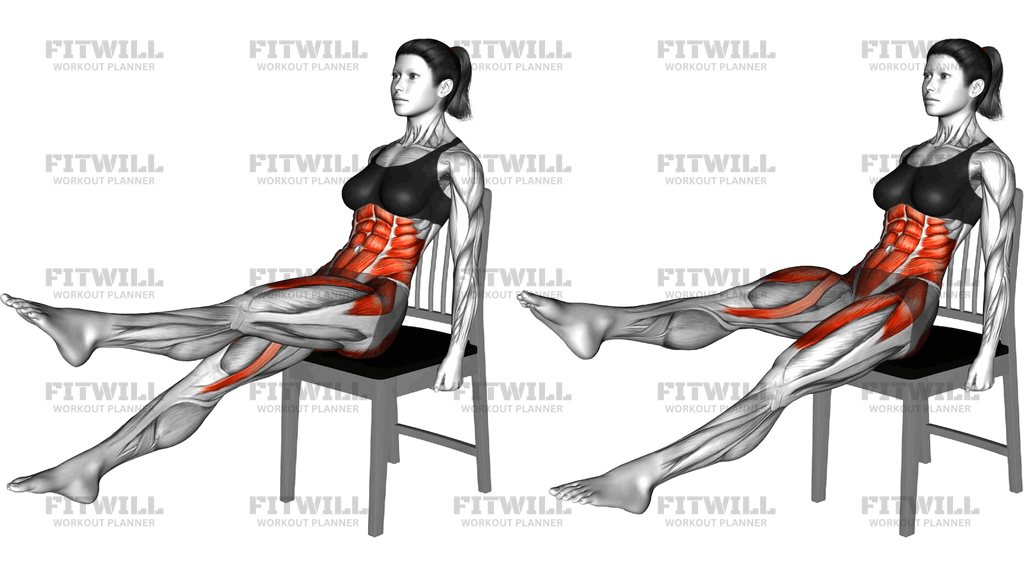
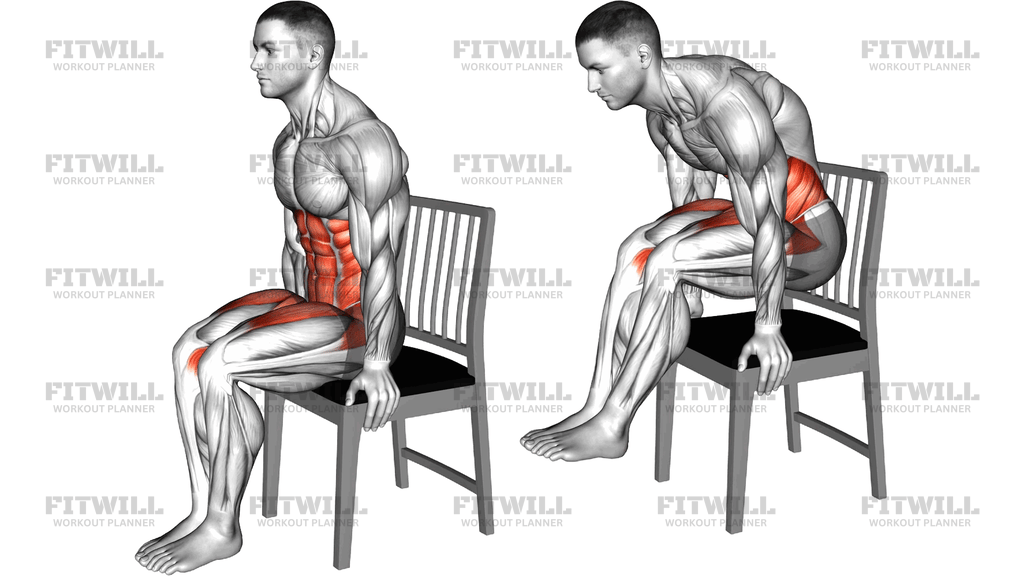
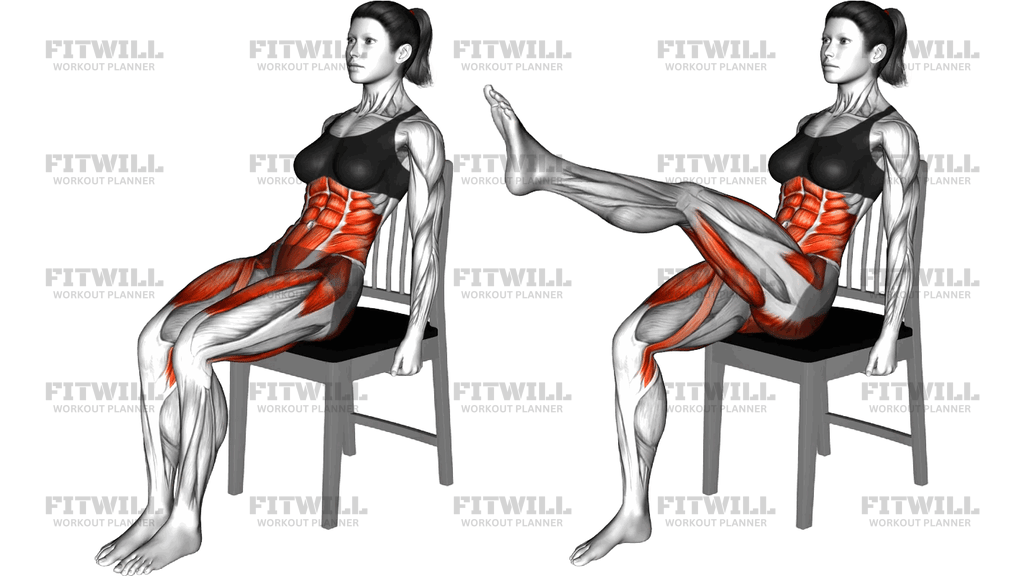
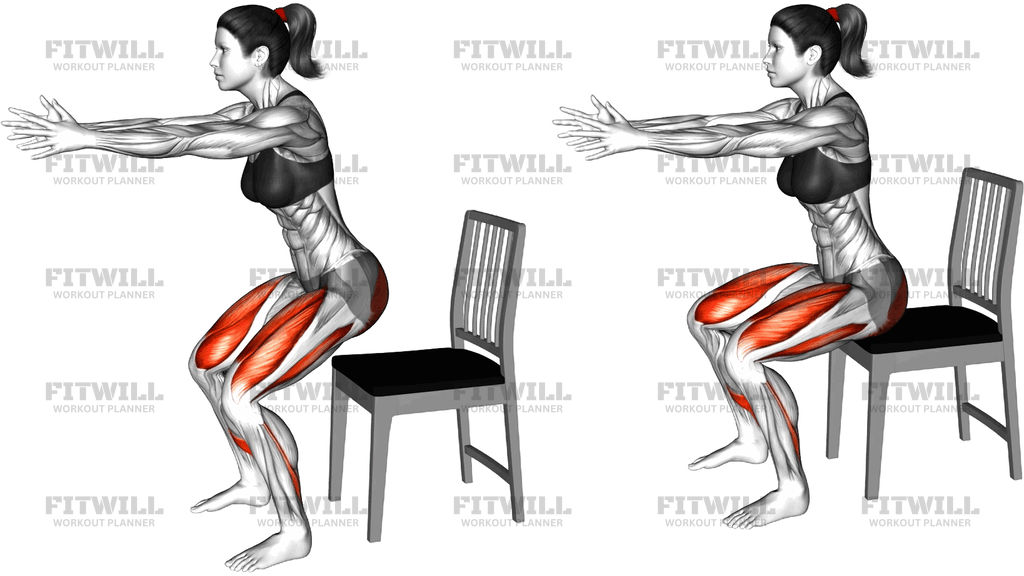
Seated Heel Slide On A Chair
The Seated Heel Slide On A Chair is a low-load knee mobility drill performed from a simple upright chair. You sit tall with both feet flat on the floor, then slide one heel forward until the knee straightens, and pull it back underneath you until the knee bends as far as is comfortable. The foot stays in contact with the floor the entire time, which is exactly what makes this movement so forgiving on the knee joint.
This exercise is a staple in knee rehabilitation and general leg maintenance. It is useful after periods of reduced activity, for stiff knees in the morning, for older adults who want to keep their knees moving without loading them, and for anyone whose knees feel tight after long periods of sitting. Because the chair supports your full body weight, the muscles and joint only have to handle the friction of the heel on the floor.
In terms of what it trains, the movement works the knee through flexion and extension while lightly activating the quadriceps as the leg straightens and the hamstrings and calf muscles as the heel is drawn back. The shin muscles help control the foot as it glides, and the hip flexors work gently as the thigh comes toward the torso in the bent position. The seated position also encourages you to keep an upright torso, which reinforces good posture habits.
The setup matters more than it looks. A stable chair without wheels, a smooth floor surface, and an upright torso let the knee move through its range without compensation. If you lean back or hitch your hip to gain extra range, the knee stops being the joint doing the work and the benefit is lost. Sliding with steady, even pressure on the heel keeps the motion smooth and deliberate.
To execute it well, keep the movement slow enough that you can feel exactly where the knee starts to resist. Pause briefly at the straightened end, then draw the heel back with the same control and pause in the bent position. The goal is not speed or force, but repeatability: smooth passes through the range, done for a comfortable number of repetitions on each side.
You can use this exercise as a warm-up before leg training, as a movement break during the workday, or as a gentle standalone routine on rest days. Stop if you feel sharp pain, and work only within a range that feels like mild stretch or effort rather than discomfort.
[ Workout Log & Planner ]
Put your next workout in Fitwill
Keep your plan and training log ready when you are.


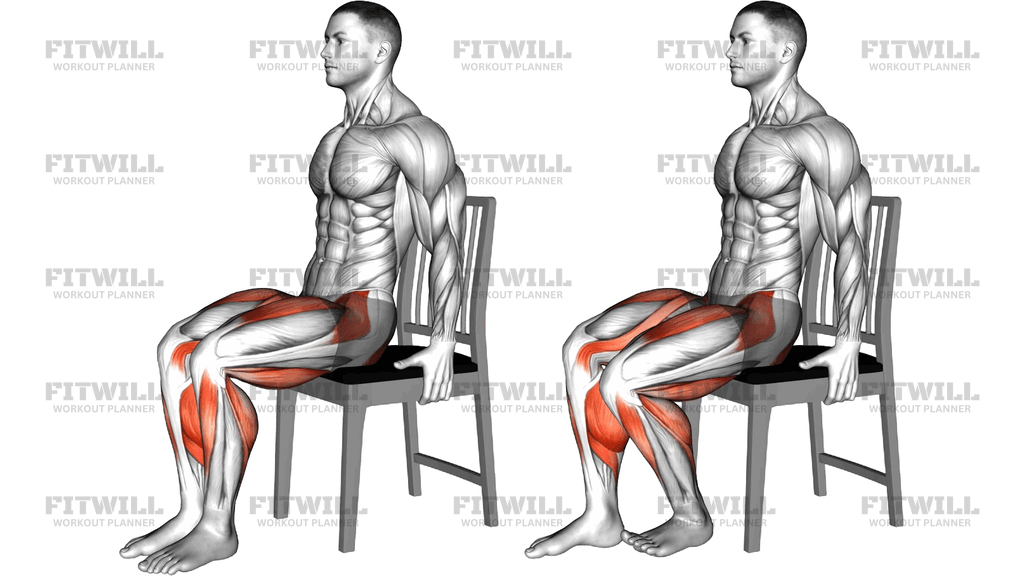
Instructions
- Sit on a stable chair with your torso upright, knees bent to about 90 degrees, and both feet flat on the floor.
- Rest your hands on the sides of the seat or on your thighs, and lengthen your spine so you are not slumped back against the chair.
- Shift your weight slightly onto the heel of one foot so the sole is ready to glide along the floor.
- Slide that heel forward and away from the chair, letting the knee straighten until the leg is nearly extended and you feel a light stretch behind the knee.
- Pause for a moment at the straightened position, keeping the heel and the ball of the foot in contact with the floor.
- Now draw the same heel back toward and under the chair, bending the knee as far as comfortable without lifting your hips or leaning your torso.
- Pause briefly in the bent position, then slide the heel forward again to complete one repetition.
- Breathe steadily throughout, exhaling as you slide and inhaling as you reset, with no breath-holding.
- Complete your repetitions on one leg, then switch sides, keeping both feet flat and your posture identical on the second side.
Tips & Tricks
- A smooth floor, such as tile or hardwood, makes the heel glide easily; on carpet, wear a smooth-soled shoe or place a small towel under the heel so the foot does not snag.
- The most common mistake is leaning the torso back or lifting the hip on the working side to sneak extra knee bend. If you catch yourself doing this, reduce the range slightly and sit tall again.
- Keep pressure even through the whole foot as it slides. Rolling onto the outer edge of the foot changes the feel at the knee and reduces the benefit.
- Do not force the heel further back by grabbing your leg or bouncing. The seated position is meant to keep this gentle; forcing range usually causes the back to round instead.
- If one knee is stiffer than the other, start with the stiffer side and match repetitions on the easier side rather than the reverse.
- Slow the tempo down rather than adding more repetitions if you want a stronger working sensation. A slow slide gives the muscles around the knee more time under tension.
- Check that the chair does not slide with you. A chair that scoots across the floor means your hips are moving, not just your knee.
- For a post-sitting stiffness break, a few slow slides on each leg every hour often works better than one long session.
Frequently Asked Questions
What muscles does the Seated Heel Slide On A Chair work?
The quadriceps work as the knee straightens, while the hamstrings and calf muscles assist as the heel is drawn back and the knee bends. The shin muscles and hip flexors contribute in a supporting role.
Is the Seated Heel Slide On A Chair suitable for beginners?
Yes. Because you are fully supported by the chair and the foot never leaves the floor, the load on the knee is minimal. Beginners can start with short ranges and gradually increase the bend and straighten as comfort allows.
How far should I slide my heel back during the Seated Heel Slide On A Chair?
Slide the heel back only until you feel a comfortable stretch or mild resistance at the knee. If your torso leans back or your hip lifts to get further, you have gone past the useful range for this setup.
Can I do this exercise on carpet?
You can, but carpet creates friction that makes the slide jerky. Wearing a smooth-soled shoe or placing a small towel under the ball of the foot lets the heel glide the way the movement is intended.
How many repetitions of the Seated Heel Slide On A Chair should I do?
A common starting point is 8 to 12 slow slides per leg, once or twice a day. The emphasis is on smooth, controlled passes rather than a high number of quick reps.
What kind of chair works best for the Seated Heel Slide On A Chair?
Use a stable, armless chair with a firm seat and no wheels, positioned so your feet rest flat on the floor with knees around 90 degrees. A chair that tips or rolls turns a knee exercise into a balance problem.
What is the most common mistake with this exercise?
Leaning the torso or hitching the hip to force extra knee range. Keep your spine tall and your seat planted, and accept a smaller range if that is what your knee gives you today.
Can the Seated Heel Slide On A Chair replace a standing knee stretch?
It serves a different purpose. The seated version keeps load very low and is easier to control, which makes it a good starting point, while standing or lying knee stretches can add range once the seated version feels easy.
Should I feel pain in my knee during heel slides?
A mild stretch or gentle working sensation is normal, but sharp or pinching pain is not. Reduce the range, slow the tempo, and if discomfort persists, consult a qualified professional before continuing.
Can I train both knees at the same time with this movement?
The exercise is designed as a single-leg slide so you can focus on one knee and keep your torso upright. Alternating legs within a set is fine once both sides move comfortably.