Balance Plate Standing
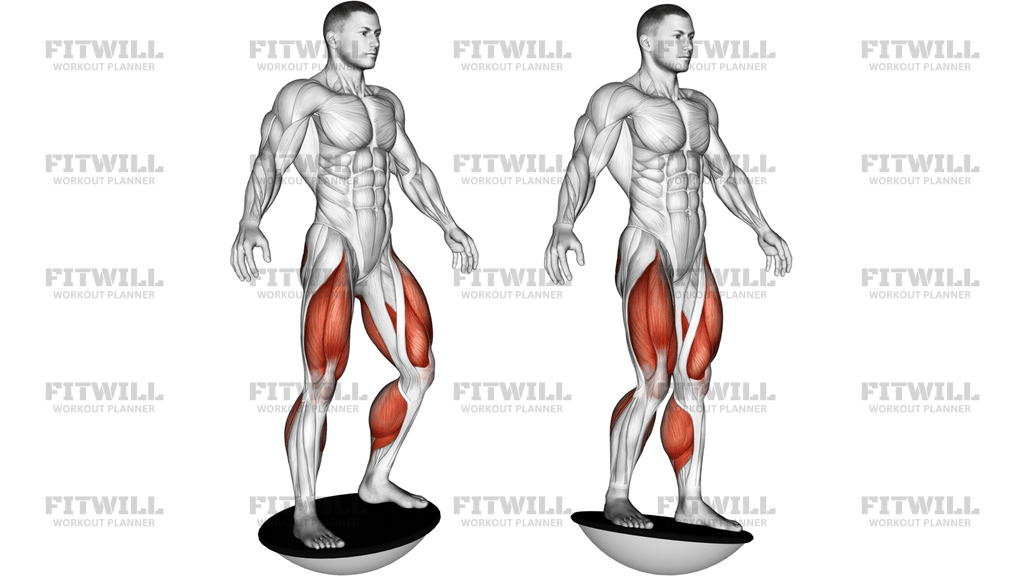
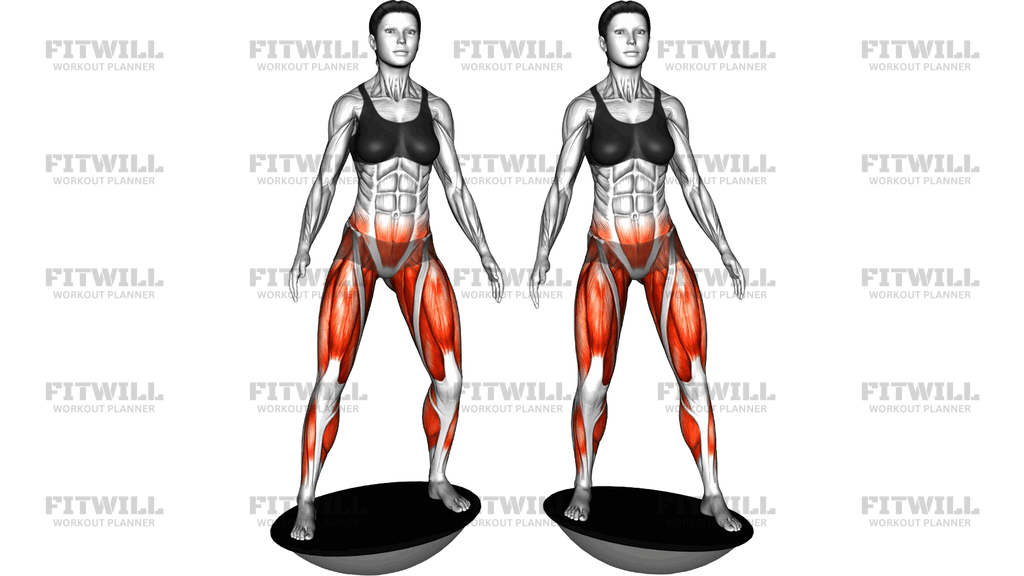
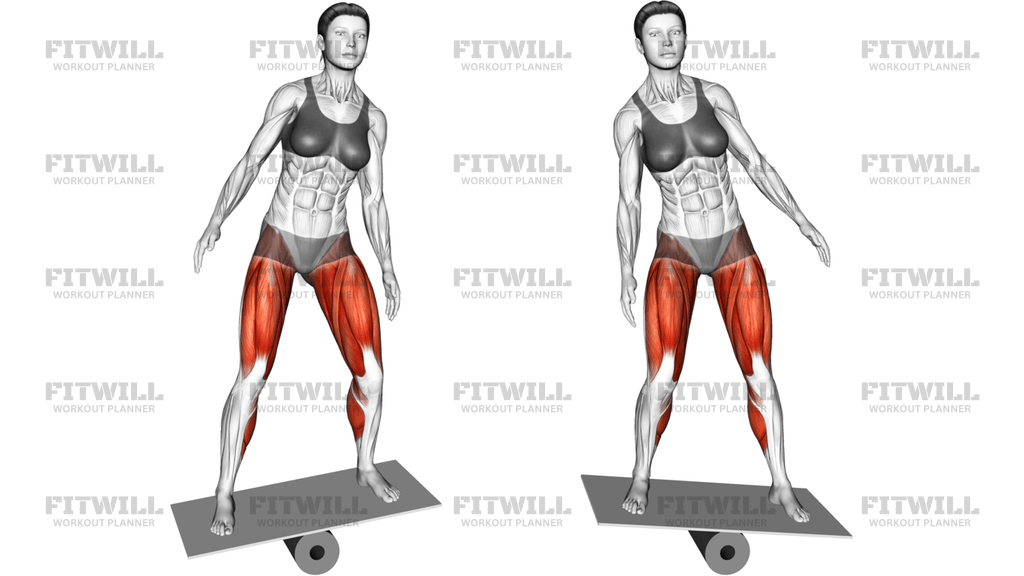
Balance Plate Standing is exactly what it sounds like: you stand upright with both feet on a flat, circular balance plate that sits over a raised dome at its center, and you work to keep the plate level and your body still. The plate tilts in every direction under your feet, so your ankles, knees, and hips are constantly making small, invisible corrections to hold your position. There is no lifting, pressing, or stepping involved — the entire challenge is stabilization.
This is one of the most accessible balance drills you can do, and it earns its place in a wide range of programs. Older adults use it to maintain the reflexes that protect against falls, athletes use it to sharpen ankle and hip stability for cutting and landing, and desk-bound lifters use it to wake up feet and calves that rarely get challenged in flat-soled shoes. It is also a common rehabilitation tool for ankles returning from sprains, though in that setting it is usually introduced under a physical therapist's guidance.
The muscles doing the work are not the ones you usually count. Your peroneals and tibialis muscles on the outside and inside of the lower leg fire continuously to adjust the tilt of the plate, the calves handle the up-and-down sway, and the gluteus medius at the side of each hip keeps your pelvis from shifting side to side. Your deep core stays engaged the whole time because your center of mass has to stay stacked over your feet. You will likely feel a burning in the lower legs and a surprising amount of fatigue after just 30 to 60 seconds.
Setup matters more than most people expect. The plate should sit on a flat, non-slip surface, and your feet should be placed symmetrically about hip-width apart so the plate balances evenly from the start. Stand near a wall, rack, or sturdy chair the first few sessions — touching it briefly with a fingertip to catch a big wobble is smart, not cheating. Barefoot or in flat, thin-soled shoes both work; thick cushioned sneakers actually make the task harder by dulling the feedback from your feet.
To execute it well, keep your gaze forward, your ribs stacked over your pelvis, and your knees soft rather than locked. Expect the plate to move — the goal is not a perfectly frozen platform but small, quick corrections that keep the sway from growing. If you find yourself flailing your arms or bouncing your hips to stay up, the plate has tilted too far; step off calmly, reset your foot position, and start again.
A practical progression is simple: master two-footed standing for 45 to 60 seconds, then narrow your stance, then try closing your eyes for short intervals, and eventually move to single-leg standing on the same plate. Because the drill is low impact and low load, it fits easily at the start of a leg workout as an activation piece, or at the end when fatigue forces honest, careful positioning.
[ Workout Log & Planner ]
Put your next workout in Fitwill
Keep your plan and training log ready when you are.


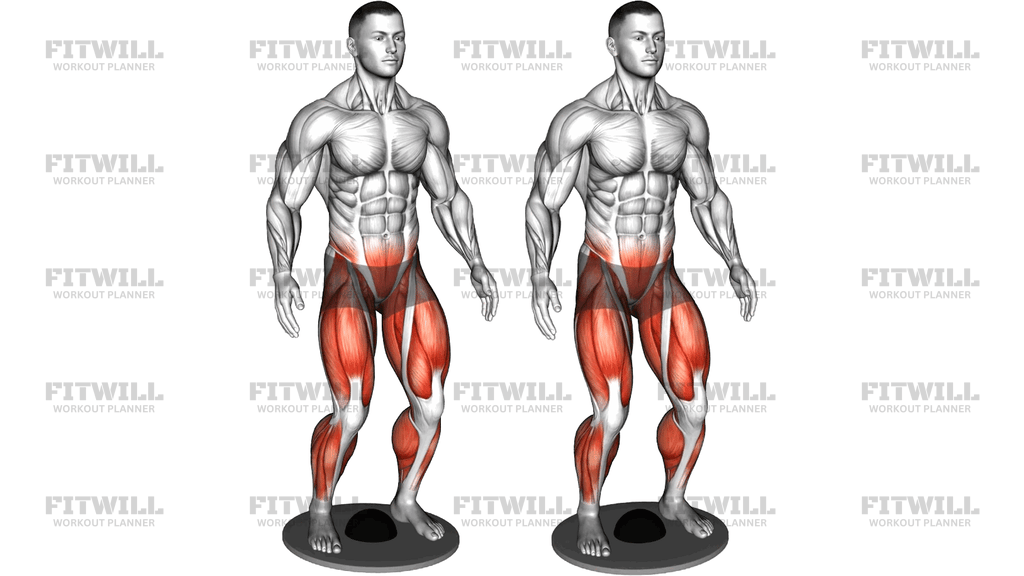
Instructions
- Place the balance plate on a flat, non-slip floor with the raised dome centered underneath, and position it within arm's reach of a wall or rack you can touch if needed.
- Step onto the plate with one foot at a time, setting your feet hip-width apart so your weight spreads evenly across both sides of the plate.
- Let your arms hang naturally at your sides, keep your chest tall, and soften your knees slightly so they are not locked back.
- Lightly brace your core and find a fixed point at eye level in front of you to anchor your gaze.
- Feel the plate begin to tilt in small directions and respond by pressing through the balls of your feet and heels to bring it back toward level.
- Keep your hips stacked directly over your ankles and avoid swinging your arms or jutting your hips sideways to chase your balance.
- Continue making small, quiet corrections, keeping the sway controlled for 30 to 60 seconds.
- Breathe steadily throughout — slow inhales through the nose and relaxed exhales, rather than holding your breath during wobbly moments.
- To finish, step off one foot at a time onto the floor, shake out your calves and feet, and reset your foot placement before the next set.
- Once two-footed holds feel steady, progress by narrowing your stance or closing your eyes for a few seconds at a time.
Tips & Tricks
- If the plate tips sharply to one side within the first few seconds, your feet are not centered — step off and reposition them symmetrically before your next attempt.
- Locked knees are the most common fault here; they turn the drill into passive standing and shut off the ankle corrections, so keep a slight bend at all times.
- Look at a fixed spot on the wall, not down at your feet. Watching the moving plate makes the wobble feel worse and drags your head forward.
- Use one fingertip on a wall for light contact only. If you are leaning your weight into the wall, the drill is too hard and you should widen your stance instead.
- Do this barefoot or in thin-soled shoes if your floor allows it — thick, soft soles mute the feedback from your feet that drives the corrections.
- Time your holds instead of guessing. Fatigue on the balance plate arrives fast, and form collapses in the last few seconds when people push too long.
- Keep your breathing relaxed; many people hold their breath during a strong wobble, which tightens the whole body and makes corrections jerky.
- Place a mat or clear the area around the plate so that if you step off quickly, you are not landing on clutter or a slippery surface.
- If your calves cramp early, that is normal at first — shorten your sets, flex and point your ankles between holds, and build up gradually over a couple of weeks.
Frequently Asked Questions
Which muscles does Balance Plate Standing work?
The primary work comes from the ankle stabilizers — the peroneals and tibialis muscles — along with the calves. The gluteus medius at the sides of the hips and the deep core muscles work continuously to keep your pelvis and torso centered over the plate.
Is Balance Plate Standing suitable for complete beginners?
Yes, it is one of the friendliest balance drills to start with, since the load is just your body weight and the movement is low impact. Stand near a wall or rack and use a fingertip for light support until your holds feel steady.
How long should I hold a Balance Plate Standing set?
Aim for 30 to 60 seconds of controlled balancing per set, with two to four sets. Quality matters more than duration — if your corrections become jerky or you are flailing your arms, end the set and rest.
Should I do Balance Plate Standing barefoot or in shoes?
Barefoot or in flat, thin-soled shoes gives your feet the best sensory feedback, which is what drives the small corrective contractions. Thickly cushioned running shoes make the drill harder by blocking that feedback.
Why do my calves burn so quickly on the balance plate?
Your calves are firing in constant small bursts to manage the front-to-back sway of the plate, which is far more fatiguing than their role in ordinary standing. This fades as your ankles adapt over the first couple of weeks of practice.
What is the most common mistake in this exercise?
Standing with locked knees and staring down at the plate. Locked knees remove the ankle adjustments that make the drill effective, and looking down destabilizes your head and eyes — keep the knees soft and your gaze on a fixed point ahead.
How do I progress Balance Plate Standing once it feels easy?
Narrow your stance so your feet are closer together, then try short intervals with your eyes closed, and eventually progress to single-leg stands on the plate. Each step increases the demands on the ankle stabilizers and hip control.
Can I use Balance Plate Standing if I have a history of ankle sprains?
Balance work is often part of ankle rehabilitation, but if you have a recent or significant injury, get clearance from a physical therapist first. Start with two-footed holds near support and avoid single-leg work until your therapist approves it.
Should I put Balance Plate Standing before or after my main workout?
It works well as a short activation drill at the start of a leg day, when your nervous system is fresh and your ankle corrections are sharpest. Doing it after heavy squats or deadlifts is fine too, but expect shorter, shakier holds.
Where should my feet be placed on the balance plate?
Place them hip-width apart, symmetric on either side of the plate's center, with your weight spread evenly across both feet. Uneven foot placement is the main reason the plate tips hard to one side right at the start.