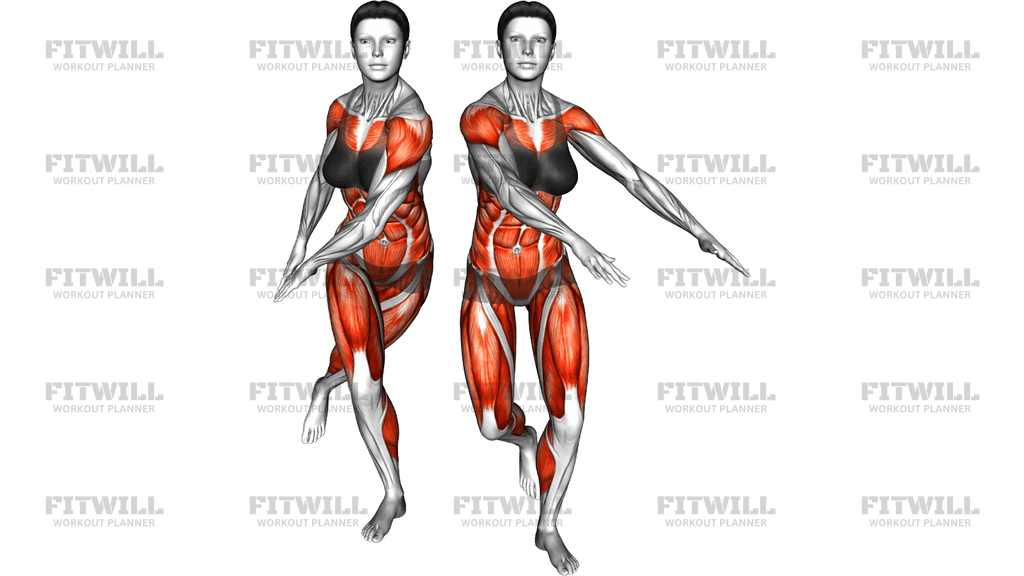
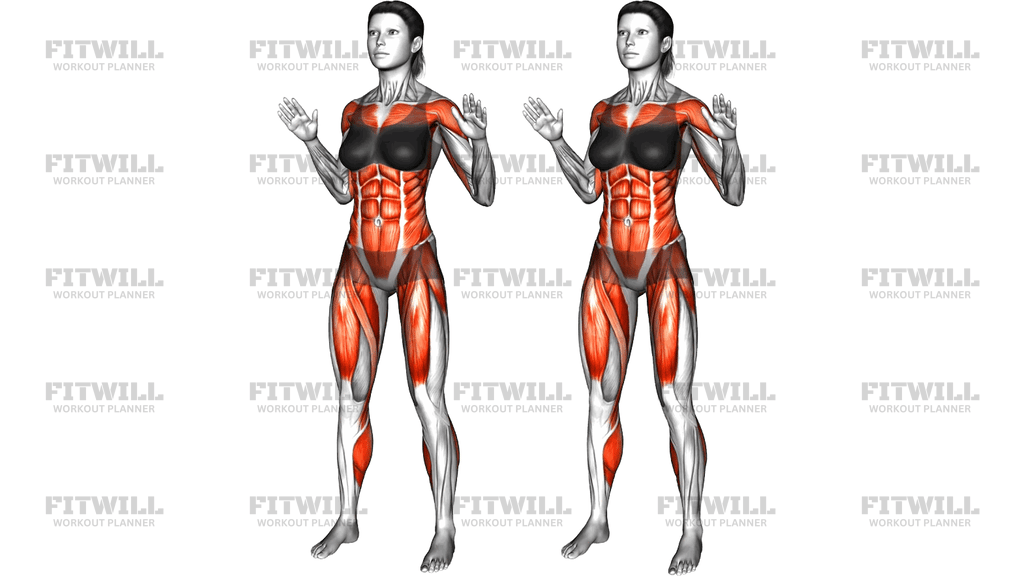
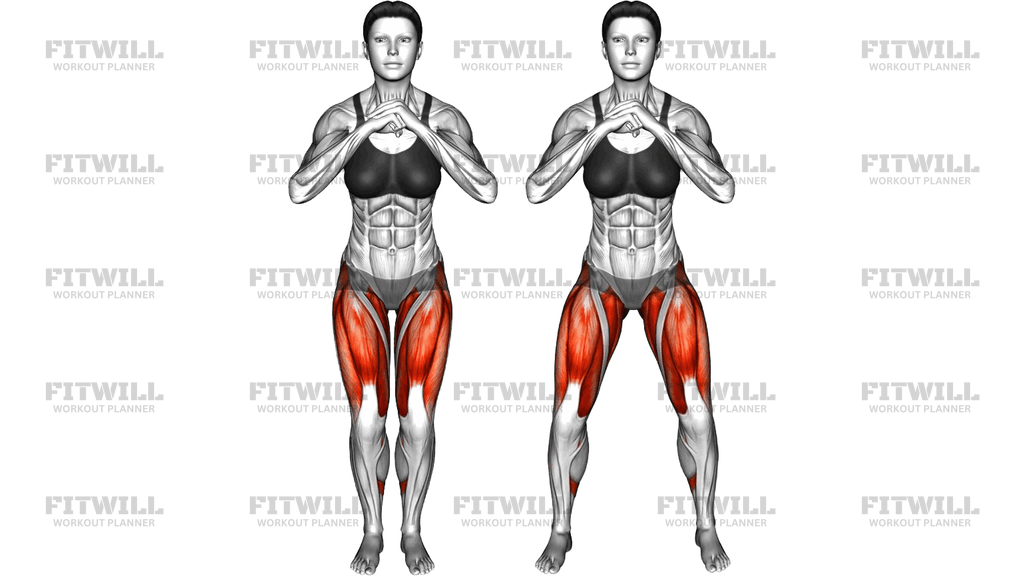
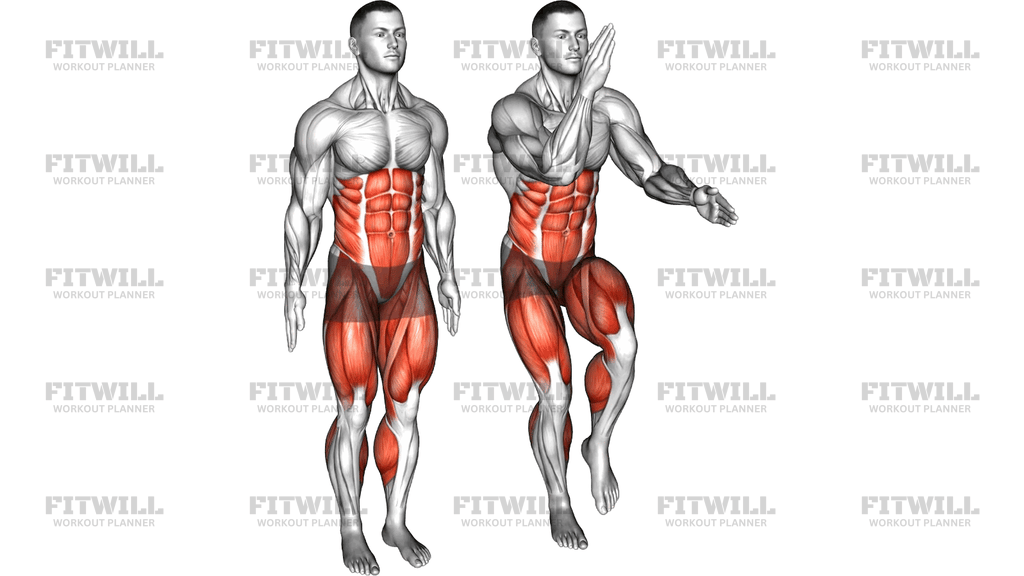
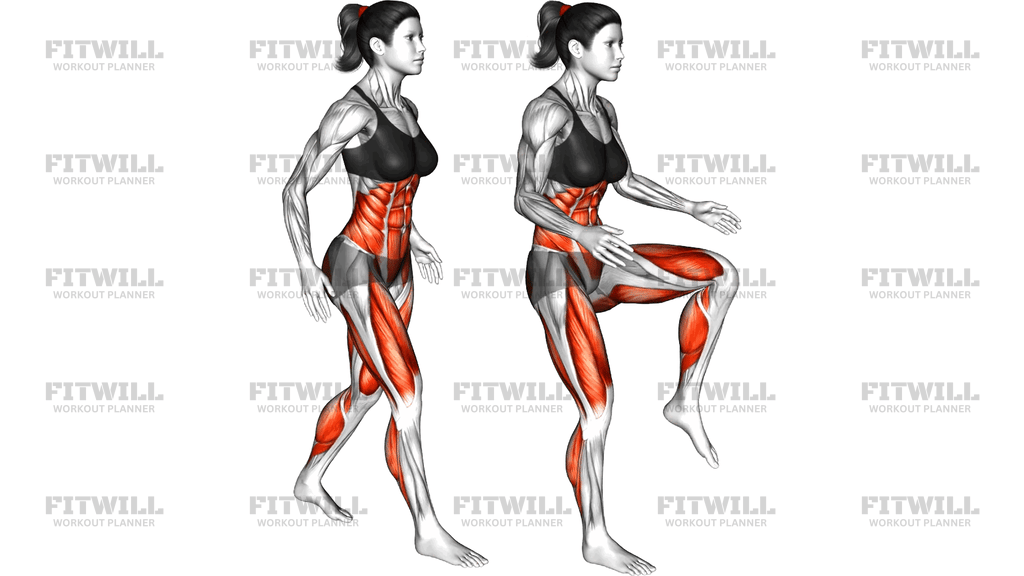
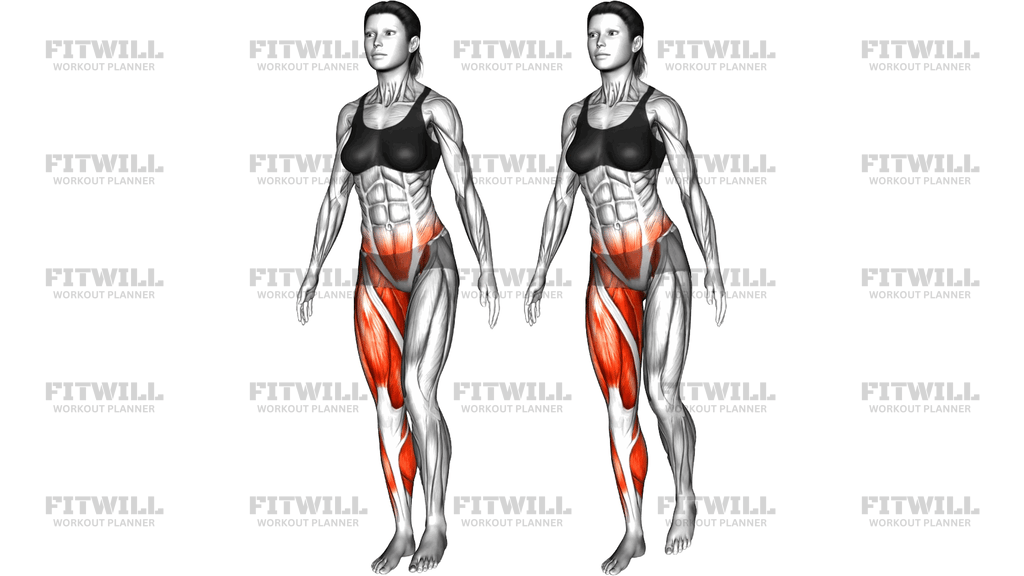
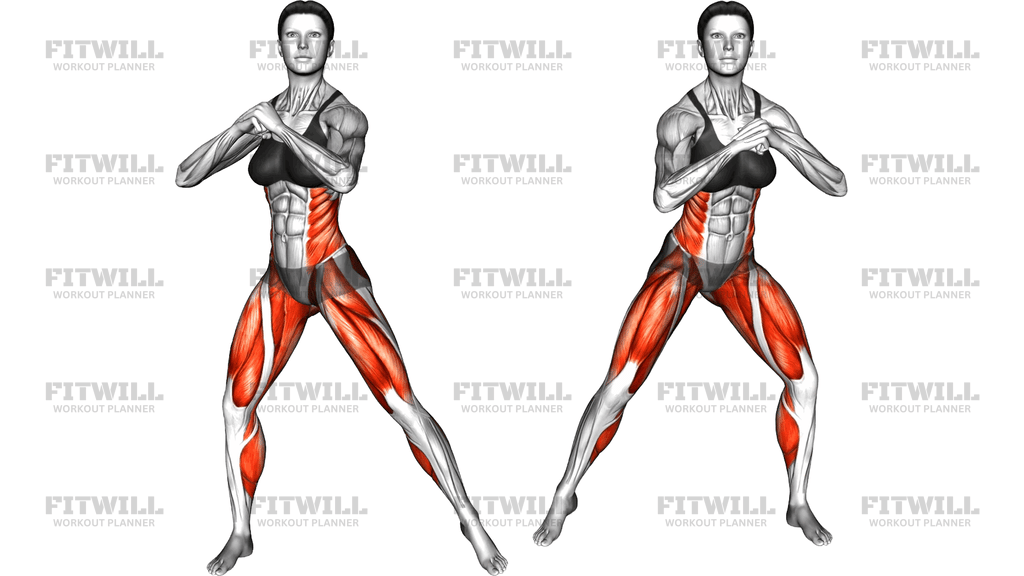
Peterson Forward Side Step
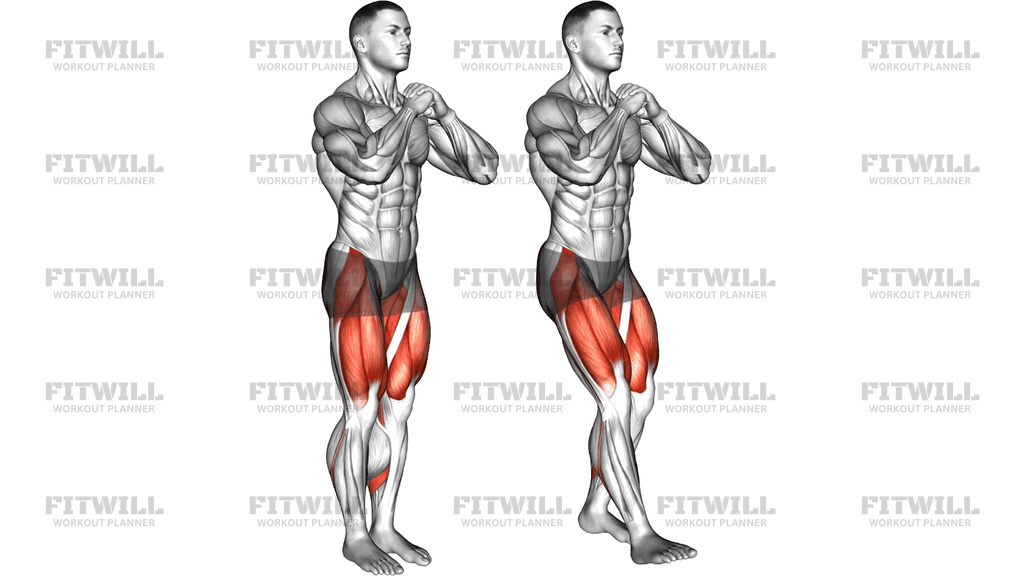
The Peterson Forward Side Step is a single-leg bodyweight drill that targets the quadriceps, with a strong emphasis on the vastus medialis — the teardrop-shaped muscle just above the inside of the knee. You balance on one leg while the opposite foot reaches forward and slightly across to tap the floor, then pulls back without ever taking any real load. Because the working leg stays planted under your center of mass the entire time, the knee and hip stabilizers on that side do nearly all of the work.
This movement was popularized in knee-rehabilitation and injury-prevention settings, and it has since earned a place in strength warm-ups as well. It is particularly useful for anyone rebuilding capacity after general knee irritation, athletes who need single-leg control for cutting and deceleration, and lifters whose weak side tends to collapse inward during squats or lunges. The crossing reach of the free foot adds an adductor and hip-stabilizer demand that a plain forward tap does not.
Setup matters more than it looks. Your weight should stay stacked over the middle of the standing foot, with the knee tracking over the toes and the pelvis level. If you allow the standing knee to dive inward, or if you cheat by shifting weight onto the reaching foot, the whole point of the drill is lost. The reach foot is a probe, not a pillar — it touches the ground for balance feedback and comes right back.
Execution should be slow and deliberate. Drop your hips back and down a few inches on the standing leg, sweep the free foot forward and slightly across the midline to a light toe tap, then return it to the start position beside the standing foot before standing tall again. Keep your hands clasped in front of your chest to help you stay upright and quiet through the torso. Breathing stays relaxed: inhale as you lower and reach, exhale as you return.
Most people use the Peterson Forward Side Step in warm-ups, as a superset with squats or split squats, or as a standalone stability finisher. Start with two or three sets of eight to ten controlled reaches per side, holding onto a wall or rack only if balance genuinely fails. If the standing knee aches sharply rather than works, shorten the reach or reduce the depth rather than pushing through discomfort.
Fitwill
Log Workouts, Track Progress & Build Strength.
Achieve more with Fitwill: explore over 9600 exercises with images and videos, access built-in and custom workouts, perfect for both gym and home sessions, and see real results.
Start your journey. Download today!




Instructions
- Stand tall with your feet hip-width apart and clasp your hands together in front of your chest for balance.
- Shift your full weight onto one leg so the opposite foot hovers just off the floor beside it; keep a soft but firm bend in the standing knee.
- Brace your core and set your pelvis level, imagining the standing foot screwed gently into the floor.
- Lower your hips slightly, bending the standing knee a few inches while keeping the knee aligned over your toes.
- Sweep the free foot forward and slightly across your midline, reaching it out to a light toe tap on the floor ahead of you.
- Keep roughly 90 percent of your body weight on the standing leg the entire time — the reaching foot only touches, never loads.
- Pull the free foot back from the tap and return it to its position beside the standing foot without letting it rest.
- Stand fully upright on the working leg, squeezing the glute at the top before starting the next repetition.
- Inhale as you lower and reach, exhale as you return and stand tall.
- Complete all reps on one side, then switch legs and match the volume on the other.
Tips & Tricks
- Watch your standing knee like a hawk: if it drifts inward as you reach across, that adductor pull is winning. Reset with a narrower reach before it gets worse.
- A common cheat is resting the reach foot on the floor between reps. Hover it beside the standing foot instead so the balance demand stays constant.
- If your pelvis dips on the non-working side, your hip stabilizers are fatiguing — that is the useful signal, so slow down rather than shorten the set.
- Hold onto a wall or rack with one hand only if you cannot complete the tap without stumbling; wean off the support quickly so the balance work still counts.
- The forward-and-across path matters. Reaching straight ahead turns this into a generic single-leg drill; the slight cross adds the inner-thigh and outer-hip challenge.
- Keep the tap light and quick. If you feel yourself transfer weight onto the reaching foot, think of it as touching a hot stove.
- Rushing the stand-up is the most common tempo error. The return to a tall stance is where the quad does its best work, so own that last few inches.
- Do this barefoot or in flat shoes if balance is the goal; a cushioned running shoe makes the standing foot search for stability and can wobble your knee.
- Keep the depth modest. This is a precision drill, not a max-effort squat — a few inches of controlled knee bend with a clean tap beats a deep, wobbly reach every time.
Frequently Asked Questions
What muscles does the Peterson Forward Side Step work?
The quadriceps on the standing leg are the primary movers, with special emphasis on the vastus medialis near the inner knee. The glutes, inner thighs, calves, and the small stabilizers around the hip and ankle handle the single-leg control and the cross-body reach.
Why does the free foot cross slightly forward in this drill instead of tapping straight ahead?
The diagonal reach pulls across the midline, which forces the outer hip muscles to stop the pelvis from tipping and loads the inner thigh line of the standing leg. A straight-ahead tap trains balance, but the forward side path is what makes this variation distinct.
Can beginners do the Peterson Forward Side Step?
Yes, and it is one of the better beginner single-leg drills because the reaching foot provides just enough balance feedback without taking load. Beginners should use a shallow knee bend and keep a wall or rack within arm's reach until they can tap without wobbling.
How much weight should go on the reaching foot?
Almost none — a light toe tap only. If you feel the floor pushing back through that foot or see your hips shift toward it, you are turning a stability drill into an uneven lunge, so pull the reach back shorter.
Is the Peterson Forward Side Step safe for cranky knees?
It is widely used as a low-load knee exercise because the standing leg works through a small, controlled range. That said, if a movement produces sharp pain rather than working muscle effort, reduce the depth and reach first, and check with a qualified professional before continuing.
Where should I put this in my workout?
It works best as a warm-up before squats, lunges, or running, or as a finisher superset with a heavier leg exercise. Doing it fresh lets you focus on knee tracking and balance, which is the entire point of the drill.
How many sets and reps should I do?
Two to three sets of eight to ten slow reaches per side is a solid starting point. Prioritize a quiet, stable standing knee over rep count — once your form breaks down and the knee starts drifting, the set is over.
What is the most common mistake with the Peterson Forward Side Step?
Letting the standing knee cave inward as the free foot reaches across. The fix is to think about spreading the floor with the standing foot and keeping the kneecap lined up over your second toe throughout the reach.
Can I substitute another exercise for this one?
A single-leg bodyweight heel tap or a forward Peterson step-up on a low step covers similar ground. The Forward Side Step version adds the diagonal, cross-midline element, so if that balance demand is your goal, plain forward taps are an easier substitute but not an equal one.
Do I need any equipment for the Peterson Forward Side Step?
No equipment is needed — just enough floor space to reach one foot forward without obstruction. Flat, non-slip footwear or bare feet on a stable surface make the balance demand easier to read.