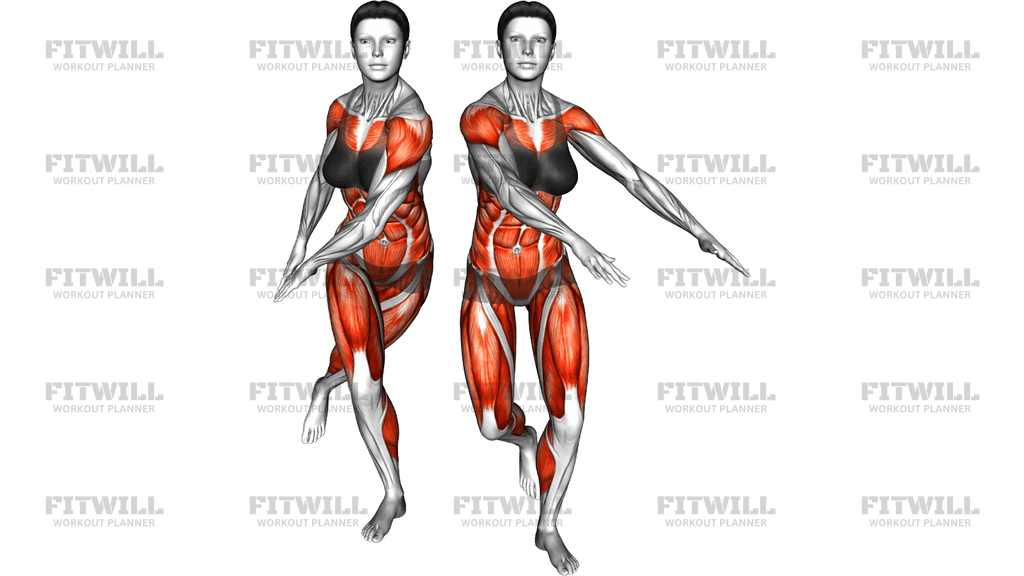
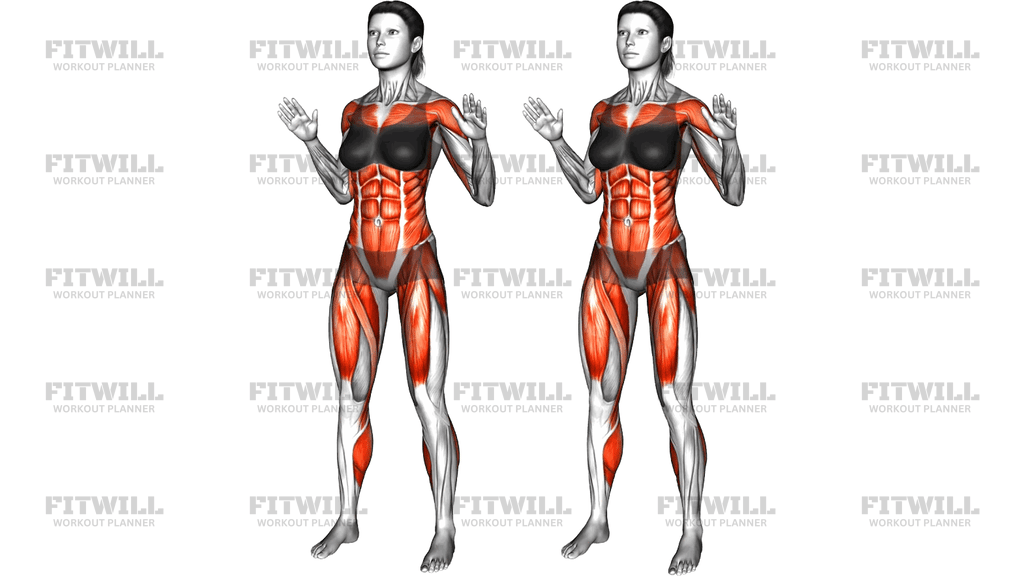
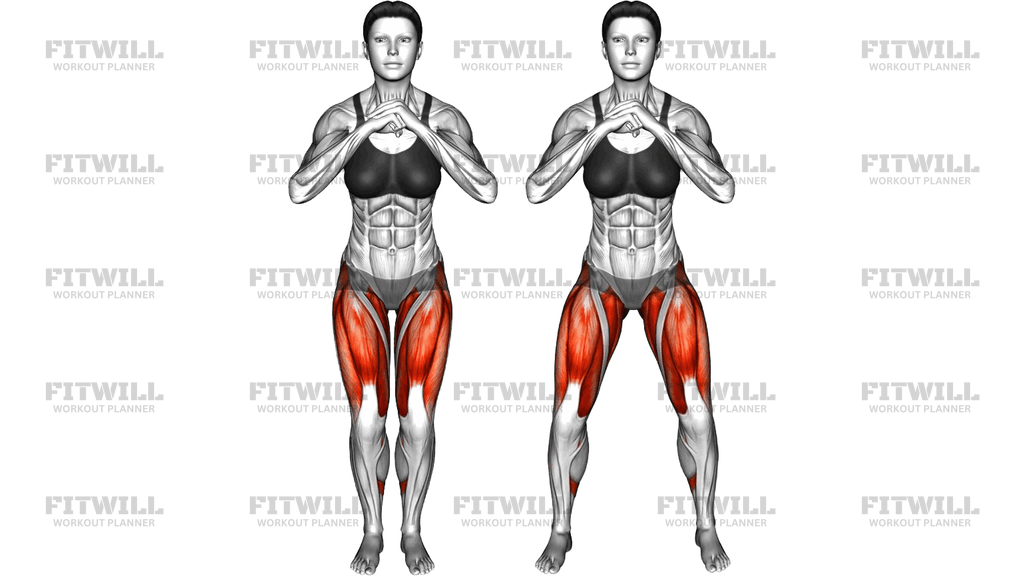
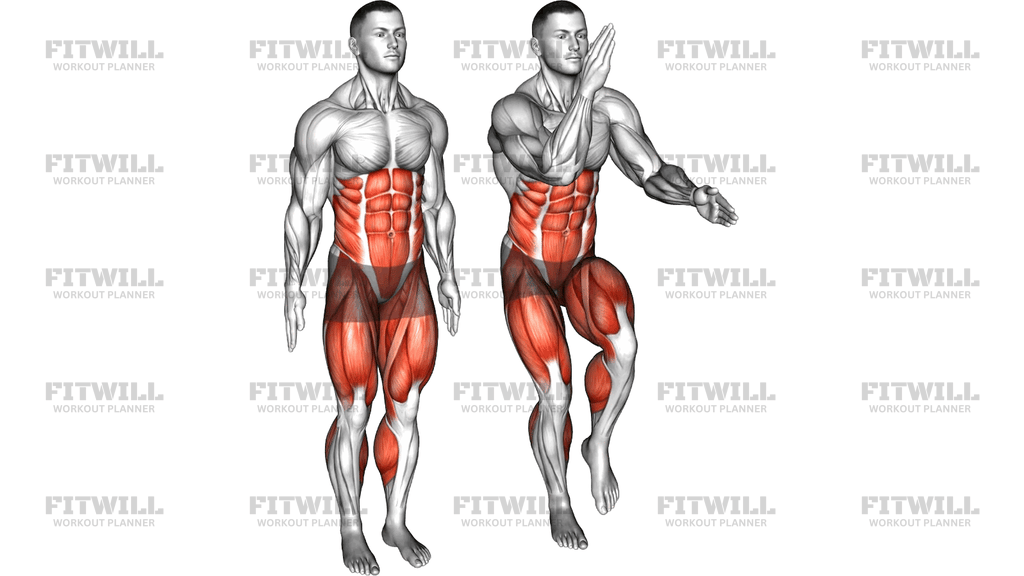
Split Squat Heel Raise
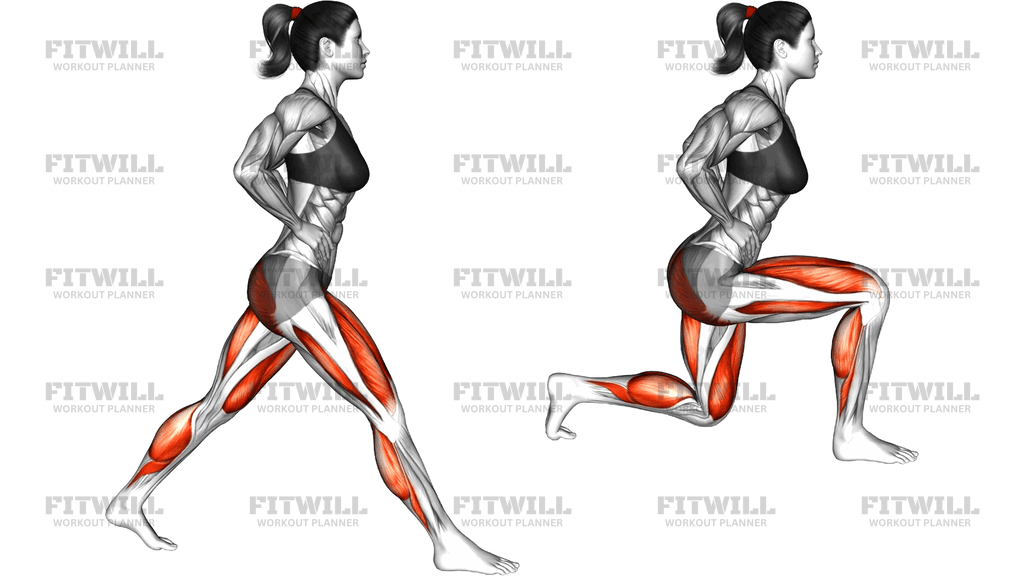
The Split Squat Heel Raise is a single-leg strength exercise performed in a staggered stance with the rear heel lifted so the back foot rests on the ball of the foot throughout the set. From that position you lower straight down until the rear knee hovers near the floor, then drive back up to standing. Because the rear heel never drops, the back leg's calf stays under tension the entire time, while the front leg handles most of the squatting load through the quads and glutes.
This setup gives you two jobs in one movement. The front leg works like it does in any split squat, building strength in the quadriceps and glutes with a long, controlled range of motion. The rear leg, balanced on the toes, works the calf complex isometrically at the ankle and also gets a dynamic stretch through the hip flexors of that back leg, since the trailing hip moves into extension as you descend. That makes it a practical choice for people who want to combine lower-body strength work with ankle and hip mobility in the same exercise.
The stance is what makes or breaks this version. Your feet should be far enough apart that both knees can bend to roughly ninety degrees without the front knee traveling past the toes or the torso pitching forward. If the stance is too short, you lose balance and the rear heel wants to collapse; too long, and the stretch on the back hip becomes uncomfortable. Taking a moment to set the feet properly before the first rep pays off for every rep after it.
To execute it well, keep your torso tall with hands on your hips or at your sides, brace your core, and think about lowering vertically rather than leaning forward. The front knee should track over or slightly inside the toes, and the movement should feel like the back knee is dropping straight toward the floor. Push through the whole front foot to stand back up, and keep the rear heel lifted deliberately rather than letting it drift down as you tire.
This exercise suits lifters who train at home with no equipment, beginners learning split-stance mechanics before progressing to lunges or Bulgarian split squats, and runners or cyclists who need both single-leg strength and calf endurance. Because it requires no load, it is easy to program as a warm-up, a finisher, or a higher-rep strength set. Move slowly and stop each rep before your balance breaks down; if you wobble, shorten the range slightly rather than compensating with your lower back.
[ Workout Log & Planner ]
Put your next workout in Fitwill
Keep your plan and training log ready when you are.


Instructions
- Stand tall, then step one foot forward and one foot back into a staggered stance roughly hip-width apart from side to side and about two to three feet apart front to back.
- Rise onto the ball of your rear foot so the heel lifts fully off the floor, and keep it there for the entire set; place your hands on your hips or let them hang at your sides.
- Brace your abdominal muscles and lengthen your spine so your torso is upright, with your gaze forward and shoulders relaxed down and back.
- Inhale, then bend both knees to lower your body straight down until your rear knee is just above the floor and your front knee reaches about ninety degrees.
- Keep your front shin close to vertical and let the back knee travel downward, not backward, so the rear hip feels a stretch.
- Exhale and press through the heel and midfoot of the front leg to rise back up until both legs are nearly straight, keeping the rear heel raised.
- Move at a controlled pace, taking about two seconds down and one to two seconds up, and pause briefly at the top between reps.
- Complete all repetitions on one side, then step the feet together, shake out the legs, and reset your stance to train the other leg.
Tips & Tricks
- If the rear heel keeps dropping, you are probably too upright on that foot; actively press the toes into the floor and think of squeezing the back calf throughout the set.
- A common mistake is stepping the rear foot directly behind the front foot, which turns the exercise into a balance drill; keep the feet hip-width apart sideways so you have a stable base.
- If your front knee travels well past your toes, lengthen your stance an inch or two and sit back slightly into the front hip.
- Rushing the lowering phase is the fastest way to lose form here; the eccentric is where the quads do most of the work, so lower with control instead of dropping into the bottom.
- When your calf cramps on the rear leg, that is normal at first; stretch it between sets and reduce the range until the ankle adapts.
- If your torso leans forward as you fatigue, reset with a proud chest and imagine the back of your head and your tailbone moving toward the ceiling.
- To add difficulty once bodyweight feels easy, hold a dumbbell in each hand at your sides or pause for two seconds at the bottom of each rep.
- Train your weaker leg first and match the repetitions with the stronger leg so neither side drifts ahead of the other.
Frequently Asked Questions
What muscles does the Split Squat Heel Raise work?
The front leg's quadriceps and glutes do the bulk of the squatting work, while the hamstrings assist. The rear leg's calf stays engaged holding the heel up, and the hip flexors of the back leg receive a stretch as the hip extends.
Why does the rear heel stay raised in the Split Squat Heel Raise?
Keeping the heel up keeps the rear calf under continuous tension and shifts slightly more load to the front leg. It also reinforces an active trailing foot, which many lifters let go slack in a standard split squat.
Is the Split Squat Heel Raise good for beginners?
Yes, it is a good entry point to split-stance training because there is no load and no step forward required. Beginners should use a shorter range of motion at first and can hold a wall or chair for balance until the stance feels steady.
How is this different from a regular split squat?
In a regular split squat the rear foot sits flat and the emphasis stays on the front leg. With the heel raised, the rear calf works the whole time and the back hip flexor gets a slightly longer stretch, so you train a bit more with the trailing leg.
How far apart should my feet be?
Start with about two to three feet between the front and back foot, and keep them hip-width apart from side to side. A good check is that both knees can bend to roughly ninety degrees at the bottom without the front heel lifting or the back foot feeling unstable.
My calf cramps when I hold the heel up. What should I do?
Calf cramping is common in this position because the muscle works isometrically at a stretched ankle angle. Stretch the calf between sets, shorten the range of motion temporarily, and the cramping usually fades as the ankle adapts.
Can I do the Split Squat Heel Raise every day?
Because it uses only your body weight, it can be trained frequently, but the muscles still need recovery to get stronger. Two to four sessions per week with at least a day between harder efforts is a sensible starting point.
What can I use instead if I do not have space to step back?
A reverse lunge works a similar pattern in place, though you will lose the constant rear-calf tension unless you deliberately rise onto the back toes each rep. A static lunge hold with the rear heel lifted also recreates the same foot position.
Is it safe for my knees if the front knee moves past my toes?
Some forward knee travel is normal and not automatically harmful, but if it comes with your heel lifting or discomfort in the joint, lengthen your stance and shift your weight back into the front hip. Move within a range that feels controlled and pain-free.
How do I make the Split Squat Heel Raise harder?
Hold a dumbbell in each hand at your sides, pause for two to three seconds at the bottom, or slow the lowering phase to three or four seconds. Adding reps before adding load keeps the movement clean as you progress.