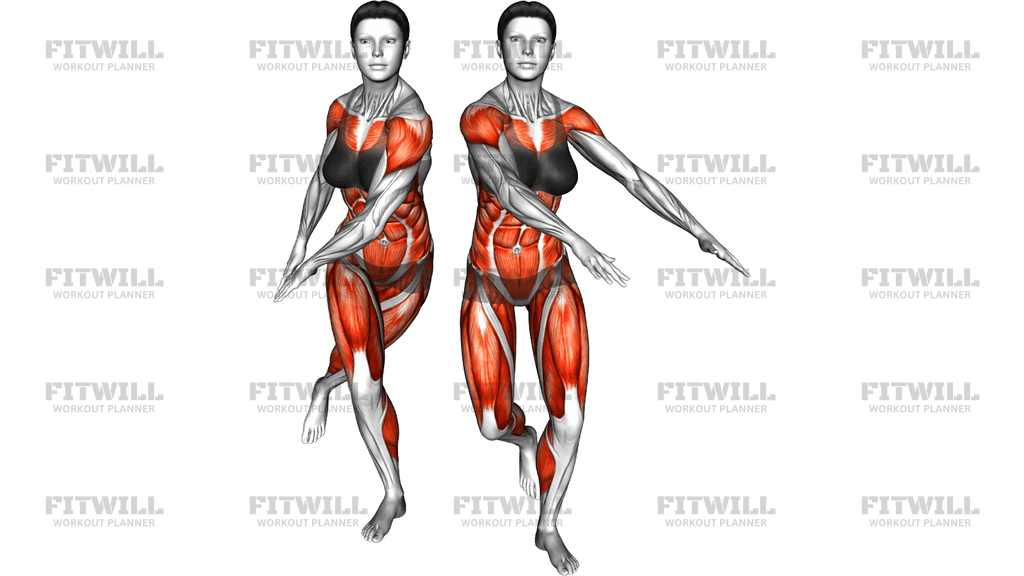
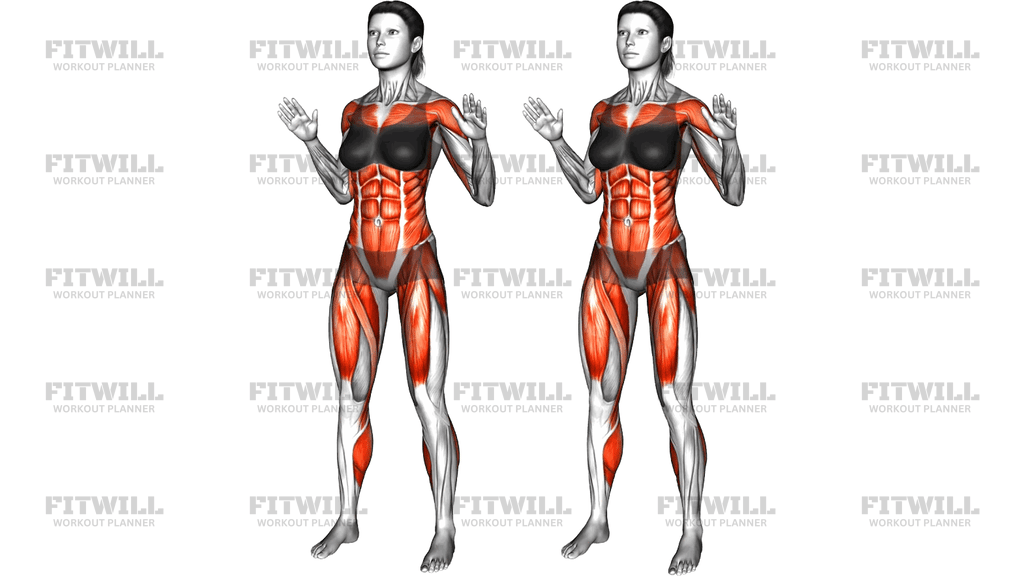
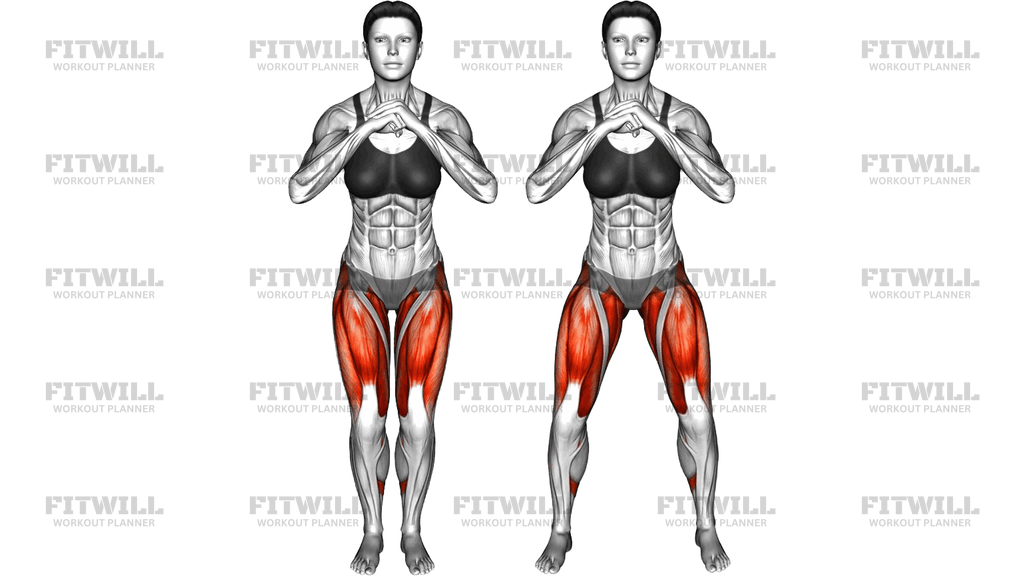
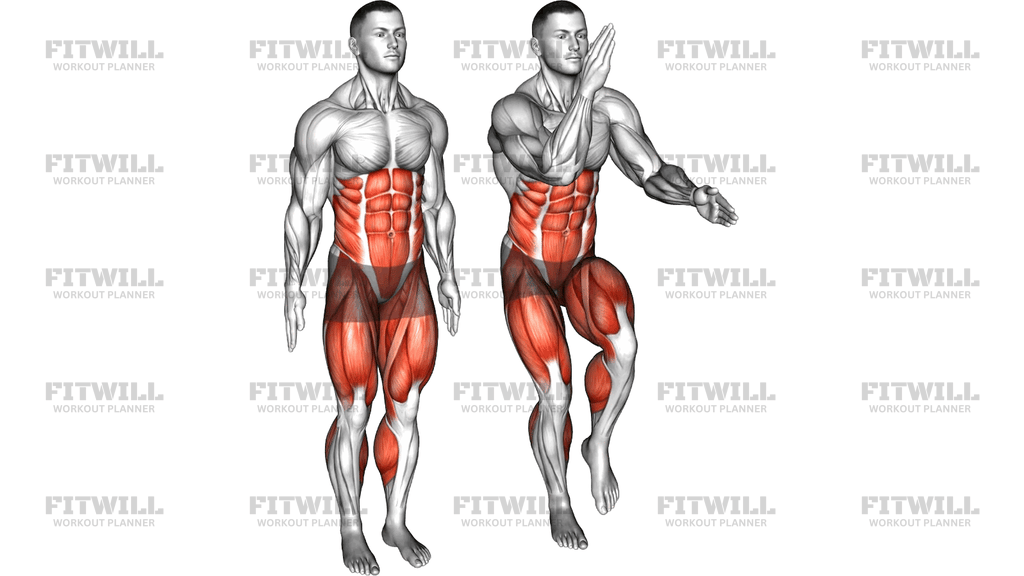
Narrow Lunge With Wall Supported
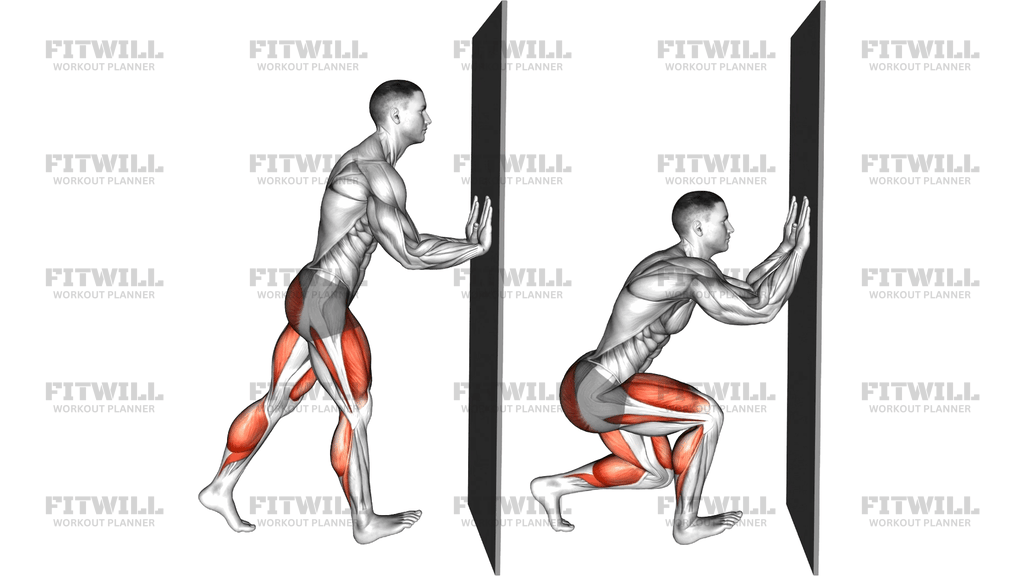
The Narrow Lunge With Wall Supported is a body weight lunge variation performed with both hands flat against a wall in front of you. Instead of taking a long split stance, your feet stay relatively close together in a narrow fore-aft line, and you lower straight down until the back knee approaches the floor. The wall contact gives you a stable point to lean into, which removes the balance demands that make free-standing narrow lunges difficult.
This setup makes the exercise a great teaching tool. Because your hands are anchored to the wall, you can focus entirely on what your legs and hips are doing: stacking the front knee over the foot, keeping the torso angled toward the wall, and dropping vertically rather than drifting forward. Beginners who wobble through regular lunges, or lifters returning from a layoff who want to rebuild confidence in a split stance, benefit from this version before progressing to unsupported lunges.
The narrow stance shifts a lot of the work to the quadriceps of the front leg, while the glutes and hamstrings of that same leg fire hard on the way up. The rear leg's glute and hip flexors work to control the back knee's descent, and the calves and ankle stabilizers manage the foot pressure against the floor. Leaning lightly on the wall also keeps the core engaged to hold a straight line from head to back heel.
Setup matters more than it looks. Stand close enough to the wall that your arms are slightly bent with palms flat at roughly chest height, and keep your feet hip-width apart in the narrow split. If you stand too far away, your shoulders will round and your weight will dump onto the wall; too close and your knees cannot travel without jamming into the wall. Give yourself a few inches of clearance so the front knee can bend fully.
To execute it well, think of pushing your hips back and down while the back knee travels toward the floor behind you. The front heel stays down, and the wall absorbs only a modest amount of your body weight — it is a guide, not a crutch. Drive through the front foot to stand back up, and complete all reps on one side before switching legs.
Use this movement as a warm-up activation drill, a beginner lunge progression, or a high-rep finisher that burns out the quads without equipment. Because the wall controls balance, you can train one leg at a time deliberately and evenly, which is exactly what most people need when their lunge pattern breaks down.
[ Workout Log & Planner ]
Put your next workout in Fitwill
Keep your plan and training log ready when you are.


Instructions
- Stand facing a wall, about arm's length away, and place both palms flat on the wall at chest height with elbows slightly bent.
- Take a narrow split stance: one foot forward under your shoulders, the other leg extended behind you, feet roughly hip-width apart side to side.
- Lean your body weight gently into the wall so your arms stay lightly loaded, and lift the back heel so you're on the ball of that foot.
- Brace your core and keep a straight line from your head through your back heel.
- Inhale, then bend the front knee and let the back knee travel down toward the floor, lowering straight down rather than forward.
- Descend until the back knee is just above the floor and the front thigh is close to parallel, keeping the front heel flat.
- Exhale and press through the whole front foot to drive back up to the top of the split stance.
- Complete all repetitions on one leg, then step back, reset your stance, and switch sides.
Tips & Tricks
- The wall is for balance, not support — if you feel most of your weight in your hands, step your feet slightly closer and lighten the pressure on your palms.
- The most common mistake is letting the front knee collapse inward as you descend. Think of spreading the floor with the front foot so the knee tracks over the toes.
- Keep the descent vertical. Narrow lunges expose people who lunge forward; if your front heel lifts, your stance is too long or you're pushing off the wall too aggressively.
- Don't slam the back knee into the floor. Lower until it lightly touches or hovers just above it, then reverse immediately with control.
- Keep the hips square to the wall. Many people rotate the back-side hip open, which reduces glute work on the front leg and twists the lower back.
- If your back knee cap feels irritated, pad the floor or reduce the depth slightly and focus on a smooth, quiet rep rather than maximal range.
- Your torso will lean toward the wall — that's fine — but keep it rigid. A rounded, collapsing upper back against the wall means you're leaning instead of bracing.
- For a harder version, hover your hands a centimeter off the wall during the descent and touch it only when needed.
- Do this barefoot or in flat shoes so you can feel pressure across the whole front foot rather than only the toes.
Frequently Asked Questions
What muscles does the Narrow Lunge With Wall Supported work?
The quadriceps of the front leg do most of the work, with strong contributions from the glutes and hamstrings on the way up. The back leg's glute and hip flexors help control the descent, and the calves and core stabilize throughout.
Is the Narrow Lunge With Wall Supported good for beginners?
Yes, it's one of the best entry points to lunging because the wall removes the balance problem. You can learn the knee and hip positions with feedback under your hands before progressing to free-standing lunges.
Why is the stance narrow instead of a normal split stance?
A narrow, fore-aft aligned stance increases the demand on the front leg's quads and challenges hip control more than a wide lunge. It mimics a tighter stride pattern and makes the vertical drop more leg-dominant.
How much weight should I put on my hands against the wall?
Just enough to steady yourself — think of the wall as a guide rail. If your arms feel tired or your shoulders round, you're leaning too heavily; step closer and reduce palm pressure.
Should the back knee touch the floor?
It can lightly touch or hover just above it, depending on your mobility and comfort. Aim for a controlled descent with the knee bending straight back, not a hard impact.
My front heel keeps lifting off the floor — what's wrong?
That usually means your weight is shifting forward onto the ball of the foot, often because you're pushing off the wall. Keep more pressure in the front heel and let your torso lean slightly toward the wall instead of your foot.
What can I use instead of a wall?
A sturdy railing, a squat rack upright, or the back of a heavy chair works the same way. Any stable surface at chest height that lets you place both palms flat will do.
How many reps should I do per leg?
Start with 8 to 12 controlled reps per leg for 2 to 3 sets. Since it's body weight only, higher rep ranges of 15 to 20 per side work well for a finisher or warm-up activation.
Is it safe for my knees?
When performed with the front knee tracking over the foot and the heel down, it's a knee-friendly way to load the legs. If you have an existing knee issue, use a shallower depth and stop if you feel sharp pain rather than normal muscle effort.