Hanging Advanced Tucked Front Lever Hold
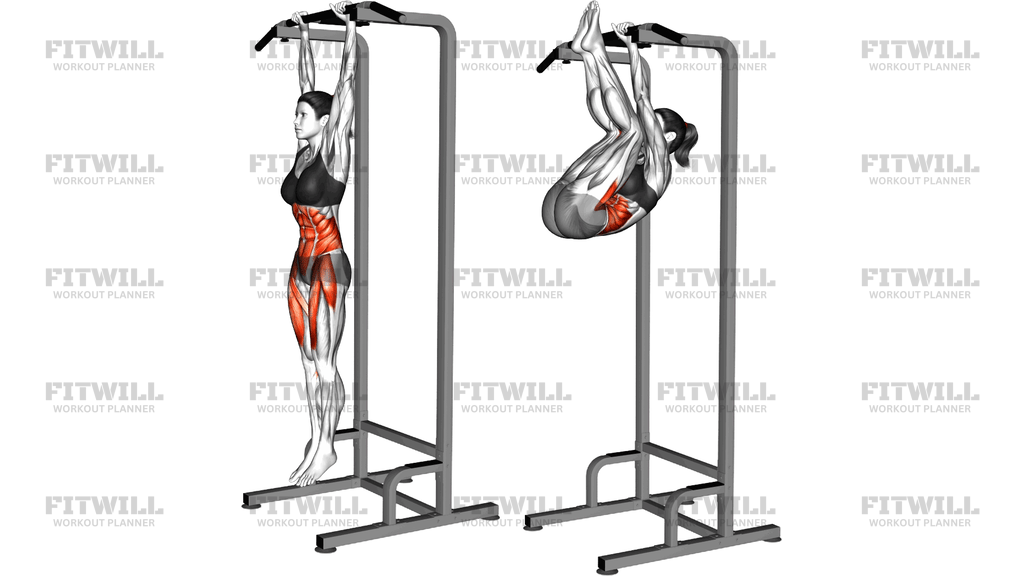
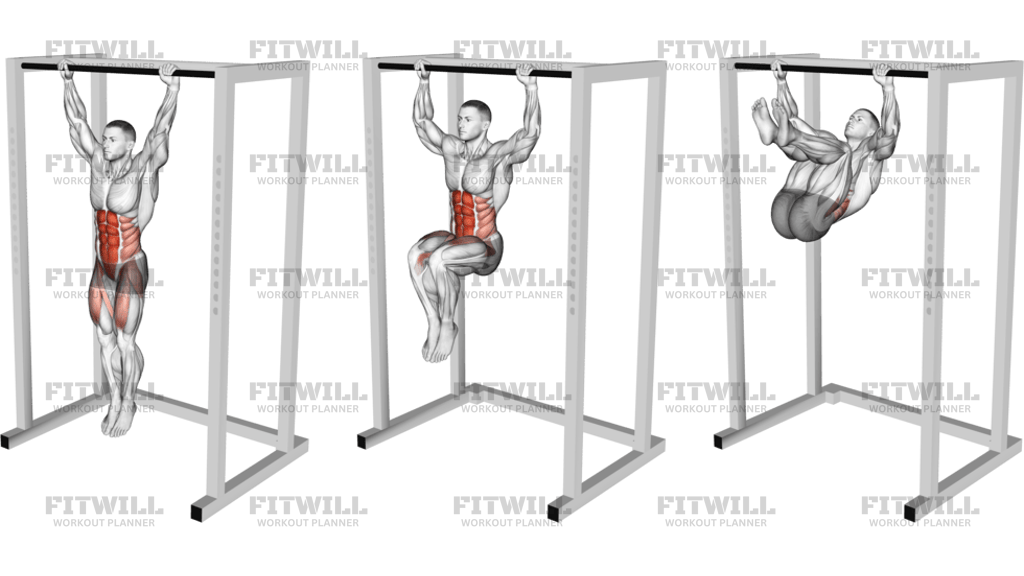
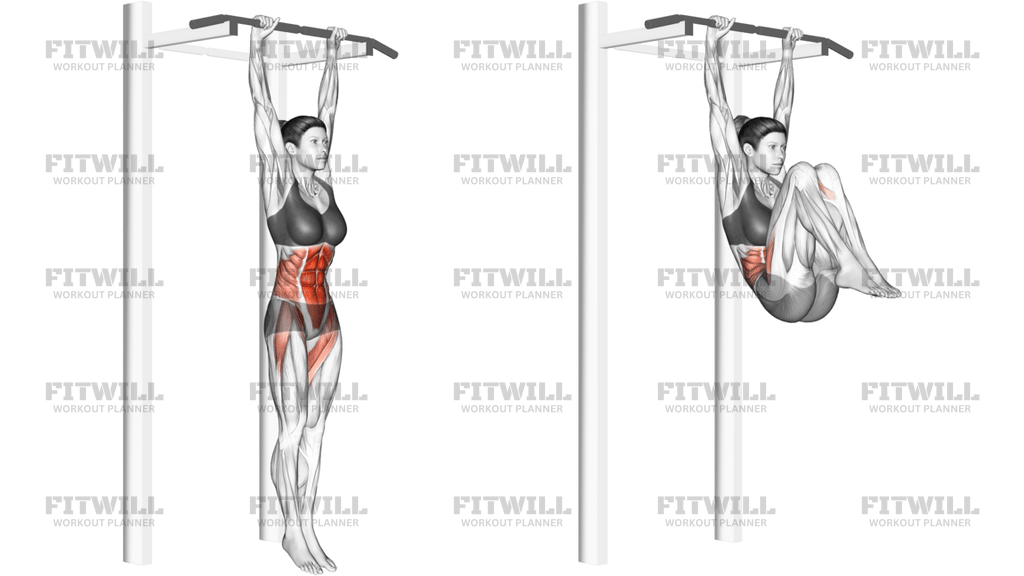
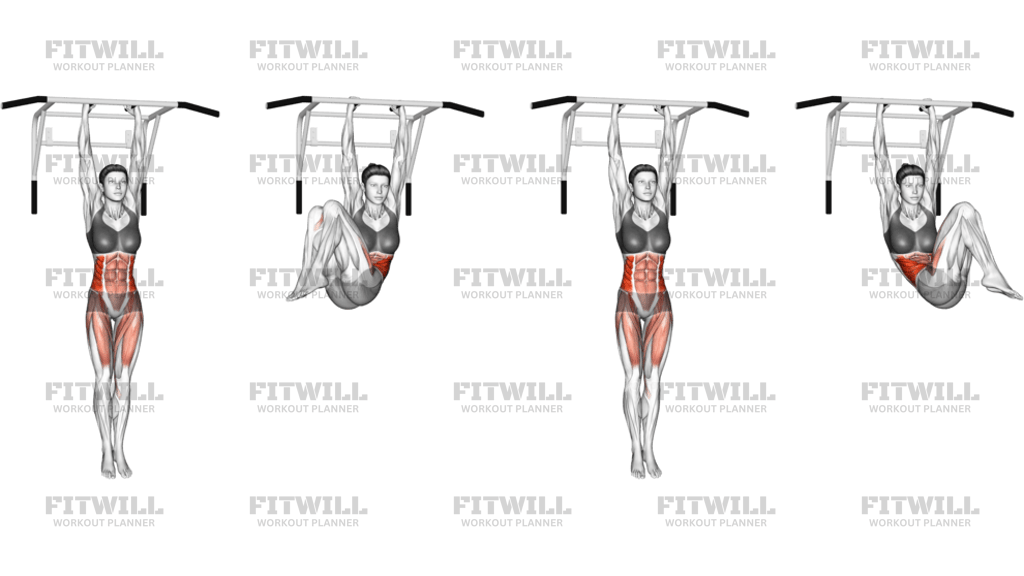
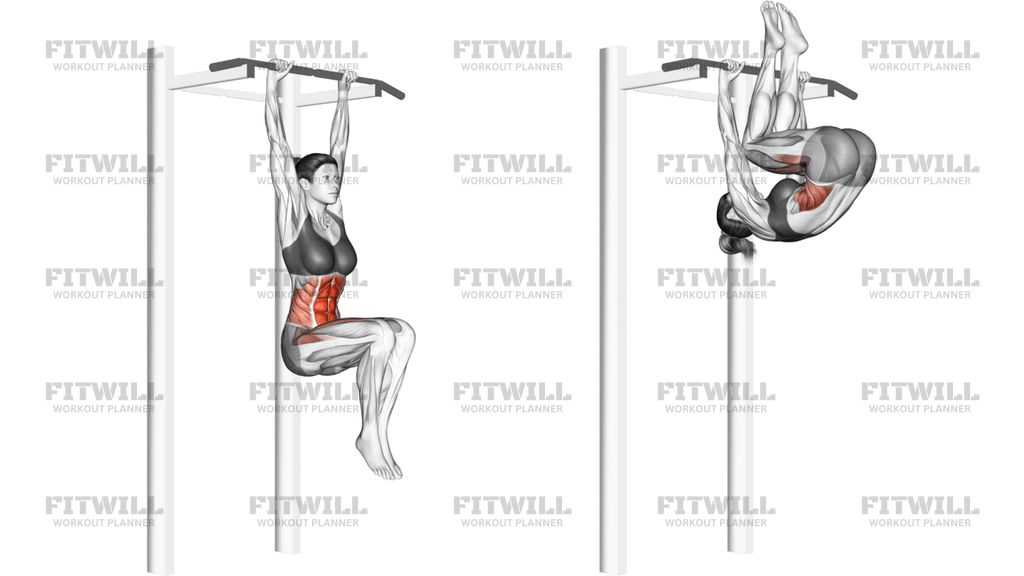
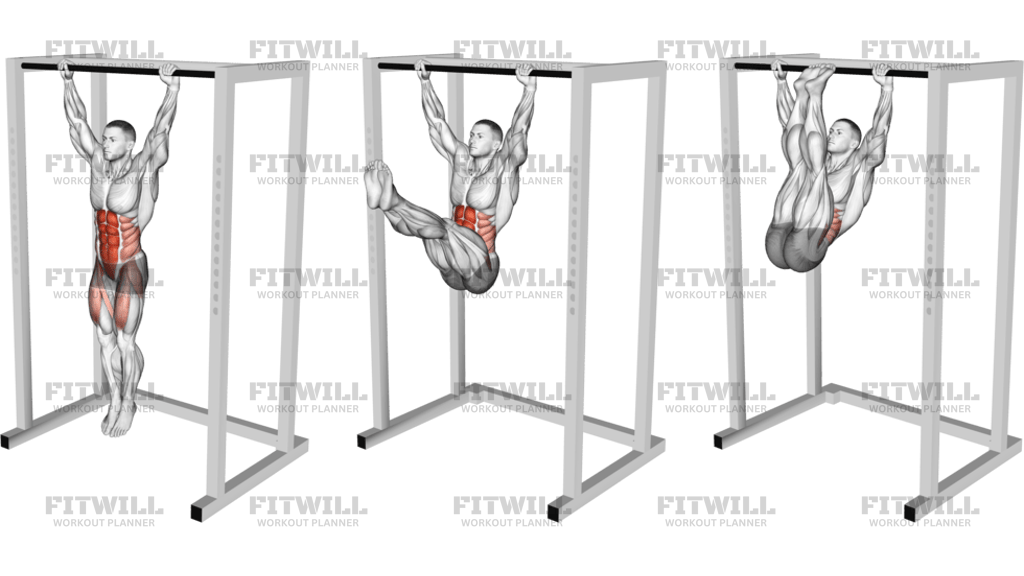
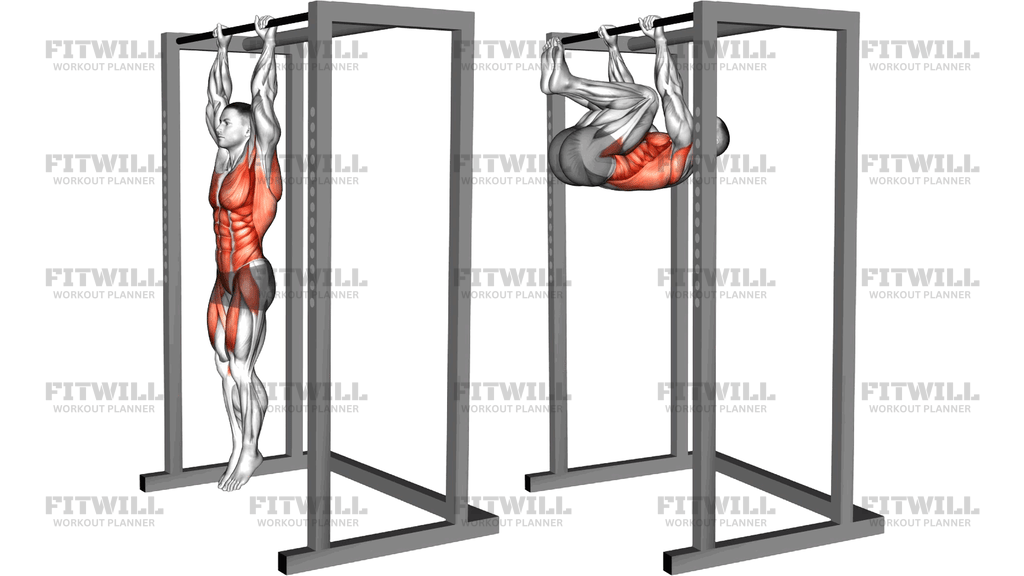
The Hanging Advanced Tucked Front Lever Hold is a static hold performed from a pull-up bar in which you pull your knees tight to your chest and rotate your torso under the bar until your back is roughly parallel to the floor. Unlike the basic tucked front lever, where the hips stay fairly open and the tuck sits lower, the advanced tuck pulls the knees all the way in toward the chest, which compresses the body into a tight ball and shortens the lever dramatically. That compression is what makes this the key stepping stone between beginner front lever progressions and the full horizontal hold.
This movement is aimed at people who already own a solid dead hang and can comfortably hold a basic tucked front lever or hang through a set of hanging knee raises. Calisthenics athletes working toward the full front lever, gymnasts, and intermediate lifters who want serious straight-arm and trunk strength all get a lot out of it. If you can only hang for twenty to thirty seconds or your front lever tuck collapses after a few seconds, spend more time on earlier progressions first.
The hold trains far more than the abs. Your rectus abdominis and deep core work hard to keep the trunk curled and rigid, the lats and rear shoulder musculature pull the shoulders down and back to hold you under the bar, the hip flexors keep the knees welded to the chest, and the forearms and grip carry your entire bodyweight for the duration of the set. Because it is an isometric, the demand is constant from the first second, so strength gains come from accumulating time under tension rather than reps.
Setup quality decides everything here. Grip the bar about shoulder-width with a full overhand grip, then pull yourself actively toward the bar — often called scapular depression — before tucking. If you simply hang loose and curl up, your shoulders ride into your ears and the position becomes a strained dangle instead of a lever. Keeping the shoulders pulled down creates the stable base your torso rotates around, and it also protects the shoulder joint under load.
Execution is simple to describe and demanding to do: from the hang, drive the knees to the chest, pull the hips through until your lower back faces the floor and your torso sits under the bar, squeeze the knees against the chest, and hold. Your shins and forearms stay close to the bar, your chin stays tucked, and your whole body should feel like one compressed unit rather than a collection of loosely stacked parts. To exit, reverse the path with control — lower the hips and extend the legs back to the dead hang instead of dropping out of the hold.
Use this hold as a timed progression in a front lever routine, typically three to five sets of five to fifteen seconds, resting fully between sets. It also works well paired with pulling work on a calisthenics day. The main safety point is honest self-assessment: the moment your hips sink and your tuck starts to open, the set is over. Fighting a failing hold with a rounded, sagging lower back is how progress stalls and strains happen.
[ Workout Log & Planner ]
Put your next workout in Fitwill
Keep your plan and training log ready when you are.


Instructions
- Grip a sturdy pull-up bar with an overhand grip about shoulder-width apart, wrapping your thumbs around the bar, and let yourself settle into a full dead hang with arms straight.
- Pull your shoulder blades down toward your hips so your shoulders drop away from your ears and your chest lifts slightly toward the bar; keep this active pull for the entire hold.
- Brace your trunk, then drive both knees up and in until they press firmly against your chest, keeping the shins tight to your thighs the whole time.
- Pull with your lats and round your upper back to rotate your hips up and under the bar until your back faces the floor and your torso is horizontal beneath your hands.
- Squeeze the tuck hard — knees to chest, heels pulled toward your glutes — and hold your body as one compact ball directly under the bar.
- Keep your chin tucked and your eyes neutral rather than craning your head up toward the bar.
- Breathe in short, steady breaths through the hold instead of holding your breath; the trunk stays braced even while breathing.
- Hold for your target time, typically five to fifteen seconds, and end the set the moment your hips begin to sink or the knees start to drift away from the chest.
- To finish, reverse the path under control: rotate the hips back down, lower the knees away from the chest, and extend the legs to a quiet dead hang rather than dropping.
- Reset your grip and shoulder position briefly between reps so every hold starts from a clean, active hang.
Tips & Tricks
- If your hips sag toward the floor halfway through the hold, your tuck is not tight enough — pull the knees harder into the chest, because a loose tuck multiplies the load on your lower back and core.
- Sinking at the shoulders is the other common failure point; if your shoulders shrug up toward your ears during the hold, you lost the scapular pull — reset and re-depress your shoulder blades before the next attempt.
- Chalk your hands and consider a full-thumb grip, since a slipping grip mid-hold dumps you out of the position abruptly.
- Film yourself from the side occasionally; from underneath it is hard to tell whether your torso is actually horizontal or angled toward the floor, and the angle is where most of the difficulty lives.
- Do not try to straighten the legs early — the compressed tuck is precisely what makes this hold achievable, and opening it turns it into a much harder skill before you are ready.
- Keep total hold time per set honest: five quality seconds with the hips high beats fifteen seconds of sagging, both for progress and for your spine.
- If your forearms and grip give out before your core, add separate dead hang work at the end of sessions, since grip is often the first bottleneck on this movement.
- Avoid jumping straight from a dead hang into the tuck at speed; pulling in too fast usually means losing the shoulder position — move into the tuck in about one controlled second.
- Warm up with hanging scapular pulls and hanging knee raises first so the shoulders and hip flexors are prepared for the compressed position.
Frequently Asked Questions
What muscles does the Hanging Advanced Tucked Front Lever Hold work?
The primary work comes from the abs and deep core holding the trunk curled and rigid, with strong contributions from the lats, hip flexors, front shoulders, and forearms. Your grip and lower back musculature also work hard to keep you stable under the bar.
How is the advanced tuck different from the basic tucked front lever hold?
In the advanced tuck your knees are pulled fully to your chest, compressing the body into a short, tight ball, while the basic tuck keeps the hips more open with the knees lower. The tighter compression reduces the leverage demand, which is why this version is used as a bridge toward the full front lever.
Can beginners do the Hanging Advanced Tucked Front Lever Hold?
Most beginners should build up to it first with dead hangs, scapular pulls, and hanging knee raises, plus a basic tucked front lever hold. Jumping straight to this progression usually results in sagging hips and shoulder strain rather than useful training.
Why do my hips sink during the hold?
Sinking hips usually mean the tuck has loosened or the lats have stopped pulling, so the body's center of mass drifts away from the bar. Squeeze the knees harder into the chest and actively pull yourself toward the bar to bring the torso back to horizontal.
How long should I hold the Hanging Advanced Tucked Front Lever Hold?
Aim for three to five sets of five to fifteen seconds with full rest between sets. Once you can hold a clean, compressed position for fifteen to twenty seconds, start gradually opening the tuck instead of just adding time.
What should I do if my grip fails before my core?
Add dedicated dead hang or bar hang work at the end of your sessions and use chalk. You can also do this hold earlier in the workout while your grip is fresh, since a grip failure mid-hold drops you out of the position quickly.
What equipment do I need for this exercise?
Only a sturdy pull-up bar that can hold your full bodyweight with clearance beneath you, such as a power rack pull-up bar or a wall-mounted bar. Chalk is helpful but not required.
Is it safe for my shoulders and lower back?
When performed with the shoulders pulled down away from the ears and the tuck kept tight, it is a demanding but controlled isometric. Stop the set as soon as your hips sag or your shoulders shrug, and avoid fighting a collapsing hold, since that is when the lower back and shoulders take unnecessary strain.
How does this exercise progress toward a full front lever?
Once you hold the advanced tuck comfortably for time, you slowly extend one leg at a time, then move to a single-leg and straddle front lever before the full two-leg hold. Each step lengthens the lever slightly, so the strength you build in this compressed hold transfers directly.