Standing Twist Air Bike
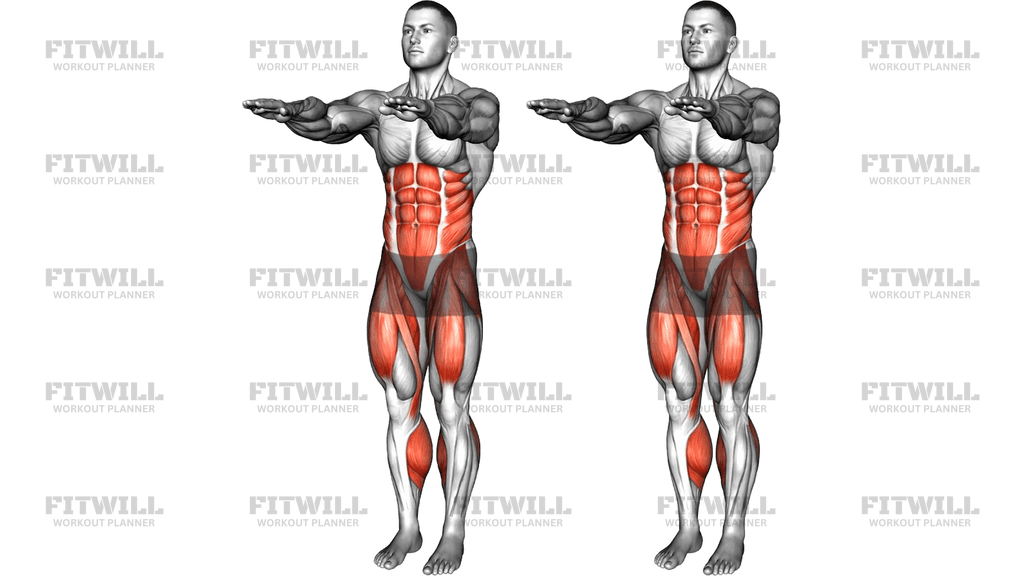
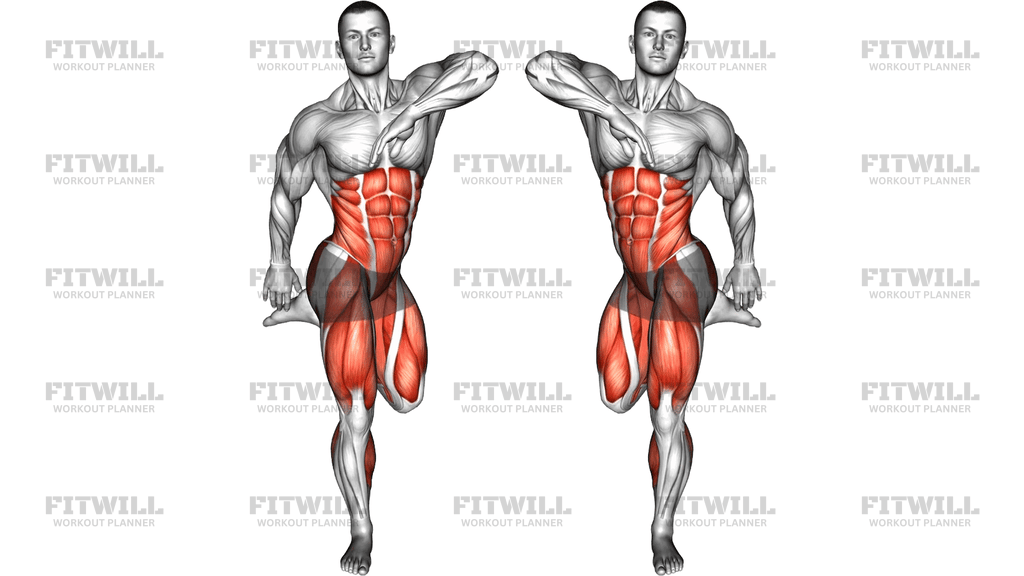
The Standing Twist Air Bike is a bodyweight core exercise that takes the familiar cycling crunch of the floor-based air bike and performs it from a tall, wide-legged stance. Instead of lying on your back, you stand with your hands placed lightly behind your head and drive each elbow down and across your body toward the opposite knee, which lifts and twists up to meet it. This makes it a standing alternative for anyone who finds floor crunches uncomfortable on the neck, lower back, or tailbone.
The movement primarily trains the abdominal wall, with a strong emphasis on the obliques because every rep combines trunk flexion with rotation. Because you balance on one leg at a time as the opposite knee rises, your quads, calves, and hip stabilizers also work to keep you steady, and the rhythm of alternating sides can gently raise your breathing rate. It is not a heavy resistance exercise, so think of it as a controlled, moderately paced trunk movement rather than a maximal-effort lift.
This exercise suits beginners building basic core control, people in home or hotel-room workouts with no equipment, and trainees who want a warm-up or finisher that hits the waist without getting down on the floor. It is also a practical option in group or circuit settings, where fast transitions between stations matter and no setup time is available.
Setup matters more than it looks. A stance about one and a half to two shoulder-widths wide gives you a stable base so the knee can rise without you wobbling sideways. Hands belong behind the head for support only — never interlaced and pulling on the neck. Your torso should stay tall between reps, with the twist generated from the ribs and waist rather than from swinging the arms or leaning the whole body sideways.
To execute it well, lift one knee up and across toward the midline while rotating the opposite elbow down to meet it, crunching the side of your waist short. Lower the leg with control, return to standing tall, and repeat on the other side, alternating in a smooth cycling rhythm. Exhale on each crunch and inhale as you reset. The knee and elbow do not need to touch; the point is to feel the waist contract, not to force range.
Two safety points are worth repeating. Keep the pulling urge out of your hands so your cervical spine stays neutral, and keep the working foot's landing soft and quiet — stamping the foot down repeatedly on a hard floor is hard on the knees and ankles. If balance is a challenge at first, hold onto a wall or chair back with one hand and work one side at a time.
[ Workout Log & Planner ]
Put your next workout in Fitwill
Keep your plan and training log ready when you are.


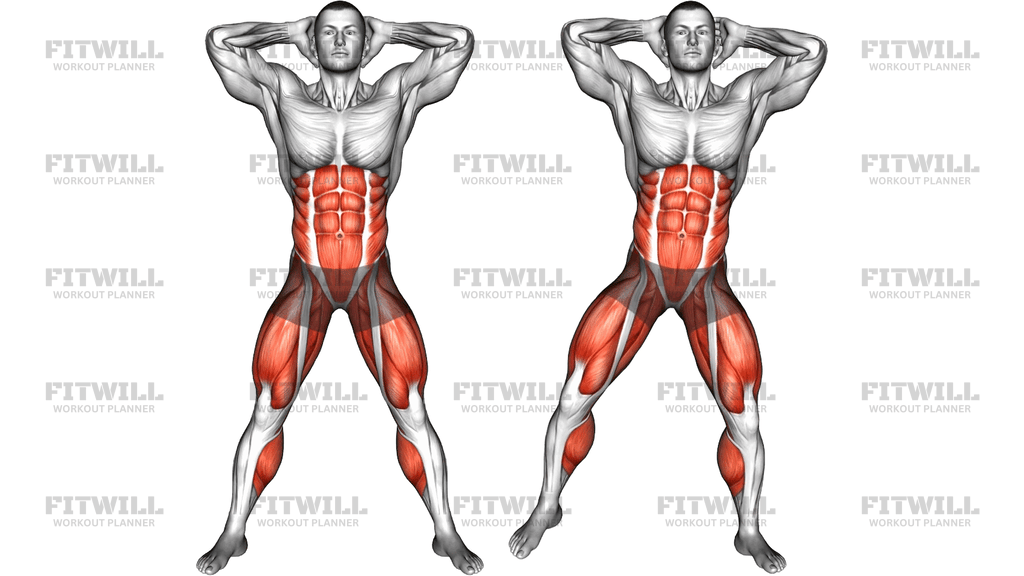
Instructions
- Stand with your feet one and a half to two shoulder-widths apart, toes turned out slightly, and weight spread evenly across both feet.
- Place your fingertips lightly behind your ears or the back of your head with elbows flared wide, and brace your abdominals as if preparing for a light nudge to the stomach.
- Keep your chest tall and gaze forward so your head stays level; do not round your upper back before the rep starts.
- Shift your weight slightly onto your left leg and raise your right knee up and across your body toward the midline.
- At the same time, crunch your left elbow down and across toward the rising right knee, letting your ribs and waist rotate — think of closing the gap between them.
- Squeeze the side of your waist hard at the top of the crunch for a brief moment, keeping the knee and elbow path in front of your torso, not out to the side.
- Lower the right foot back to the floor under control and return your torso to the tall starting position.
- Repeat the same crunch on the opposite side, bringing the left knee up toward the right elbow, and continue alternating for your target number of reps or time.
- Exhale as the knee and elbow come together, and inhale as you lower and reset between sides.
- Finish the set by standing fully upright, releasing your hands from your head, and shaking out your legs before the next set.
Tips & Tricks
- The most common mistake is yanking the head forward with the hands. Keep your fingertips as light anchors behind the head and let the abdominal crunch — not your arms — bring the elbow down.
- If you find yourself rocking side to side, narrow the issue by slowing the tempo rather than widening your stance; a slow, deliberate knee lift forces your hip stabilizers to do their job.
- Aim the knee across the midline toward the opposite knee, not straight up. A straight vertical knee raise turns this into a hip flexor exercise and takes the twist out of the waist.
- Do not let the standing foot roll inward as the opposite knee lifts. Keep that foot's arch active and toes spread to protect the ankle through the whole set.
- If your lower back complains between reps, you are likely leaning back as the knee rises. Picture tucking your back ribs down toward your front hip bone on each crunch.
- Keep the crunch rotation coming from the ribs and shoulders, not from sweeping your elbow wide with a straight arm — a flared, swinging elbow produces momentum instead of muscle work.
- For a smoother rhythm, think of the movement as a slow-motion standing bicycle: knee and elbow alternate roles every rep without your torso ever fully relaxing between sides.
- On a hard floor, land each foot with a soft knee and quiet contact. If you hear a stamp every rep, your control is dropping and it is time to slow down.
Frequently Asked Questions
Which muscles does the Standing Twist Air Bike work?
The rectus abdominis and the obliques do most of the work, since every rep combines a forward crunch with rotation through the waist. The quads, hip flexors, and calf muscles of the standing leg assist by keeping you balanced as the opposite knee lifts.
Is the Standing Twist Air Bike a good exercise for beginners?
Yes, it is approachable because it uses no equipment and a small, self-selected range of motion. Beginners should start with a slow tempo and, if balance is shaky, place one hand on a wall or chair and work one side at a time.
Why is the stance so wide in the Standing Twist Air Bike?
The wide base lets you shift weight onto one leg while the opposite knee rises without losing balance side to side. It also gives the twisting knee a clear path up and across the body without clipping your other leg.
Should my elbow actually touch the opposite knee?
Contact is a bonus, not a requirement. What matters is that the side of your waist visibly contracts; forcing contact by pulling your head forward or hunching your shoulder defeats the purpose.
What is the most common mistake in this movement?
Pulling on the back of the head with interlaced fingers, which strains the neck and steals work from the abs. Keep the hands unclasped with fingertips resting lightly behind the ears, and let the trunk do the crunching.
How is this different from a lying air bike or bicycle crunch?
The standing version removes pressure from the lower back and tailbone and adds a balance demand for the standing leg. The trade-off is a slightly shorter crunch range, since your torso cannot flex as far while upright.
What can I use as a substitute if I cannot balance?
Stand beside a wall or hold the back of a sturdy chair with one hand and perform one side at a time. If standing is still uncomfortable, the floor-based bicycle crunch trains a very similar crunch-and-rotate pattern.
How many reps should I do of the Standing Twist Air Bike?
Because the resistance is low, it works well in sets of 20 to 40 total alternating reps, or timed sets of 30 to 45 seconds. Stop the set when your form slips rather than when you are completely exhausted.
Can I do this exercise every day?
Generally yes, since it is low-load bodyweight work, though your waist muscles still need recovery like any other muscle. Alternating it with rest days or other core movements keeps progress steady.