Wall Supported Reverse Lunge
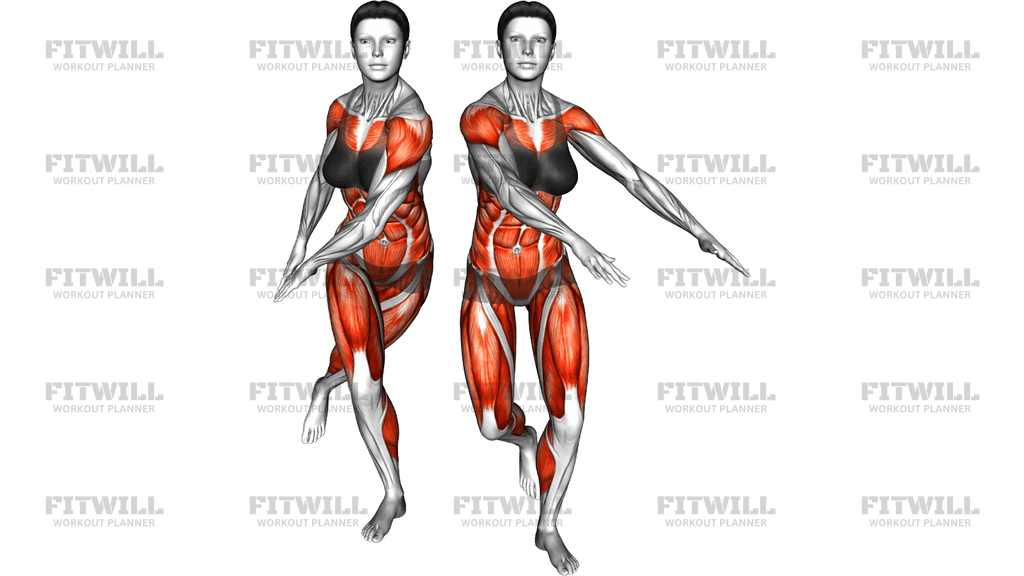
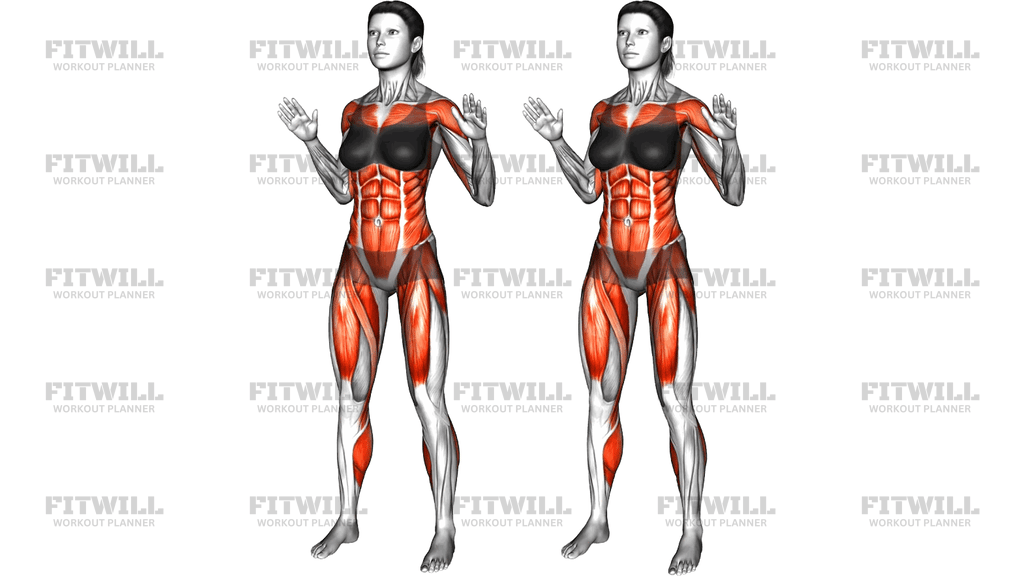
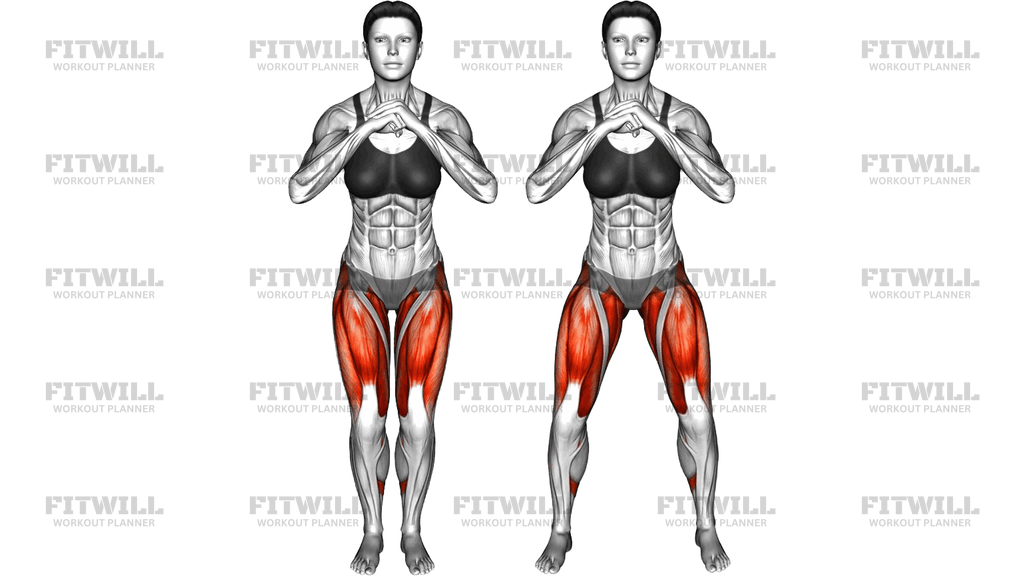
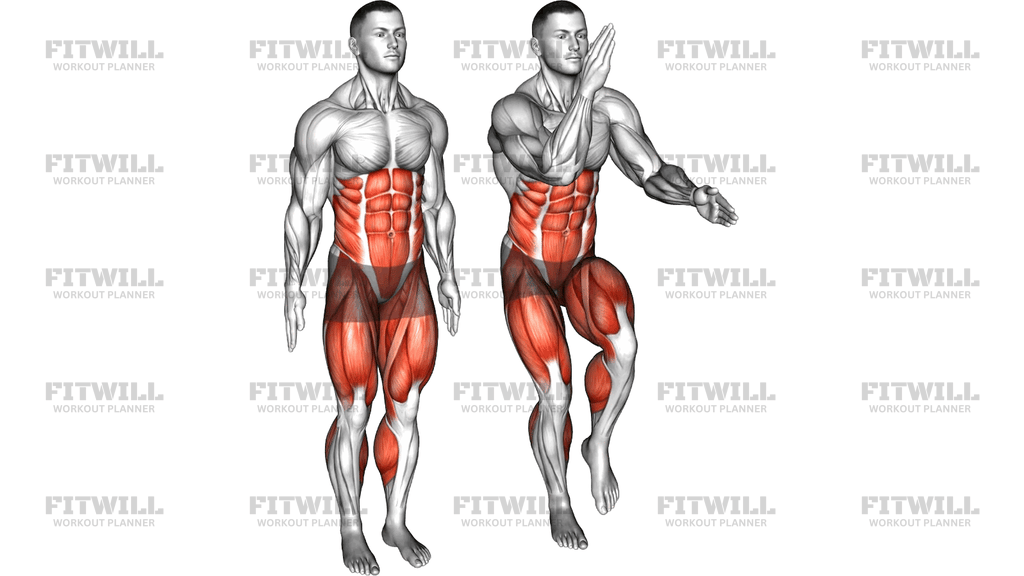
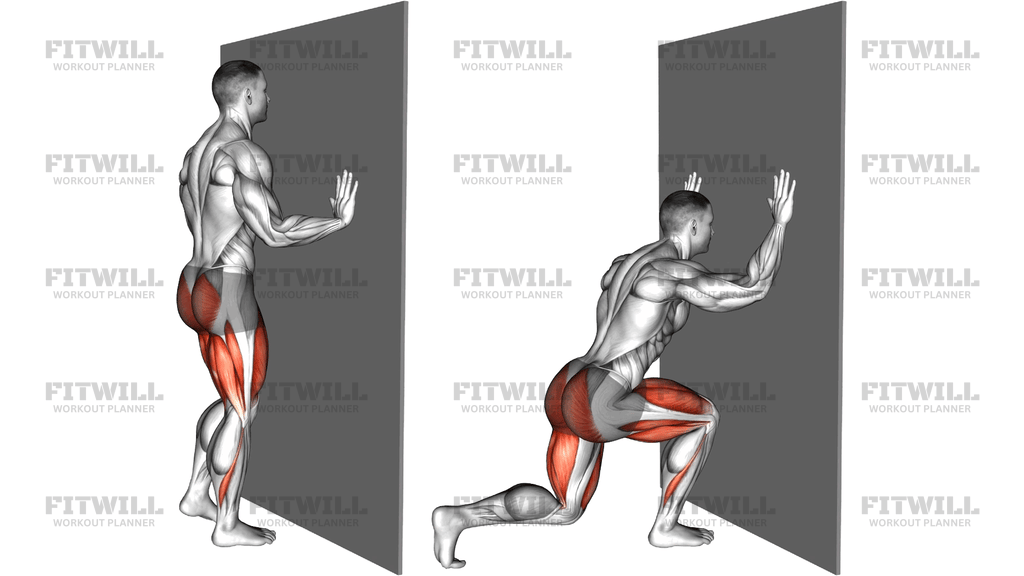
The Wall Supported Reverse Lunge is a beginner-friendly lunge variation performed with both hands braced against a wall at shoulder height. Instead of stepping backward into free space, you keep your palms on the wall while one leg travels back behind you, lowering the back knee toward the floor until the front knee is roughly bent to ninety degrees. The wall acts as a balance anchor, which removes the stability demands that make regular lunges difficult for many people and lets you focus entirely on the lunge pattern itself.
This setup makes the movement a great teaching tool. If you struggle with regular reverse lunges because you wobble, lose your posture, or cannot tell where your weight is sitting, the wall gives you constant tactile feedback. Pressing your hands into the wall also biases a slightly forward torso angle, which loads the front leg's quadriceps and glutes well while keeping the lower back in a comfortable position. It is one of the best first progressions for anyone rehabilitating confidence after a layoff, teaching older adults to lunge safely, or preparing the knees and hips for loaded single-leg work.
The primary muscles worked are the quadriceps of the front leg, particularly as you drive back up to standing. The glutes and hamstrings of the front leg contribute strongly on the way up, especially if you deliberately push the floor away through the front heel. The back leg's hip flexors get a gentle stretch at the bottom position, and the calf of the trailing leg works to control the descent. Holding the wall lightly also keeps the shoulders and trunk engaged without requiring much effort.
Setup matters more than it might seem. Your distance from the wall determines how much hip flexion and knee travel you have available. Stand close enough that your arms extend comfortably with a slight bend in the elbows at the start, but far enough back that your front knee does not collide with the wall at the bottom of the lunge. As you fatigue, the tendency is to creep closer to the wall and let the arms take over, so keep the hand pressure light and supportive rather than using the wall to lift yourself out of the bottom.
To execute the movement well, keep your hands planted at roughly shoulder height and shoulder width, brace your trunk, and step one foot straight back onto the ball of that foot. Lower under control, letting the back knee bend and descend toward the floor while the front knee tracks over the middle of the front foot. At the bottom, the front shin should stay close to vertical, your torso should be long, and both hips should face the wall squarely. Drive through the front foot to return to standing, then complete all repetitions on one side or alternate legs as preferred.
Use this exercise as a warm-up for leg days, as the main lower-body strength movement in a beginner program, or as a low-impact option when balance or grip issues make free-standing lunges impractical. Because it requires no equipment beyond a clear patch of wall, it also works well in hotel rooms, small apartments, and group settings where everyone needs the same simple setup.
[ Workout Log & Planner ]
Put your next workout in Fitwill
Keep your plan and training log ready when you are.


Instructions
- Stand facing a clear wall with your feet together, positioned about one to two feet away so your arms can reach the wall with a soft bend in the elbows.
- Place both palms flat on the wall at shoulder height and shoulder width, fingers pointing up, and take a small step back with both feet if you need more room for your legs to travel.
- Stand tall, squeeze your stomach lightly, and keep your shoulders down away from your ears with light pressure through both palms.
- Shift your weight onto one leg and step the other foot straight back behind you, landing on the ball of that foot with the heel lifted.
- Lower your body by bending both knees, letting the back knee sink toward the floor while the front knee bends to about ninety degrees and stays stacked over the front ankle.
- Keep your torso leaning slightly toward the wall, hips square, and both hands planted in the same spot throughout the descent.
- Pause briefly at the bottom with the back knee hovering just above the floor, feeling the stretch across the front of the trailing hip.
- Press through the whole front foot, especially the heel, to straighten the front leg and pull the back foot forward until you are standing tall again.
- Exhale as you lower into the lunge and inhale as you drive back up, keeping the breathing steady and never holding your breath.
- Finish all repetitions on one leg or alternate sides, resetting your stance and hand position before each new rep if you have drifted.
Tips & Tricks
- If your front knee drifts toward the wall as you descend, step your feet a few inches further back from the wall so the knee has room to travel over the ankle instead.
- Keep hand pressure light, like leaning on a countertop. If you are pushing hard into the wall to stand back up, the load has shifted off your legs and the lunge is too deep or too fast for right now.
- Do not let the back knee slam into the floor. Lower it under control to a hover, which protects the knee and doubles the training effect on the front leg.
- Check that both hips stay pointed at the wall. An open, rotated stance at the bottom is a common sign the lunge is too long or that the back leg is not stepping straight back.
- Keep the front foot completely flat. Lifting the heel or rolling to the outside of the front foot usually means the step back is too long or the ankle is tight, so shorten the stride.
- Think of pushing the floor away with the front leg rather than pulling yourself up with your arms. The wall is for balance, not for lifting.
- If you feel the movement mostly in the front of the back leg's hip rather than the front leg, you may be leaning too far into the wall and shortening the front leg's range.
- Use a slow two-second descent when learning. Speed hides balance problems that the wall is supposed to expose and fix.
- If the floor is hard on the back knee, place a folded mat or towel under it, but keep the mat thin enough that your stance height does not change.
Frequently Asked Questions
What muscles does the Wall Supported Reverse Lunge work?
The front leg's quadriceps and glutes do most of the work, with support from the hamstrings and the calf of the trailing leg. The deep hip muscles of the back leg also get a light stretch and stability challenge at the bottom of each rep.
Why place the hands on the wall instead of keeping the arms free?
The wall removes the balance demand of a free-standing lunge so you can concentrate on knee tracking, depth, and driving through the front leg. It is especially useful for beginners, older adults, or anyone returning from a training break.
How far from the wall should I stand for the Wall Supported Reverse Lunge?
Far enough that your front knee does not hit the wall at the bottom of the lunge, but close enough that your arms stay comfortable with a slight elbow bend. Start about one to two feet away and adjust after your first rep.
Is the Wall Supported Reverse Lunge good for beginners?
Yes, it is one of the best entry points to single-leg training. The wall support lets you learn the reverse lunge pattern with confidence before progressing to hands-free lunges and then loaded variations.
Should my back knee touch the floor?
It does not need to. Lower it to a hover just above the floor, which keeps tension on the front leg and avoids bruising the knee on hard surfaces.
My hands keep doing the lifting on the way up. How do I fix that?
Reduce the depth slightly and consciously keep palm pressure light, then focus on pushing the floor away through the front heel. If you still need the wall to stand up, the rep is too deep for your current strength.
How does this differ from a regular reverse lunge?
The only difference is the wall contact, which slightly leans your torso forward and offloads balance. The leg path, depth, and muscles worked are essentially the same, which is exactly why it transfers so well to the free-standing version.
Can I progress from the Wall Supported Reverse Lunge?
Yes. Progress by using lighter wall contact with one hand, then no hands, then holding a dumbbell or kettlebell in the goblet position once your free-standing form is solid.
Is it safe if I have knee discomfort during this exercise?
Discomfort is a signal to check your setup: shorten the stride slightly, keep the front knee stacked over the ankle, and slow the descent. If discomfort persists, stop and consult a qualified professional before continuing.