Opposite Arm Raise Against Wall
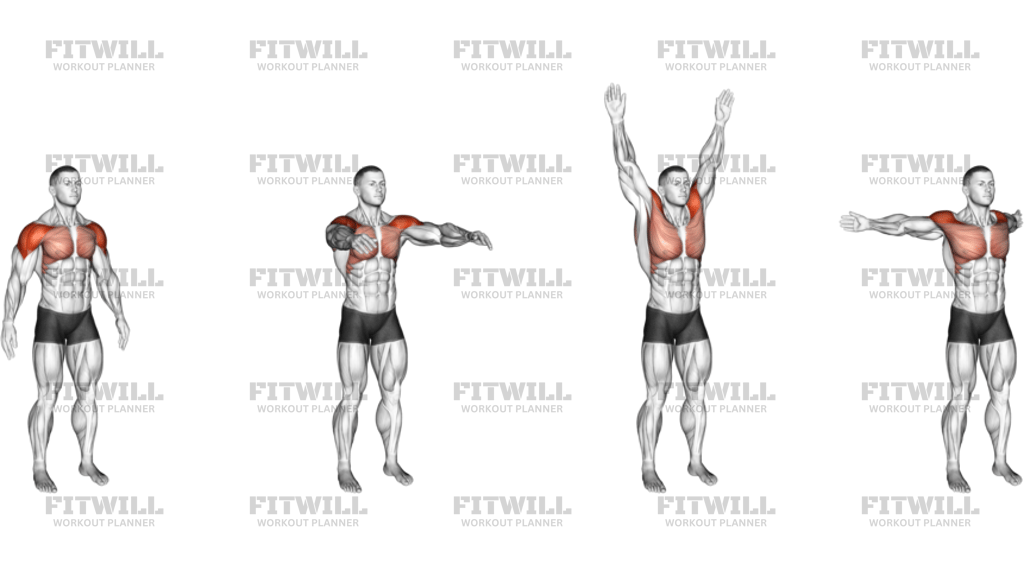
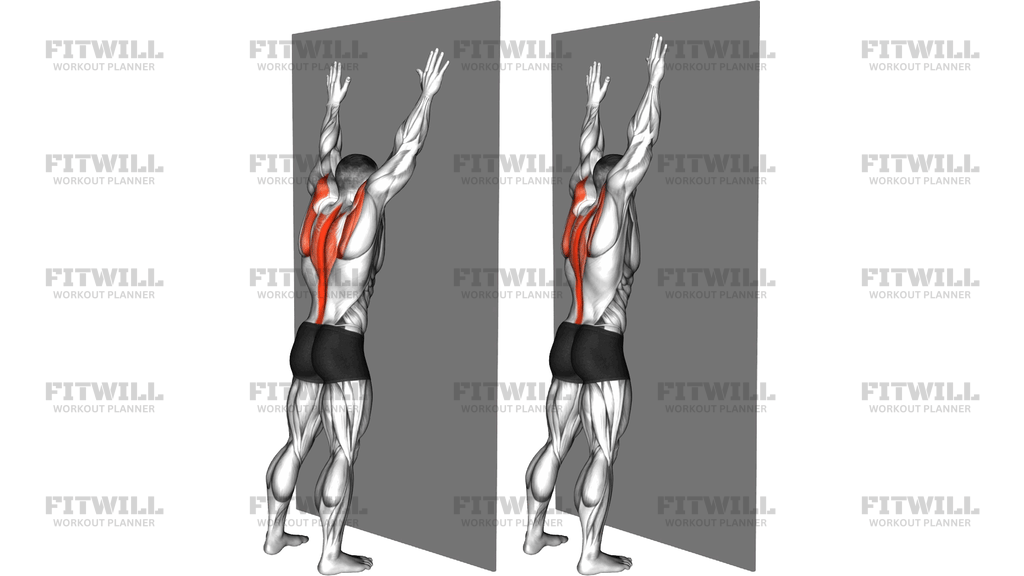
The Opposite Arm Raise Against Wall is a simple bodyweight drill performed standing and facing a wall. You keep one hand in contact with the wall for support and reference while the opposite arm reaches up and overhead, sliding along the wall into a high Y position. The wall does two jobs at once: it guides the path of the moving arm so it cannot drift forward, and it gives you instant feedback on how much your torso wants to twist or lean as you reach. That combination makes it a surprisingly demanding exercise for the upper back despite requiring no equipment at all.
The main work happens in the trapezius, especially the middle and lower fibers, along with the rhomboids that pull the shoulder blade toward the spine. As you reach up and slightly out, the rear delts assist the lift, and the muscles along the spine work to hold your torso square to the wall instead of letting rotation do the job for you. Because you raise one arm while the opposite hand stays anchored, each side has to produce the movement independently, which quickly exposes differences in mobility or control between your left and right sides.
This exercise suits a wide range of people. Desk workers with rounded shoulders and stiff upper backs benefit from the open, elevated arm position. Lifters use it as a warm-up before pressing or pulling days to wake up the scapular muscles. It is also a common corrective drill for people whose shoulder blades hike up or wing when they raise their arms overhead. Since there is no external load, the challenge is positional quality rather than strength, so it can be trained frequently without much fatigue.
The setup matters more than it looks. Standing too close to the wall forces you to flare your arms and arch your lower back to complete the reach; standing too far away removes the guiding contact that makes the exercise useful. Your feet should be roughly hip-width and a comfortable step back from the wall so the moving palm can stay light on the surface through the full arc. Keep the ribs stacked over the pelvis rather than hanging into a backbend to fake extra range.
Execution comes down to slow, deliberate slides. Reach the working arm up and slightly wide, letting the hand trace the wall, until you feel the lower traps engage near the top. Pause briefly, then lower with control instead of dropping the arm. The most common errors are shrugging the raised shoulder toward the ear, twisting the chest away from the wall, and rushing repetitions. Keep the contact of both hands light and keep your torso honest, and the exercise will do exactly what it is designed to do.
[ Workout Log & Planner ]
Put your next workout in Fitwill
Keep your plan and training log ready when you are.


Instructions
- Stand facing a wall with your feet hip-width apart and about one short step back from the surface, so you can place a palm on the wall without leaning your body weight into it.
- Place your left palm flat against the wall at roughly chest or shoulder height with a soft elbow; this hand stays anchored as your reference point.
- Bring your right hand to the wall beside it, so both palms are in contact and your chest is square to the surface.
- Brace your abdominals lightly and keep your ribs stacked over your pelvis; avoid arching your lower back or pushing your hips backward.
- Slide your right hand up and slightly out along the wall, reaching overhead and wide into a high Y position while keeping the palm lightly touching the wall.
- At the top, pause for one to two seconds and feel the muscles between your shoulder blade and spine working; keep the raised shoulder down, away from your ear.
- Lower the arm slowly along the same path until the hand returns to the starting position beside the anchored hand.
- Breathe out as you reach up and breathe in as you lower the arm back down.
- Complete your repetitions on the right arm, then switch sides so the left arm raises while the right hand stays anchored to the wall.
- Reset your stance between sides if you feel yourself leaning or twisting, and keep each rep smooth from bottom to top.
Tips & Tricks
- The most common mistake is shrugging the working shoulder toward the ear as the arm climbs. If you feel tension in your neck, lower the arm a few inches and rebuild the reach from there with the shoulder blade pulled gently down.
- Watch for chest rotation. As the right arm rises, many people twist the torso to the left to cheat the range; imagine both shoulders pressing toward the wall the whole time.
- Keep the contact between palm and wall light. Pushing hard into the wall turns the drill into a leaning exercise and takes work away from the upper back.
- If your lower back arches at the top of the reach, you have gone past your true shoulder range. Stop just short of that point and gradually expand it over weeks.
- Your anchored hand is a gauge: if it slides or presses harder as the other arm lifts, your torso is shifting. Keep it still and lightly placed.
- Move slower than feels necessary. A three-second reach with a one-second pause at the top creates far more upper back work than quick swings.
- Stand far enough back that your forehead and nose do not crowd the wall, but close enough that the sliding palm never loses contact.
- If one side reaches noticeably higher or smoother than the other, spend an extra set on the restricted side rather than matching the good side rep for rep.
- Do this drill before overhead pressing, pull-ups, or rows as a warm-up, or between desk work sessions to counteract a rounded upper back posture.
Frequently Asked Questions
What muscles does the Opposite Arm Raise Against Wall work?
The primary muscles are the trapezius, particularly the middle and lower fibers, with strong assistance from the rhomboids between the shoulder blades. The rear delts help lift the arm, and the muscles along the spine work to keep your torso square to the wall.
Why does the exercise use a wall instead of free space?
The wall gives the moving hand a fixed track, so the arm cannot drift forward and the shoulder has to move through a clean, controlled path. It also gives you immediate feedback if your torso twists or leans during the reach.
How far should I stand from the wall during the Opposite Arm Raise Against Wall?
Stand about one short step back, far enough that you are not leaning your weight into the wall but close enough that your palm keeps light contact through the whole reach. If your lower back arches at the top, you are likely too close or reaching past your current range.
Should I raise one arm or both arms at the same time?
The defining feature of this exercise is raising one arm while the opposite hand stays anchored to the wall for support and reference. This makes each side work independently, which helps reveal and correct left-right differences.
Is the Opposite Arm Raise Against Wall good for beginners?
Yes. Because it uses only body weight and a short range at first, beginners can learn it quickly and progress by improving reach and control. It is also a good first drill for anyone new to scapular or posture-focused training.
I feel this in my neck instead of my upper back. What should I change?
That usually means the working shoulder is shrugging toward your ear as the arm rises. Reduce the height of the reach, actively keep the shoulder down, and pause at the top only where you can maintain that position without neck tension.
Can I use this as a warm-up before lifting?
It works well before overhead presses, pull-ups, or rows because it activates the trapezius and rhomboids and takes the shoulders through an elevated range. One or two sets of slow reps per side is usually enough.
What can I substitute if I do not have a clear wall space?
The closest substitute is the same single-arm reach performed free-standing, though you lose the wall's guidance and will need to self-check for twisting. A doorway frame or sturdy pillar can also work if it gives a flat vertical surface for the palm to slide against.
How many repetitions should I do of the Opposite Arm Raise Against Wall?
Start with eight to ten slow, controlled reaches per side. Since the goal is movement quality rather than load, two to three quality sets done frequently beat high-rep sets done sloppily.
Is it safe to do every day?
For most people, yes, since it is a low-load bodyweight drill with no external resistance. If you have a current shoulder or back injury, keep the range pain-free and check with a qualified professional before adding it to a daily routine.