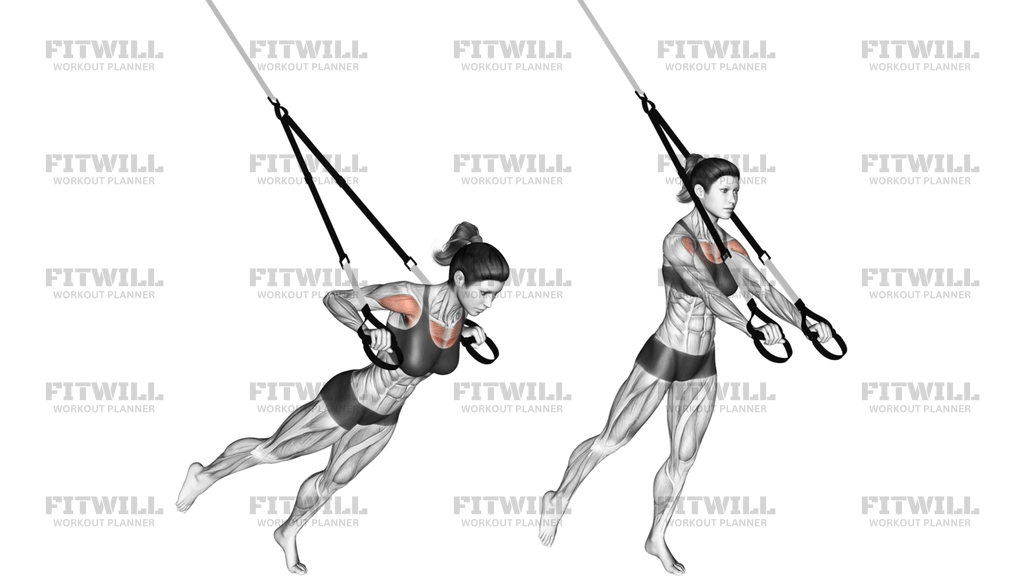
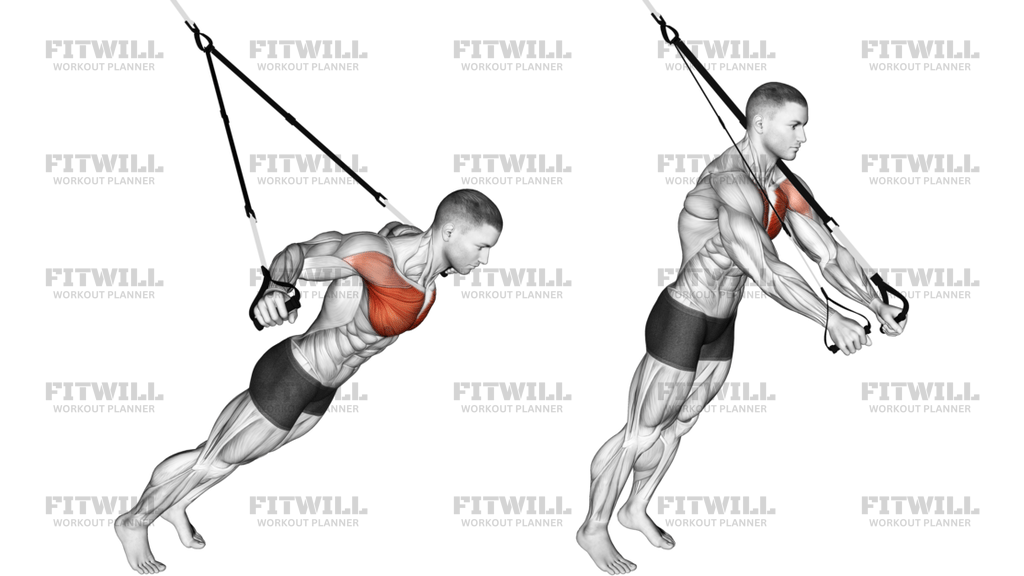
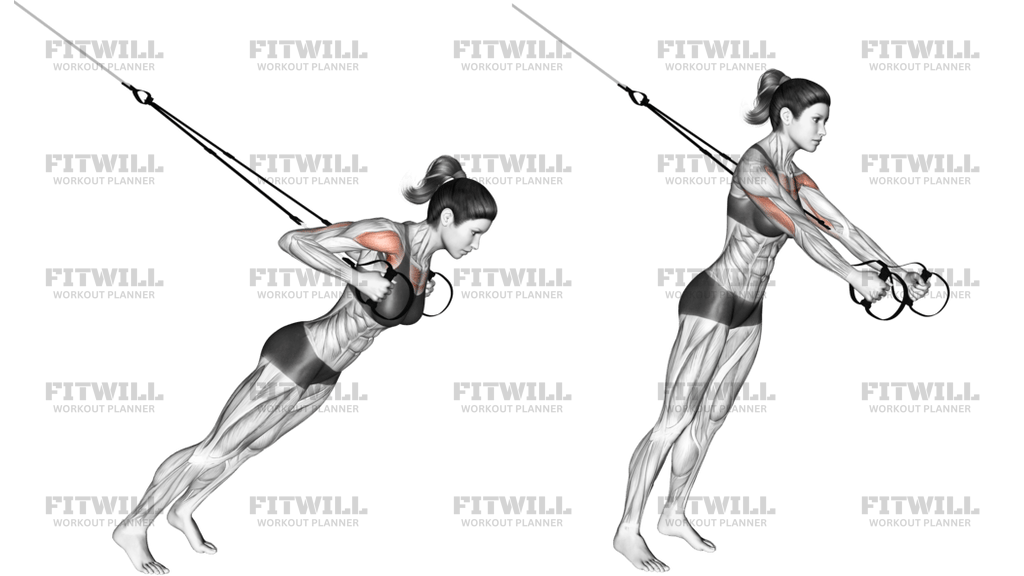
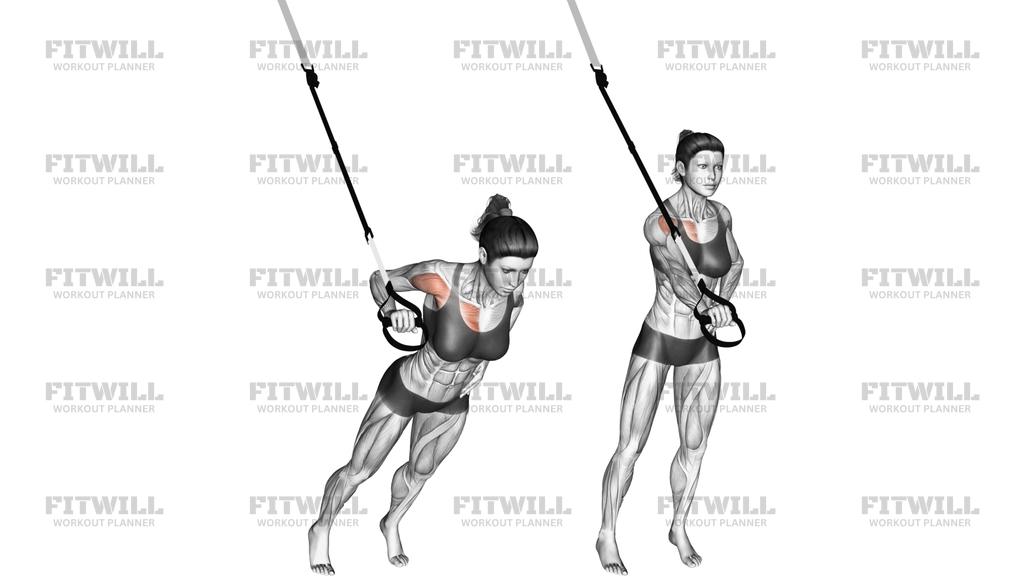
Suspender Push Up To Side Plank
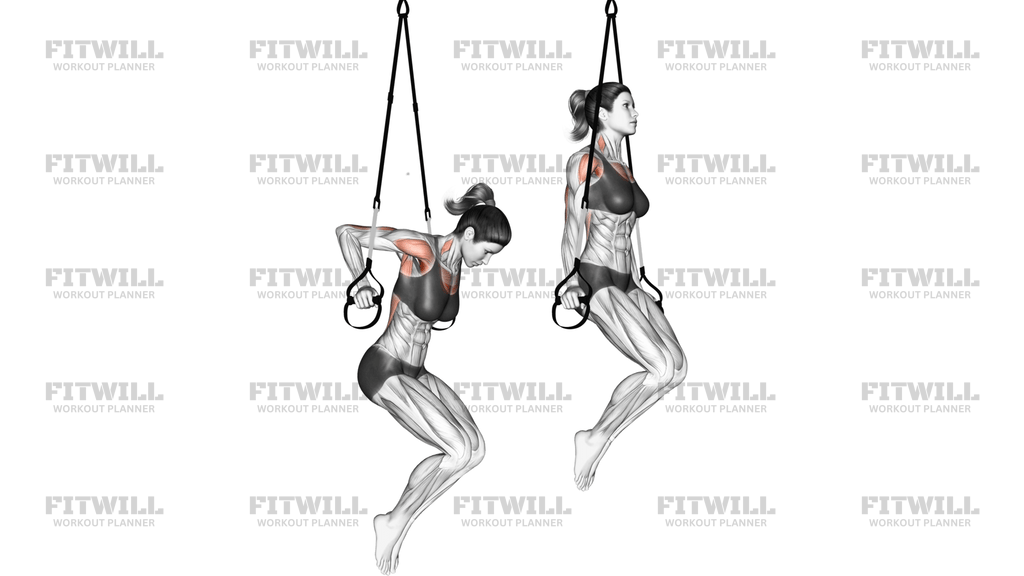
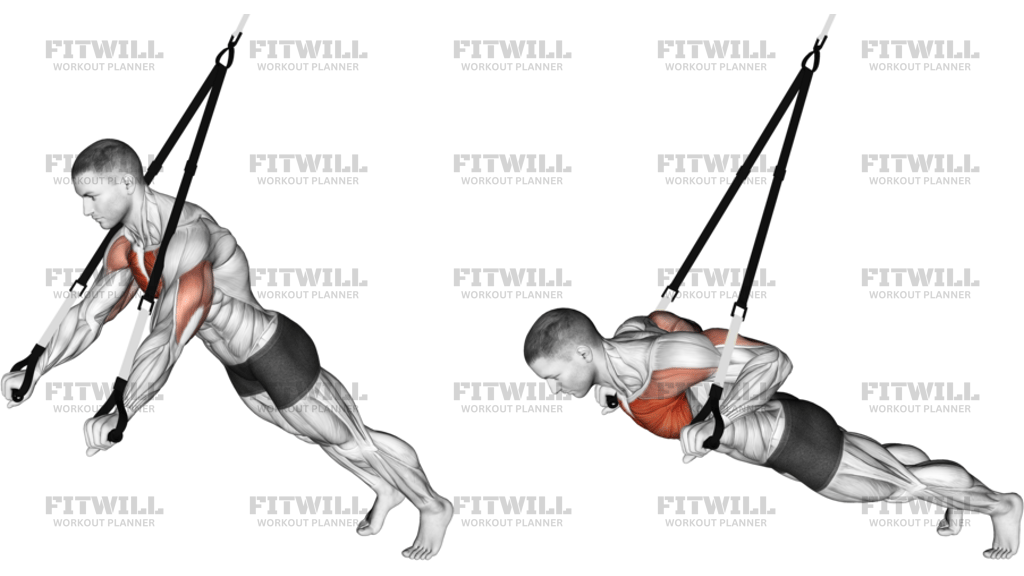
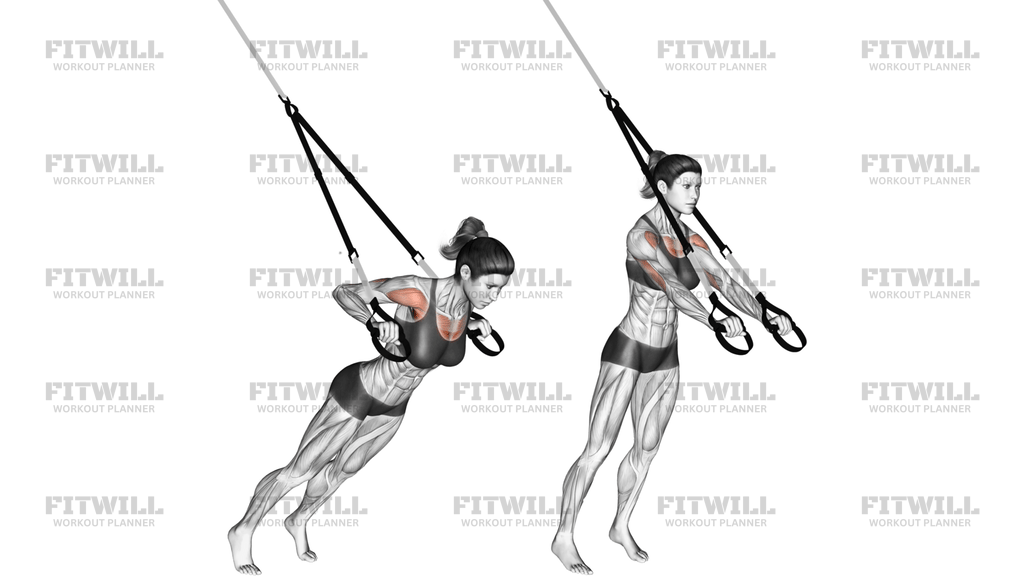
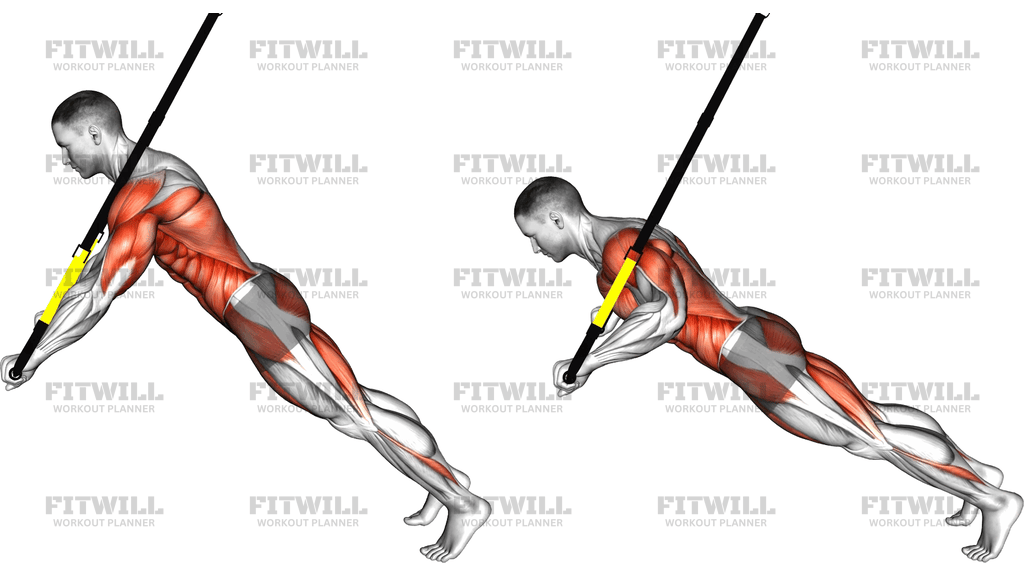
The Suspender Push Up To Side Plank combines two demanding bodyweight movements into one flow: a push-up performed with your feet suspended in straps, followed by a rotation into a side plank on top of each rep. Because your feet hang in the suspension trainer instead of resting on the floor, every push-up requires far more stabilizing work from your shoulders, core, and hips, and the rotation to the side plank adds an anti-extension and anti-rotation challenge that plain floor push-ups simply cannot provide.
This movement is best suited to intermediate and advanced trainees who already own a solid floor push-up and can hold a stable front plank for at least 30 to 60 seconds. It is a popular choice in suspension-training circuits, conditioning sessions, and upper-body days where the goal is to train pressing strength and trunk control at the same time. If you are short on equipment or time, this one exercise covers a lot of ground.
The primary work comes from the chest and triceps during the pressing phase, with the front shoulders assisting throughout. What makes this variation special is the second half of the rep: as you rotate onto one supporting arm, the obliques, deep core, glutes, and shoulder stabilizers of the support side have to hold your body in a straight line while your legs hang in the straps. That combined demand is why the setup matters so much. Strap length, foot position in the cradles, and hand placement all determine whether the movement feels controlled or chaotic.
To execute it well, keep the push-up strict before you attempt the rotation: elbows travel at roughly 45 degrees to your torso, chest lowers toward the floor with your body in one straight line, and you press fully up before any turning begins. Then pivot slowly onto the balls of one foot inside the strap, stack your feet, and reach your top arm toward the ceiling until your chest faces sideways. Return to the center under control and alternate sides on later reps. Rushing the rotation is the most common error; the straps will swing, your hips will sag, and the pressing quality will suffer on the next rep.
A practical safety note: because the feet are unsupported laterally, this movement rewards patience. Anchor the trainer to a secure overhead point, keep the straps clear of your arms, and stop the set as soon as your hips drop or your supporting shoulder starts to shrug toward your ear. Quality reps with a brief pause in each side plank will do more for you than fast, sloppy volume.
[ Workout Log & Planner ]
Put your next workout in Fitwill
Keep your plan and training log ready when you are.


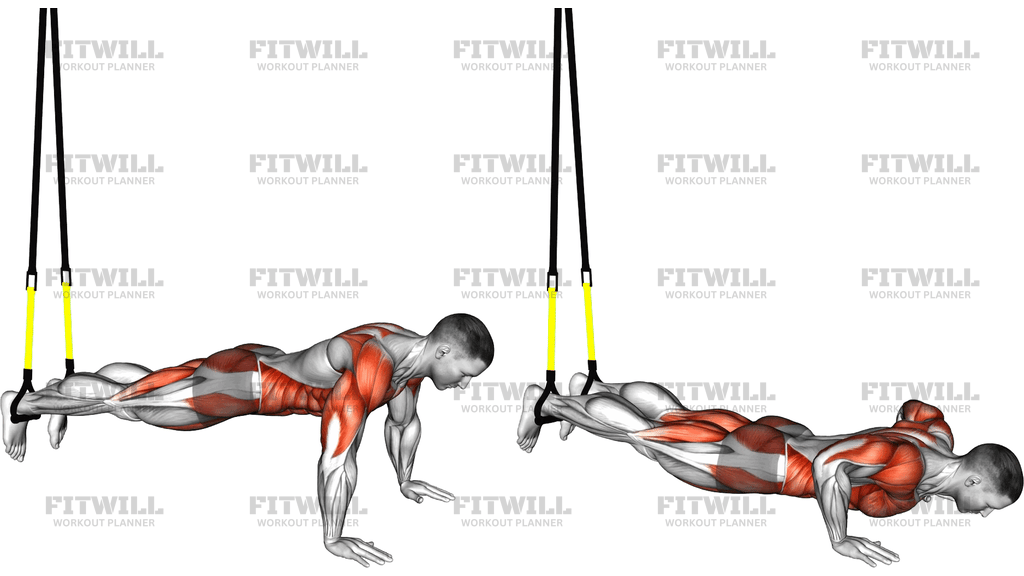
Instructions
- Anchor the suspension trainer securely overhead and adjust the straps so they hang roughly 8 to 12 inches off the floor, short enough that your body stays level when your feet are placed in the cradles.
- Kneel facing away from the anchor, place both feet into the straps so the cradles sit around your midfoot or near the toes, then walk your hands out to a push-up position directly under your shoulders.
- Set your hands slightly wider than shoulder width with fingers spread, and squeeze your glutes and abs so your body forms one straight line from head to heels; expect the hanging feet to make this line harder to hold than a normal plank.
- Inhale and lower your chest toward the floor, keeping your elbows at about 45 degrees to your torso and your head in line with your spine rather than craning forward.
- Press forcefully back up to straight arms, exhaling as you finish the lockout, and keep the straps from swinging by pushing evenly through both hands.
- At the top of the press, shift your weight slightly onto your right hand and rotate your whole body to the left, pivoting on your toes inside the straps until your feet stack and your chest faces sideways.
- Reach your left arm straight up toward the ceiling so both arms form a vertical line, and hold the side plank briefly while keeping your hips lifted and your support shoulder packed down away from your ear.
- Lower your top arm, rotate back under control to face the floor, and re-center both hands and hips before starting the next rep, alternating the rotation direction each time.
- Breathe in on the way down, out on the press, and take a small breath at the top before each rotation so you never hold your breath through the turn.
- To finish the set, bend your knees, bring one foot at a time out of the straps, and step back to kneeling rather than letting your hips collapse to the floor.
Tips & Tricks
- If the straps swing side to side during your rotations, you are turning too fast; pause for a full second at the top of each push-up before pivoting, and the swing will mostly disappear.
- Hips sagging toward the floor usually means the straps are set too long. Shorten them slightly so your suspended feet sit closer to the hanging point and your body is easier to hold level.
- Keep your supporting shoulder actively pressed away from the floor during the side plank. Letting it sink toward your ear is the most common reason the hold feels unstable.
- Do not let your elbows flare straight out to the sides during the press. With unstable feet behind you, wide elbows multiply the strain on your shoulders.
- Alternate rotation directions rep to rep rather than doing all reps to one side, so both obliques and both shoulder stabilizers get equal work.
- If your wrists ache in the side plank, turn the supporting hand slightly outward so your fingers point away from your feet instead of straight forward.
- A brief pause in each side plank turns this from a flowing combo into a genuine oblique and glute exercise; if you cannot pause without shaking, drop the pause before you drop the movement.
- Master the Suspender Push Up without the rotation first. Adding the turn before your hanging push-up is solid will make both halves worse.
- Check the anchor point and strap buckles before every set. A strap slipping or an anchor shifting mid-rep is the real risk here, not the push-up itself.
Frequently Asked Questions
Which muscles does the Suspender Push Up To Side Plank work?
The chest and triceps do the pressing, with the front shoulders assisting. The rotation into the side plank shifts the load to the obliques, deep core, glutes, and the stabilizers of your supporting shoulder.
Is the Suspender Push Up To Side Plank suitable for beginners?
It is generally too advanced as a first suspension exercise. Build up to it by mastering floor push-ups, a stable front plank, and a suspended push-up without the rotation before combining the two.
How long should the straps be for the Suspender Push Up To Side Plank?
Set them so the cradles hang roughly 8 to 12 inches from the floor. If your hips sag or your feet drag, the straps are too long; if your body tilts head-down, they are too short.
Should I alternate sides every rep or do all reps to one side?
Alternate each rep so both sides get equal work while you are fresh. If you train all reps one way, fatigue will exaggerate any left-right imbalance in your obliques and shoulders.
Why do my feet swing when I rotate into the side plank?
Swinging almost always comes from rushing the rotation or pressing unevenly through the hands. Slow the turn, pause at the top of each push-up, and pivot deliberately on the balls of your feet inside the cradles.
Can I substitute the Suspender Push Up To Side Plank if I have no suspension trainer?
You can approximate it with a regular Push Up To Side Plank, though you lose the instability that makes the suspended version so demanding. Placing your feet on a stability ball is a closer but harder substitute.
How many reps should I do of the Suspender Push Up To Side Plank?
Because the rotation doubles the work per rep, count each full push-up plus side plank as one rep and start with 4 to 6 per set. Add reps only when your hips stay level and the straps stay quiet.
Is it safe to do the Suspender Push Up To Side Plank every day?
Daily practice is not necessary since the pressing muscles need recovery between hard sessions. Two to three times per week within an upper-body or full-body routine is a sensible rhythm.
What is the most common mistake in the Suspender Push Up To Side Plank?
Starting the rotation before the press is finished. Complete the lockout with both arms straight first, then turn, otherwise your supporting shoulder absorbs a loaded twist it is not ready for.