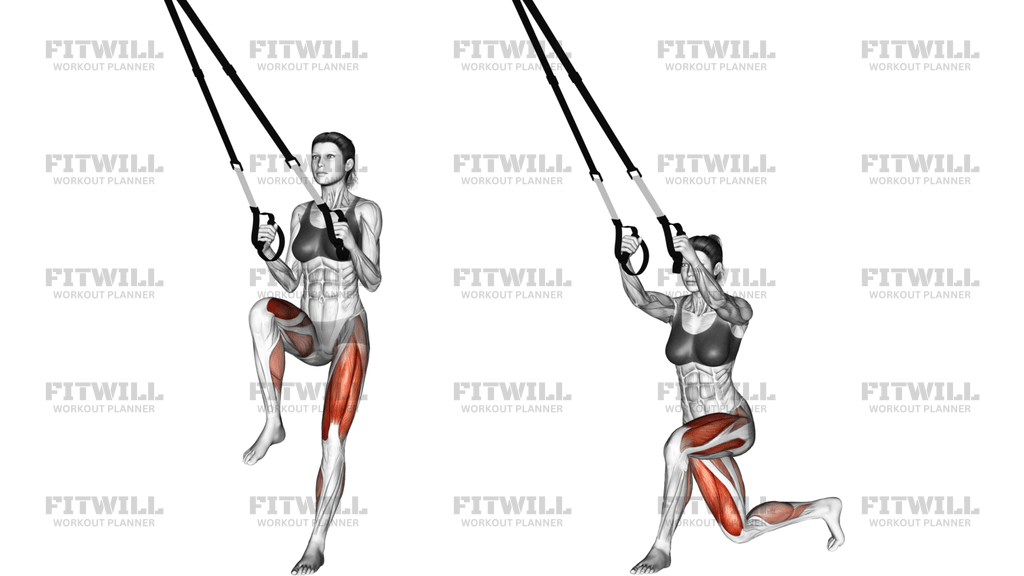
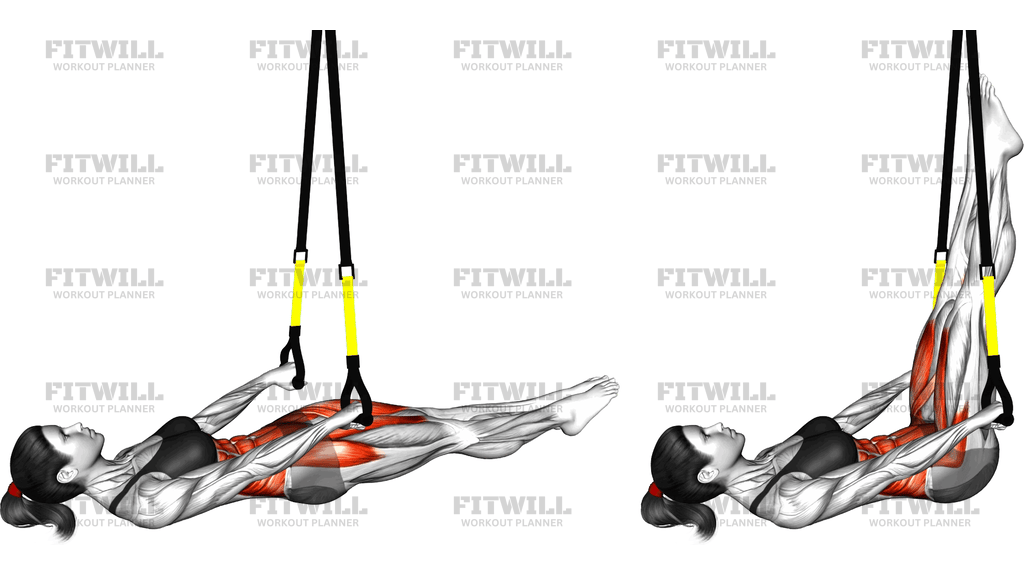
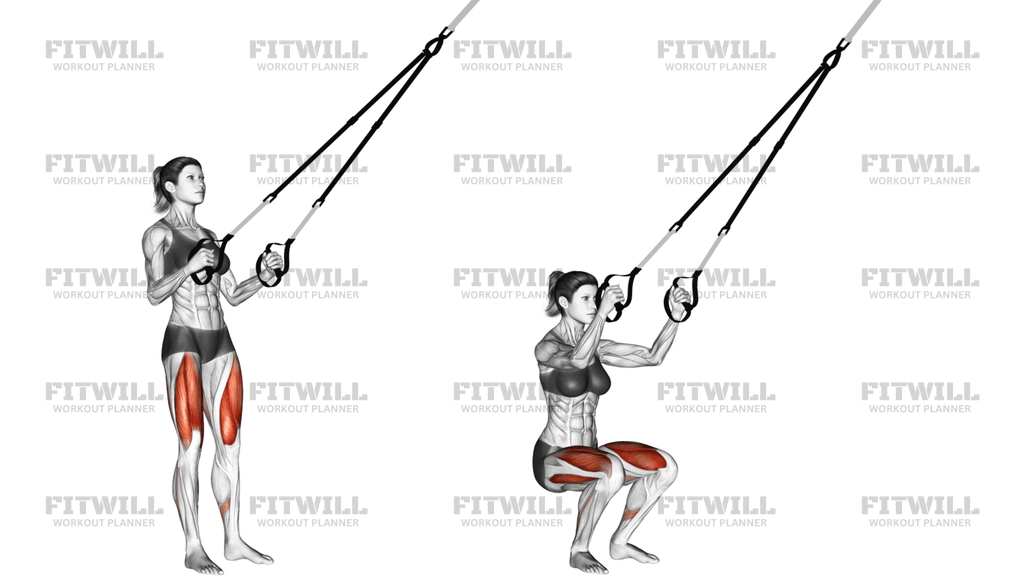
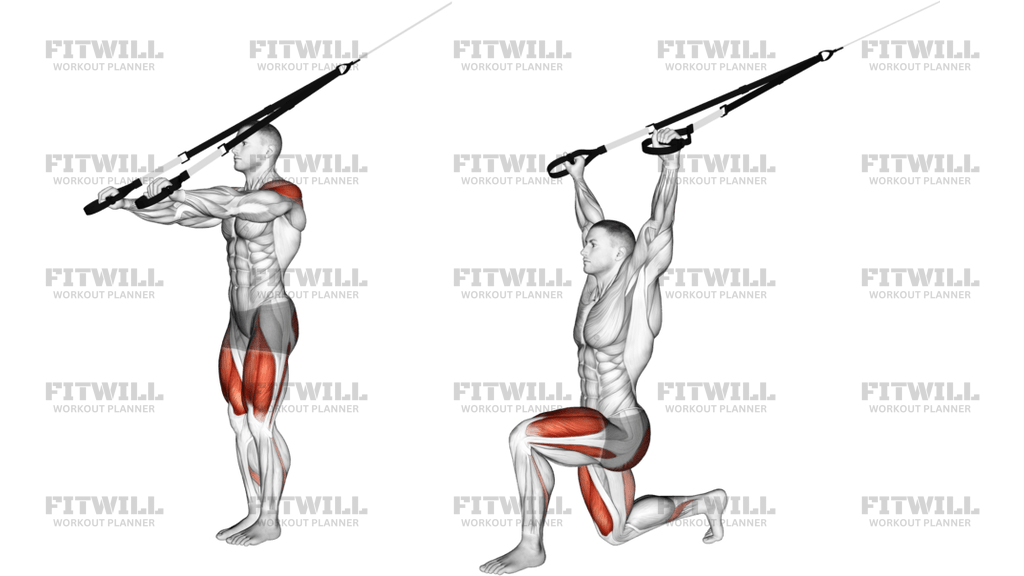
Suspender Side Squat
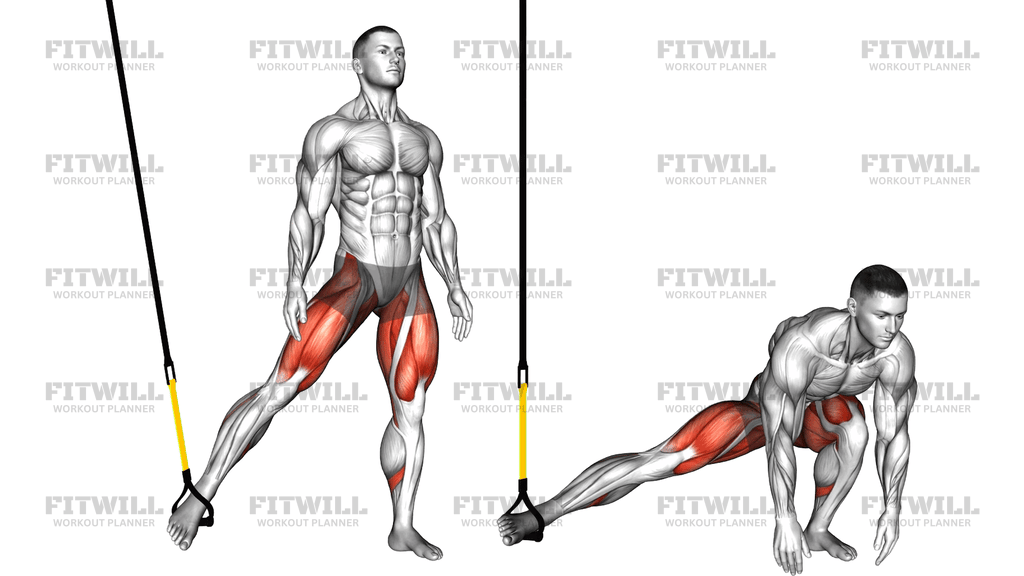
The Suspender Side Squat is a single-leg squat variation performed with one foot secured in the foot cradle of a suspension trainer. The strapped leg is held out to your side as a moving support, while your free leg performs the squatting work. As you lower, the suspended leg drifts away from your body and the strap tightens; as you stand back up, the leg pulls back in. It blends unilateral leg strength with adductor mobility in one movement.
This exercise is useful for lifters who find full pistol squats or deep single-leg work too demanding but still want the balance and strength benefits of training one leg at a time. The suspension strap acts as an adjustable assistance tool: the more tension you allow into the strap, the more the suspended leg helps you control the descent and drive back up. That makes it a practical stepping stone toward stricter single-leg squats, and a productive movement in its own right for quad, glute, and inner thigh development.
The working leg loads the quadriceps through a deep knee bend, while the glutes and hamstrings contribute on the way up. The suspended leg travels through hip abduction and extension, which challenges the adductors and outer hip muscles through a wide range. Because the strap pulls slightly outward and backward, your stance leg also has to resist unwanted rotation, so the calves, ankle stabilizers, and core work continuously to keep you square.
Setup matters here. The anchor point should be directly to the side of your working leg, with the strap running diagonally from the anchor down to the foot cradle. If the anchor sits too far behind or in front of you, the strapped leg will drag you into a twist at the bottom of the squat. Keep the strap taut but not loaded before you begin, so the assistance arrives naturally as you descend rather than yanking you off balance at the start.
To execute well, shift your weight fully onto the free leg, sit the hips back and down, and let the suspended foot glide away from your body along the floor or hover slightly as the strap lengthens. Keep your chest tall and the knee of the working leg tracking over your toes. Descend to a depth you can control with a stable foot, then drive through the whole foot to stand, allowing the suspended leg to return in toward center.
Use the Suspender Side Squat as a warm-up activation, a main unilateral strength movement with higher reps, or a progression drill toward deeper single-leg squats. Complete all repetitions on one side before switching, and expect the first few sessions to feel wobblier on your weaker side. Slow the tempo down before adding difficulty, and keep the range honest: a controlled squat to mid-shin depth beats a sloppy drop to the floor every time.
[ Workout Log & Planner ]
Put your next workout in Fitwill
Keep your plan and training log ready when you are.


Instructions
- Anchor the suspension trainer overhead and adjust the strap so the foot cradle hangs a few inches off the floor.
- Stand sideways to the anchor point, slip your outside foot into the foot cradle, and step your free leg out to the opposite side until the strap is taut, roughly twice shoulder width.
- Point the suspended foot forward or slightly flexed, keep that leg nearly straight, and place your full weight on the free leg with a tall chest.
- Brace your core and squeeze the suspended leg slightly inward to create light tension in the strap before descending.
- Push your hips back and bend the working knee, lowering into a squat while the suspended leg glides further out to the side as the strap lengthens.
- Keep the working knee tracking over your toes and both hips facing forward; do not let your torso twist toward the strap.
- Descend until your thigh is at or near parallel to the floor, or as deep as you can maintain with the working foot flat.
- Drive through the heel and midfoot of the working leg to stand, letting the strap pull the suspended leg back toward center as you rise.
- Exhale as you lower and stand under control, or inhale on the way down and exhale on the drive up if you prefer a set breathing rhythm.
- Finish all reps on one side, then step the suspended foot out of the cradle, reset the strap, and switch legs.
Tips & Tricks
- Set the anchor height so the cradle hangs near ankle level; a cradle that hangs too high turns the movement into a leg lift instead of a squat.
- If you keep losing balance toward the strap, shorten the strap slightly so the suspended foot catches the floor sooner and gives you more support.
- A common mistake is loading the strap from the very first inch of the descent, which lets the suspended leg do the squatting. Initiate the rep with weight fully on the working leg and let the strap engage gradually.
- Watch that the working heel stays down; if it lifts, widen your stance slightly, turn your working toes out a few degrees, or accept a shallower depth.
- Do not let the suspended leg drift behind your body. Keep it in line with the side of your hip so the strap tension stays symmetrical and the adductors, not your lower back, absorb the stretch.
- If your inner thighs cramp at the bottom, reduce depth for a week or two; the adductors often need time to adapt to the long abducted position under load.
- Move the suspended foot deliberately rather than letting it free-fall outward, the eccentric control of the strap is part of the training effect.
- Hold a light counterbalance in front of your chest or reach your arms forward at the bottom if you tip backward in deep reps.
- Do the weaker leg first and match its rep count on the stronger side to keep development even.
Frequently Asked Questions
What muscles does the Suspender Side Squat work?
The quadriceps and glutes of the working leg do most of the squatting, while the suspended leg's inner thighs and outer hips work through the wide side position. The calves and core stabilize throughout.
Is the Suspender Side Squat suitable for beginners?
Yes, provided the depth is kept modest and the strap tension is used honestly for assistance. Because the suspended leg supports part of the load, it is friendlier to beginners than a pistol squat, but balance still needs practice.
How does the Suspender Side Squat differ from a regular squat?
Each rep loads one leg at a time while the other leg is suspended out to the side, which demands far more balance and hip stability. The adductors of the suspended leg are also trained through a range a regular squat does not cover.
How far out to the side should the suspended leg be?
Start with the suspended foot roughly twice shoulder width from the working foot, so the strap is taut but not loaded. As you descend, the leg should glide a little further out, not swing behind you.
Can I do the Suspender Side Squat if my suspension trainer anchor is low?
A low anchor changes the strap angle and pulls you backward, which makes the squat harder to control. An overhead anchor directly beside your working side gives the most stable assistance.
What is the most common mistake in this exercise?
Hanging into the strap and letting the suspended leg carry the rep, which turns it into a partial two-leg squat. Keep your weight on the working leg and treat the strap as assistance, not the driver.
What can I use instead of a suspension trainer for the Suspender Side Squat?
A smooth floor with a towel or slider under the side foot, or a resistance band looped around the side foot, both mimic the outward gliding leg. A cossack squat with the free foot planted is a good no-equipment alternative.
How deep should I squat on the working leg?
Aim for thigh parallel to the floor with the working foot flat and the heel down. Depth beyond that point is fine only if you can keep the knee tracking over the toes and your torso upright.
Is it safe for my knees?
When performed with the knee tracking over the toes, the heel down, and a controlled tempo, it is a standard unilateral squat variation. If you have a current knee issue or feel pinching, reduce depth and consult a qualified professional before continuing.