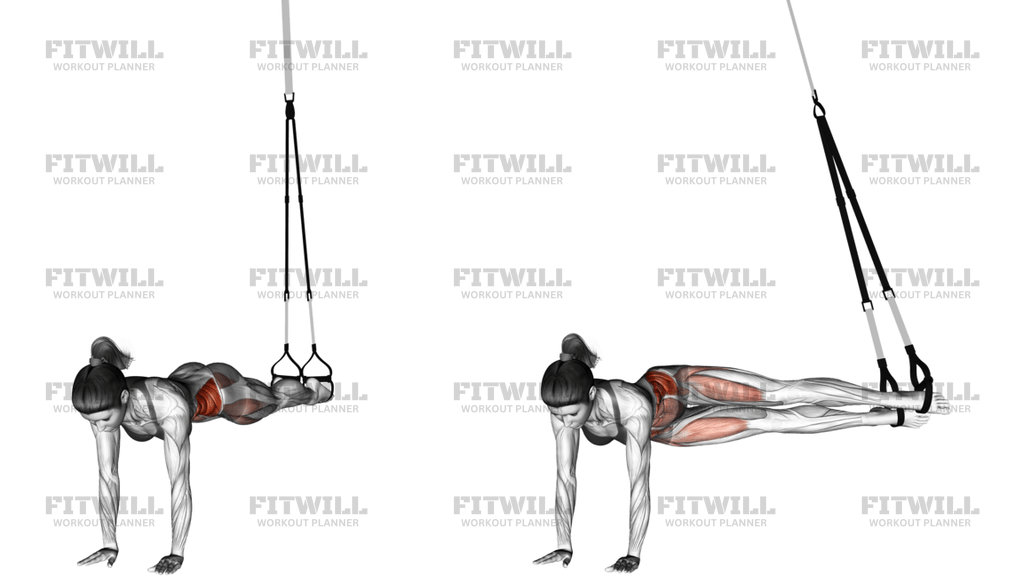
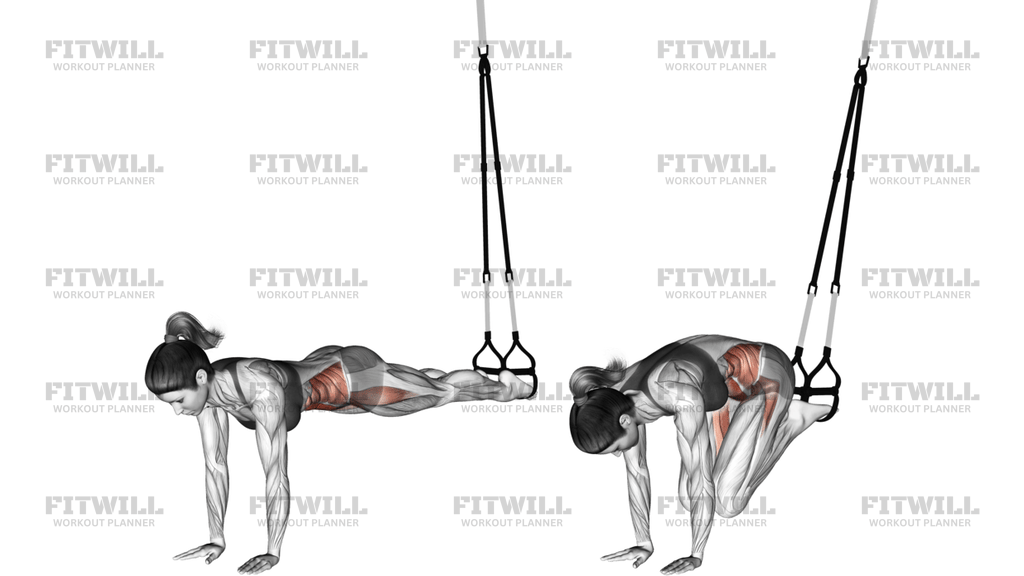
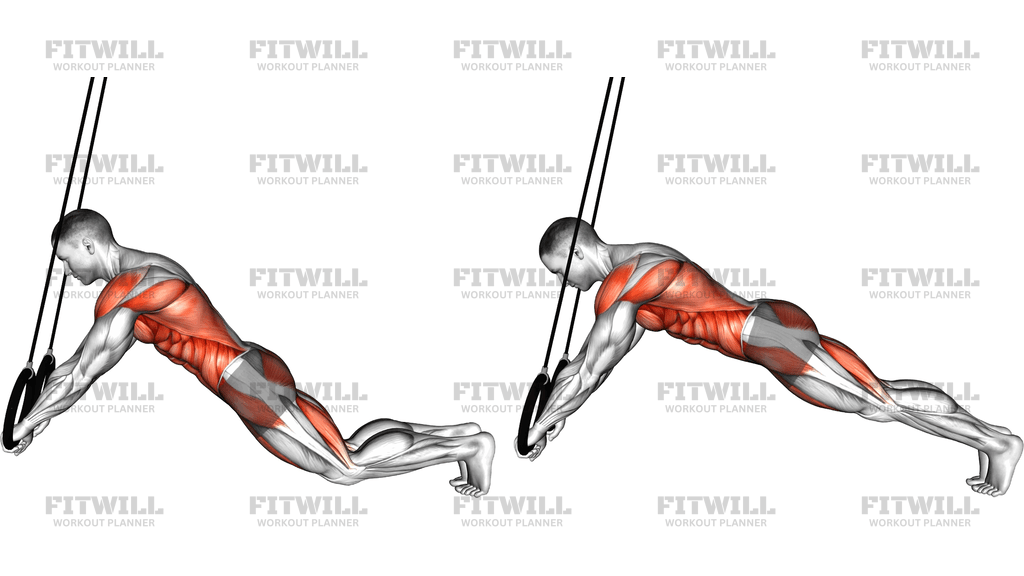
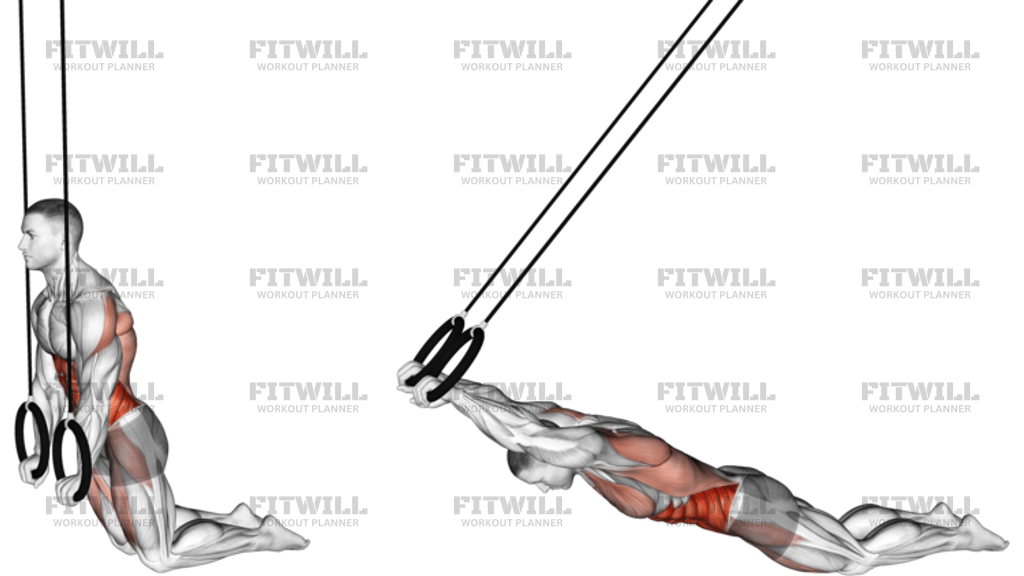
Suspender Single Leg Plank (Straight Arm)
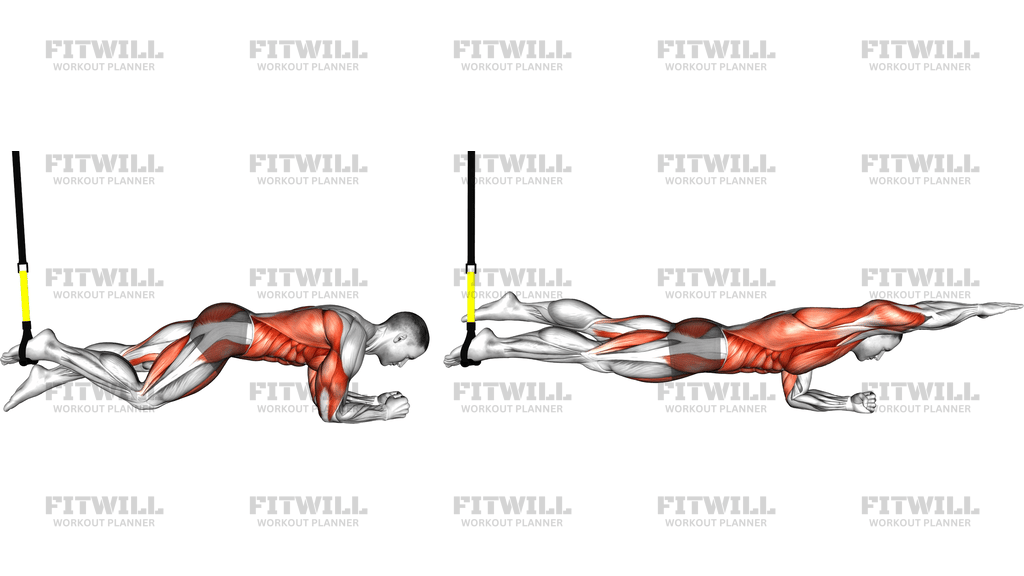
The Suspender Single Leg Plank (Straight Arm) is an anti-extension core hold performed with your feet anchored in a suspension trainer while you support yourself on straight arms and drive the challenge up by removing one leg from the support. Instead of holding a standard plank on the floor, the hanging foot forces your trunk and hips to resist the strap's pull in every direction, and lifting or bending the free leg cuts your base of support in half. The result is a plank variation that demands far more from the deep abdominal wall, the obliques, and the glutes than a floor plank of the same duration.
This movement suits people who already own a solid straight-arm plank and want a harder option without adding external load. Suspension training is popular with athletes who need bracing strength that transfers to running, sprinting, and changing direction, because the unstable foot position forces the trunk to stabilize rather than simply hold still. If your goal is a stronger, more resilient midsection and better hip control, this exercise fits well into a core finisher or the middle of a full-body session.
The primary work comes from the abs and deep core fighting to keep the ribs down and the pelvis neutral while the suspended leg tries to sway. The glutes and hamstrings of the supporting leg work hard to hold hip extension, the straight supporting arm transfers force through the shoulder and upper back, and the free leg's hip flexors and quadriceps are active as you hold or move it. Because one leg is unloaded, the trunk also has to resist rotation, which quietly loads the obliques on both sides.
Setup matters more here than in most plank variations. The straps should hang at a consistent height, the foot should sit squarely in the cradle rather than half-hooked, and your hands should be stacked under your shoulders before you commit to the single-leg position. A sagging or over-arched lower back at setup only gets worse once one leg leaves the floor, so take a moment to brace before you lift the free leg. A mat under the hands and knees makes the entry and exit more comfortable.
To execute it well, press the floor away with straight arms so the shoulder blades stay wide, squeeze the glutes of the supporting leg, and lift the free leg to hover beside or slightly behind the suspended one. Hold the body in one straight line from head to heel, breathing shallow but steady, and avoid letting the hips twist or drift toward the suspended side. Start with short holds of ten to twenty seconds per side and stop the set the moment your hips begin to drop or your lower back starts to arch.
Two practical cautions keep this exercise productive. First, if you feel it in your lower back instead of your abs, your hips have dropped or your brace has faded—reset rather than grinding through. Second, the free leg is the intensity dial: holding it hovering close to the suspended leg is hardest, while tapping the toe down briefly is an easy way to extend a set when fatigue builds.
[ Workout Log & Planner ]
Put your next workout in Fitwill
Keep your plan and training log ready when you are.


Instructions
- Set the suspension trainer anchors so the foot cradles hang roughly a foot off the floor, and place an exercise mat beneath you for hand and knee comfort.
- Kneel facing away from the anchor point, place one foot inside the strap cradle so the top of the foot or the forefoot rests flat in it, then walk your hands forward and plant them on the mat directly under your shoulders.
- Press up into a straight-arm plank with both feet supported at first, stacking the supporting hand under the shoulder and spreading the fingers for a stable base.
- Brace hard: exhale, draw the ribs down, squeeze the glutes, and check that your body forms one straight line from head to the heel of the suspended foot.
- Lift the free leg off the floor and hold it hovering at about hip height, keeping the hips square to the floor rather than letting them rotate toward the suspended side.
- Hold this position with straight arms, actively pressing the floor away and keeping the shoulder blades wide instead of letting the chest sink between the shoulders.
- Breathe in a shallow, rhythmic pattern through the hold—never hold your breath—and keep the glute of the supporting leg clenched to hold hip extension.
- When the hold time is up, lower the free leg back to the floor first, then walk your hands back toward your knees to release the suspended foot from the cradle.
- Rest briefly, reset the brace, and repeat on the other side so both legs get equal work.
Tips & Tricks
- If your hips sag within a few seconds, shorten the hold rather than pushing on—quality seconds beat a long hold with a broken line.
- Watch that the suspended leg stays active: a limp foot in the cradle lets the strap swing, so gently press the foot back against the strap to anchor it.
- A common mistake is driving the hips up into a pike as the free leg lifts, which turns the movement into an easier pike hold—keep the pelvis level with the shoulders.
- Keep the elbows soft but not bent; locking the supporting elbow hard for long holds can strain the joint, while a slight bend with an active press is more controlled.
- If the supporting wrist aches, spread the fingers wider and shift a little weight into the base of the palm, or grip a low handle instead of a flat hand.
- Bend the free leg's knee slightly and tap the toe down intermittently if you need to extend the set without losing the brace.
- Do not let the head drop—keep the neck long with the eyes on a spot just ahead of the hands so the whole spine stays in one line.
- Position the free leg directly beside the suspended one instead of out wide; reaching it sideways increases rotation demand fast and often breaks hip position first.
- Clean up the exit: many people collapse onto a knee while the foot is still strapped in, which yanks the ankle—release the free leg down first, then walk the hands back.
Frequently Asked Questions
Which muscles does the Suspender Single Leg Plank (Straight Arm) work the most?
The abs and deep core do the primary bracing work, with strong contributions from the obliques as they resist rotation. The glutes and hamstrings of the supporting leg and the shoulder stabilizers on the straight supporting arm round out the effort.
Why use one foot in the suspension trainer instead of both?
Anchoring only one foot halves your base of support and makes the trunk resist both side-to-side sway and rotation. That single-leg setup is what separates this hold from a standard suspended plank.
Should the free leg be straight or bent during the Suspender Single Leg Plank (Straight Arm)?
Either works—holding it straight at hip height is the strictest version, while a slightly bent knee with occasional toe taps makes the set more manageable. The key is that the hips stay square regardless of which option you pick.
Is this exercise suitable for beginners?
It is best saved for people who can already hold a clean straight-arm plank for forty-five to sixty seconds. Beginners should start with both feet in the straps or a regular floor plank before removing a leg.
How high should the suspension straps be set?
Around a foot off the floor works well: high enough that the foot clears the ground when the free leg lifts, low enough that you can step out safely. Lower strap heights make the angle easier, so adjust down if the hold feels unstable.
Why do I feel this in my lower back instead of my abs?
That usually means the hips have dropped or the ribs have flared, putting the lumbar spine into extension under load. Cut the hold short, reset the brace with a hard glute squeeze, and rebuild with shorter sets.
What can I substitute if I don't have a suspension trainer?
A straight-arm single-leg plank on the floor with the free leg hovering is the closest body-weight option. Sliding one foot on a towel across a smooth floor, or resting it on a stability ball, recreates some of the instability.
How long should I hold the Suspender Single Leg Plank (Straight Arm)?
Ten to twenty seconds per side is a good working range at first, building toward thirty to forty seconds as control improves. Stop the set as soon as the straight body line or the square hip position starts to break.
Are there any safety concerns with this movement?
Make sure the anchor point and straps are rated for your body weight and checked before each session, since your foot bears load the entire time. Step out of the cradle only after the free leg is back on the floor to avoid twisting an ankle.