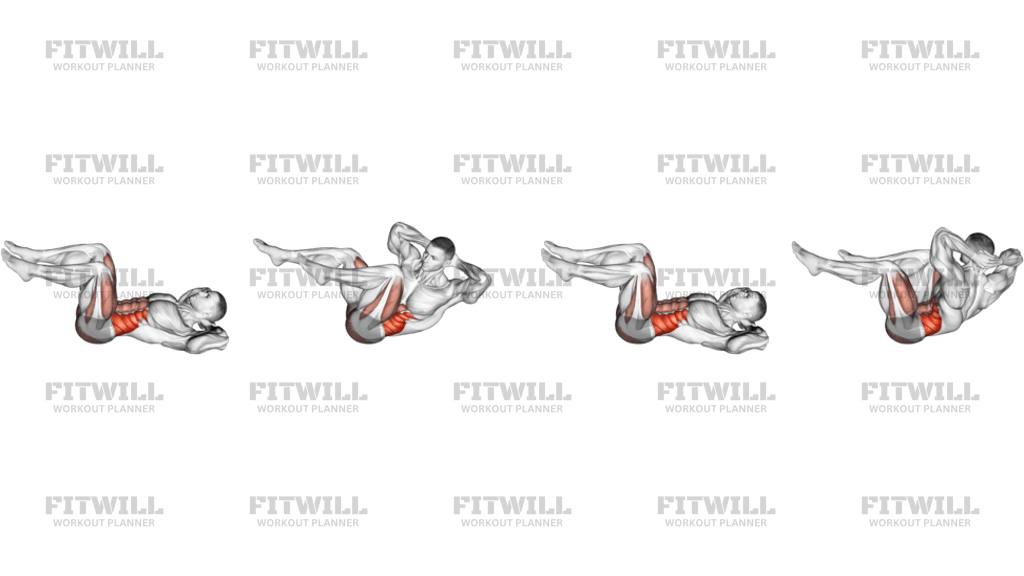
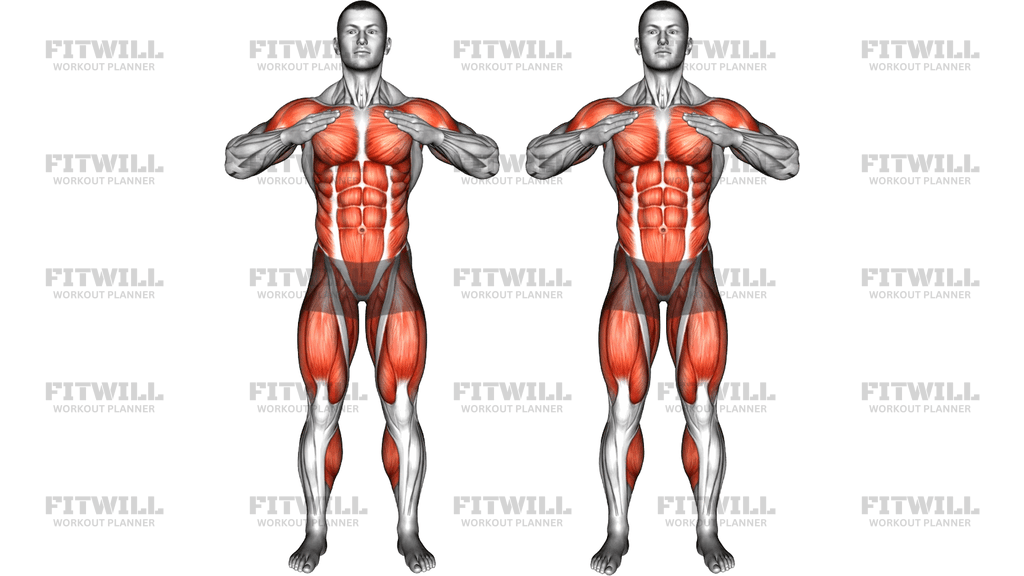
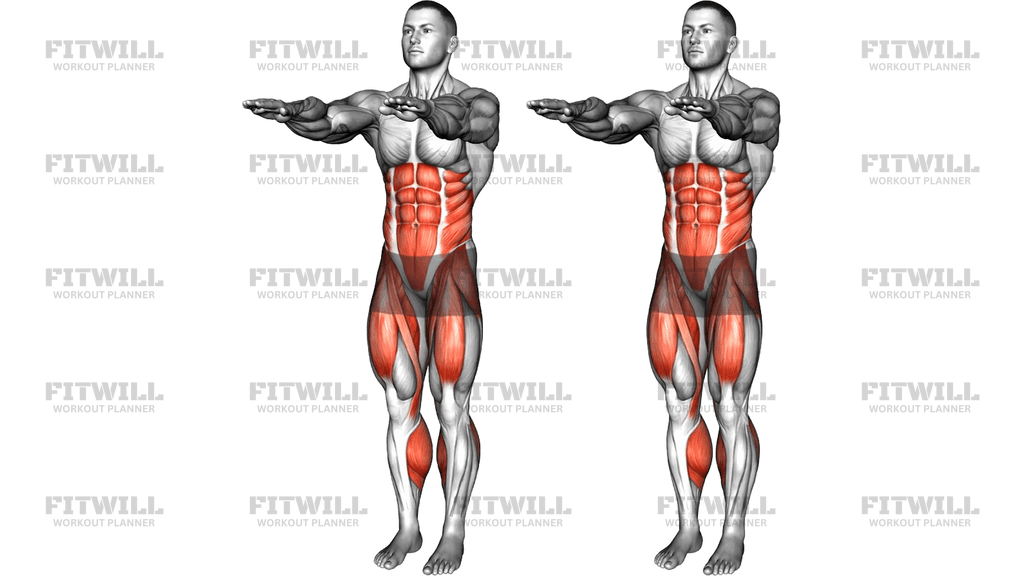
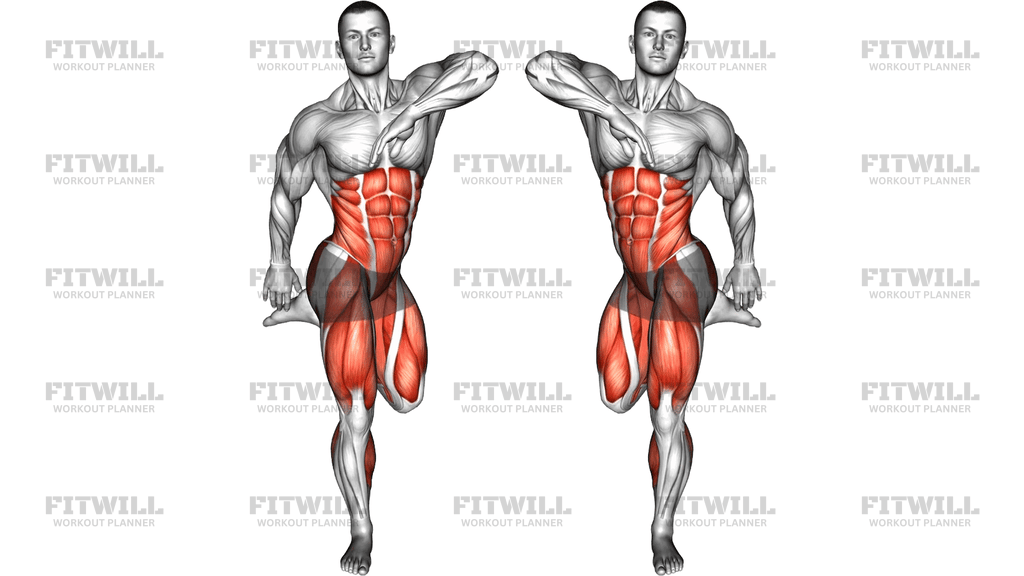
Spider To Cross Body Plank
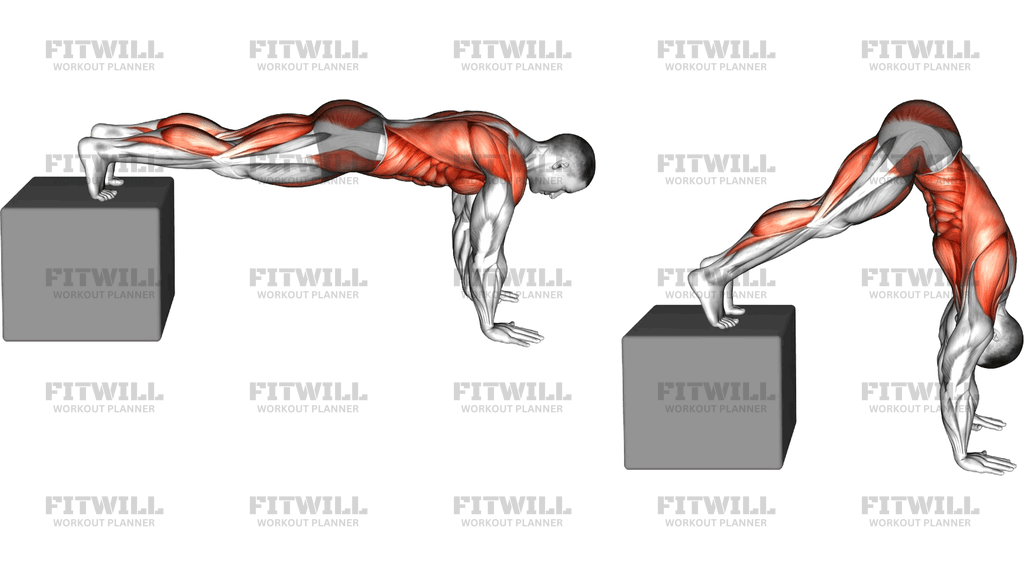
The Spider To Cross Body Plank is a bodyweight core exercise performed from a high plank position. From the top of a push-up, you draw one knee up toward the elbow on the same side of your body, return it, then bring that same knee across your midsection toward the opposite elbow. The two-part path combines the spider-style knee drive with a cross-body rotation, which is what makes this drill stand out from a standard mountain climber or plank knee tuck.
Because the knee travels in two different directions, your trunk has to resist extension and rotation at one moment and produce rotation at the next. The obliques do most of the rotational work, while the deep core and abs stabilize the ribcage and pelvis so your lower back does not sag or twist. The shoulders and arms are also loaded isometrically the entire time, since one side of the body holds the plank while the other side moves.
This movement suits people who already feel comfortable holding a solid plank for thirty seconds or more and want to add rotation and hip control without equipment. It shows up often in warm-ups for combat sports and racket sports, in general core circuits, and in home workouts where no gear is available. The cross-body knee path also doubles as a hip mobility drill, opening up the hip through a diagonal range that most desk-bound training ignores.
Setup matters more than speed here. Hands should sit directly under the shoulders, fingers spread wide, with the body forming one straight line from head to heel. If your hips drift upward or your feet slide during the knee drives, the rotational tension disappears and the exercise turns into a sloppy mountain climber. Keep the floor contact points active: press the ground away with your hands and grip lightly with your toes.
To execute it well, move one knee slowly toward the same-side elbow, pause briefly, return the foot to the floor, then immediately drive the knee across the body to tap near the opposite elbow before returning to the plank. Your hips will rotate slightly, but your shoulders should stay square to the floor. Exhale as the knee comes toward the elbow, inhale as the leg returns. Complete all repetitions on one side or alternate sides, depending on your preference and fatigue level.
The most common issue is rushing. When the knee drives happen too fast, the lower back arches and the shoulder drifts behind the supporting hand, which irritates the wrist and dilutes the core work. Slow the tempo down, shorten the range slightly if needed, and treat each rep as a controlled diagonal fold rather than a leg sprint.
[ Workout Log & Planner ]
Put your next workout in Fitwill
Keep your plan and training log ready when you are.


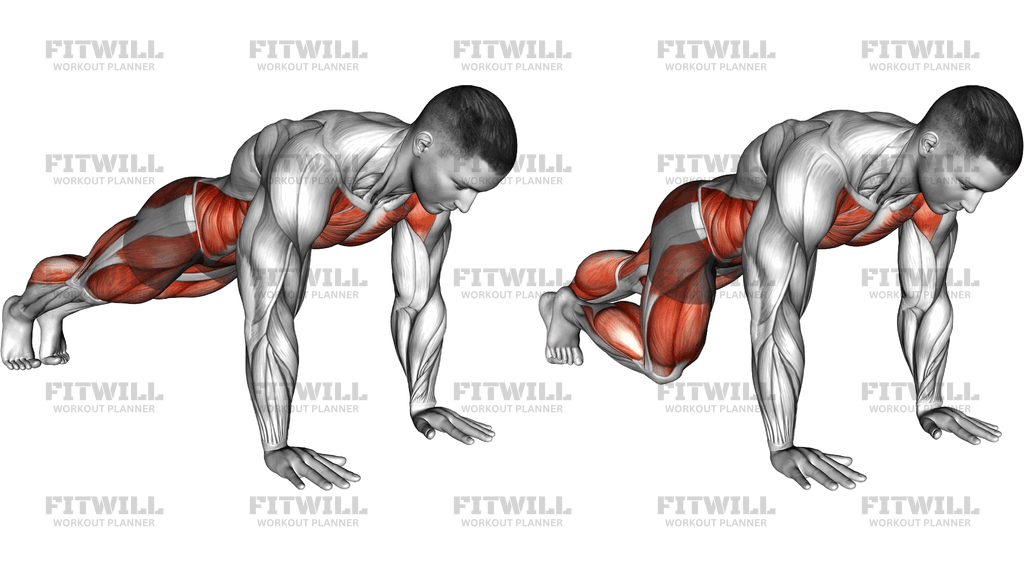
Instructions
- Start on the floor in a high plank: hands directly under your shoulders, fingers spread, arms straight, legs extended behind you with feet about hip-width apart.
- Form a straight line from head to heels, squeeze your glutes lightly, and brace your midsection as if bracing for a light push to the stomach.
- Shift your weight slightly onto your right hand and the balls of both feet so you can lift your left knee freely.
- Draw your left knee out and up toward your left elbow, keeping your left foot off the floor and your hips low enough that the plank line does not break.
- Pause briefly when the knee is close to the elbow, then return the left foot back to the plank position with control.
- Without pausing, drive the left knee across your body toward your right elbow, letting your hips rotate naturally while your shoulders stay facing the floor.
- Touch or reach near the right elbow, then bring the leg back to the full plank to complete one repetition.
- Breathe out on each knee drive toward the elbow and breathe in as the leg travels back to the plank.
- Finish all repetitions on one side, or alternate left and right, then reset your hand position and brace before starting the next set.
Tips & Tricks
- If your supporting shoulder creeps up toward your ear, press the floor away harder and think about pushing the hand through the ground; the plank side should stay tall and active.
- A common mistake is letting the hips pike upward as the knee crosses the body. Keep the spine long and imagine your hip hovering just below shoulder height throughout both knee drives.
- Slow the cross-body portion down more than the same-side portion. Rotation with speed is where most people lose their lower back position and turn the drill into a leg swing.
- If your wrist complains during the hold, spread your fingers wider and angle them slightly outward, or grip a pair of light dumbbells or parallette bars to keep the wrist neutral.
- Shorten the range by aiming the knee toward the armpit rather than the elbow if your hip or lower back feels pinched at full range.
- Keep the moving foot hovering just above the floor between the two knee drives; setting the foot down between reps reduces the anti-rotation demand on the trunk.
- Do not let your supporting hand drift behind your shoulder line. Recheck that the hand sits under the shoulder before every set, because the diagonal knee path pulls weight backward if you are loose.
- For a harder version, perform a slow push-up between each full knee cycle, or hold the knee at the opposite elbow for a two-second squeeze.
- Put this drill early in a workout when you are fresh if the goal is motor control and rotation quality; late in a session it works better as a core finisher with shorter sets.
Frequently Asked Questions
What muscles does the Spider To Cross Body Plank work?
The obliques and deep core do the main work of rotating and stabilizing the trunk, with the hip flexors driving the knee along both paths. The shoulders, chest, and arms stay engaged the whole time to hold the high plank.
Is the Spider To Cross Body Plank suitable for beginners?
It is best for people who can already hold a clean high plank for at least thirty seconds. Beginners can scale it down by doing only the same-side knee-to-elbow portion, or by performing the drill with hands elevated on a bench.
Why does the knee travel to two different points in the Spider To Cross Body Plank?
The same-side drive trains hip flexion with a stable trunk, while the cross-body drive adds rotation and diagonal hip mobility. Together they challenge both the production and the resistance of rotation, which a single-path knee tuck cannot do.
Should my hips rotate when the knee crosses toward the opposite elbow?
Yes, a small amount of hip rotation is natural and helps you reach across the body. What you want to avoid is the shoulders twisting or the supporting hand shifting, so keep the upper body quiet and let the movement come from the hip and trunk.
What is the most common mistake with this exercise?
Rushing the reps and bouncing the knee off the floor between drives. When the tempo gets too quick, the lower back arches, the hips sag, and the obliques stop doing the rotational work.
How many repetitions should I do?
Start with five to eight controlled cycles per side, where one cycle means a same-side drive plus a cross-body drive with the same leg. Add reps or slow the tempo before adding sets.
Can I do the Spider To Cross Body Plank if my wrists hurt in a high plank?
Try performing it on parallettes or light dumbbells so the wrists stay neutral, or elevate your hands on a sturdy bench to reduce wrist load. If discomfort persists, switch to a forearm variation, though the cross-body reach will be slightly shorter.
What can I substitute if I cannot yet control the full movement?
Use slow spider planks (knee to same-side elbow only), standing cross-body knee drives with hands overhead, or a basic plank with alternating shoulder taps. Each of these builds the anti-rotation and hip control the full version requires.
Should I alternate sides or complete all reps on one side first?
Both work. Alternating sides keeps the loading symmetric and helps you notice left-right differences, while completing one side first is useful when you want a focused rotational burn on each side.