Sitting Side Crunch On A Chair
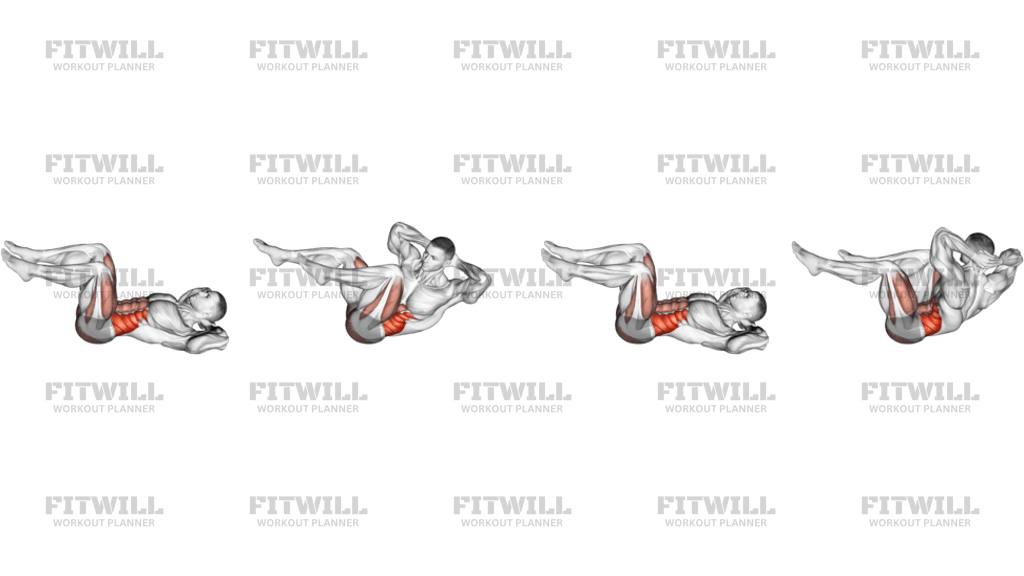
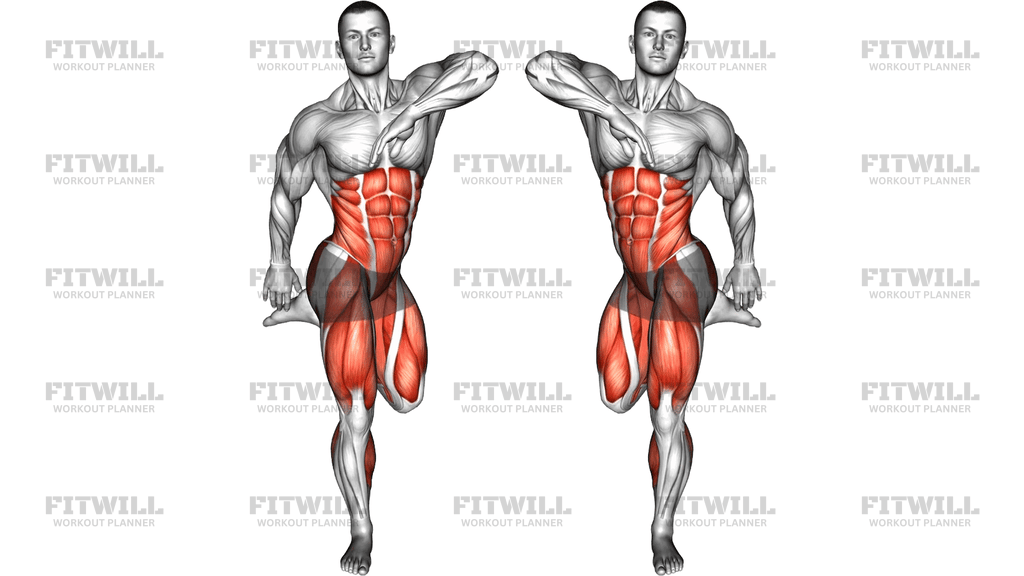
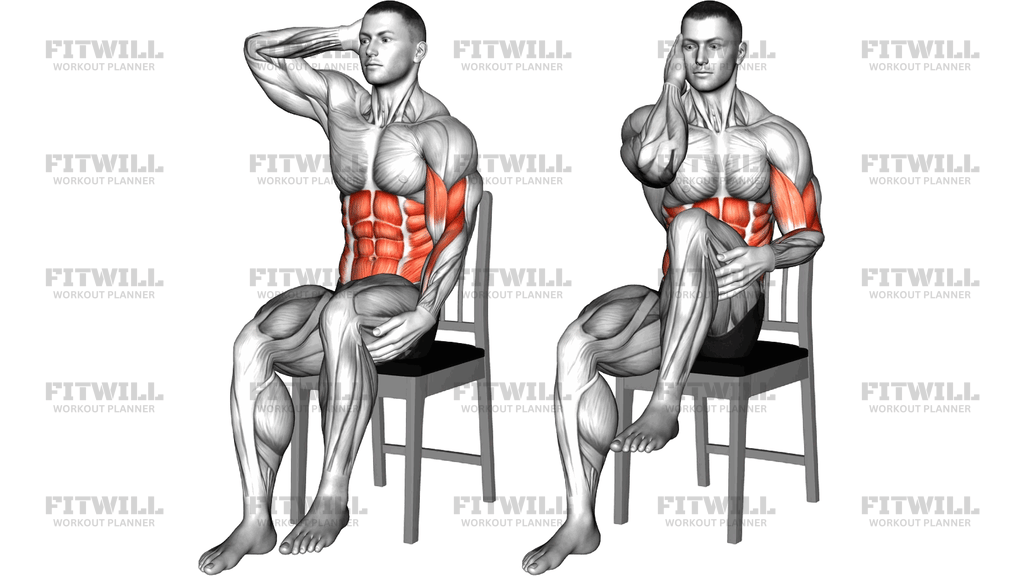
The Sitting Side Crunch On A Chair is a body weight oblique exercise performed from an upright seated position, which makes it one of the most accessible ways to train the sides of your waist. You sit on a stable chair with one hand placed behind your head, then crunch your ribcage down and across toward the opposite hip or lifted knee, squeezing the oblique on that side before returning upright. Because the chair takes your legs and balance out of the equation, you can focus entirely on the lateral crunching motion of the trunk.
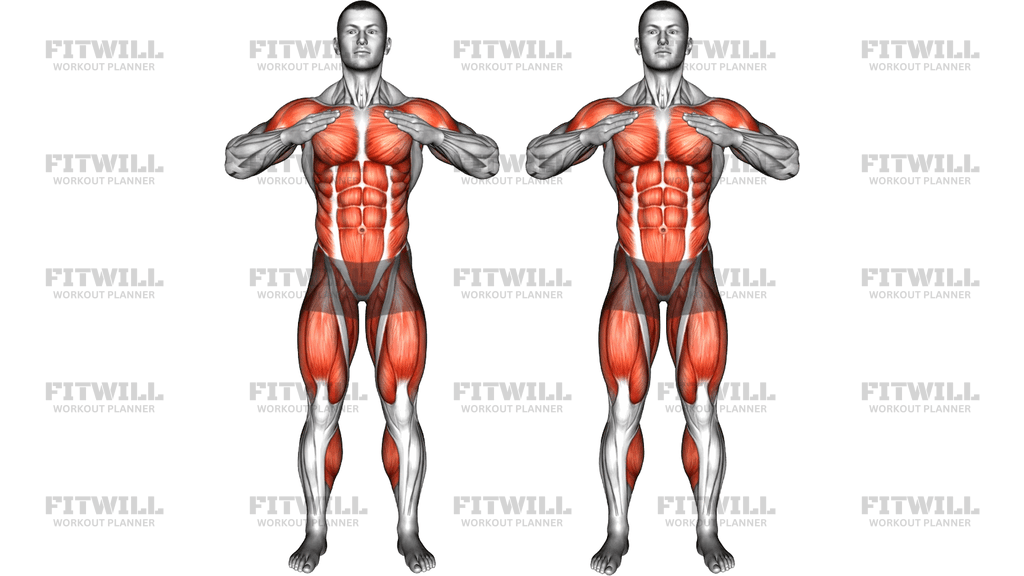
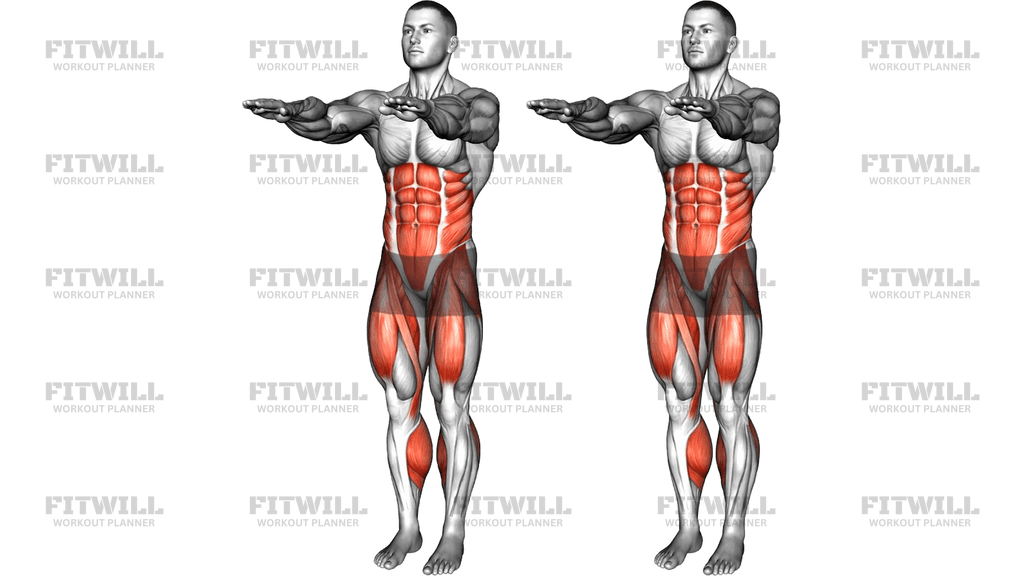
The main muscles at work are the obliques on the side you crunch toward, supported by the rectus abdominis and the deep core muscles that hold your torso steady. Lifting the opposite knee and drawing it toward your elbow adds a hip flexor component and lets you shorten the range slightly, which is helpful if a full side bend feels uncomfortable. This combination of trunk side flexion and knee drive is what separates this movement from a plain seated side bend.
This exercise suits a wide range of people. Office workers can use it as a midday core reset without leaving their desk chair, beginners can learn what an oblique contraction actually feels like before moving to floor work, and older adults or anyone with knee or back sensitivity can train the waist without getting down onto a mat. It is also a useful finisher after heavier standing or cable oblique work when the muscles are already fatigued.
Setup matters more than it looks. A chair without wheels, with your feet flat on the floor and your sitting bones evenly planted, gives you a stable base so the effort comes from your trunk rather than from tipping your whole body sideways. Placing the hand lightly behind the head, rather than pulling on the neck, keeps the crunch driven by the abdominals. Keeping both hips square to the front stops the movement from turning into a rotation that spreads the work away from the obliques.
To execute it well, think about shortening the distance between your lower ribs and the top of your hip bone on the working side. Exhale as you crunch down and across, pause briefly at the bottom of the range to feel the squeeze, then inhale as you rise back to tall sitting posture with control. The tempo should stay smooth; letting your torso collapse back up or using momentum from your arm are the two most common ways this exercise loses its value.
A few practical points will keep it safe and effective. Move through a moderate range rather than forcing a deep side bend, keep your neck in line with your spine, and do all repetitions on one side before switching so you can compare how each side feels. If you have a recent back injury or any history of disc issues, check with a qualified professional before adding repeated side flexion to your routine, and start with a small, pain-free range of motion.
[ Workout Log & Planner ]
Put your next workout in Fitwill
Keep your plan and training log ready when you are.


Instructions
- Sit sideways-neutral on a stable, armless chair with your feet flat on the floor, knees bent about 90 degrees, and your sitting bones evenly planted on the seat.
- Sit up tall with your chest lifted, and place your right hand lightly behind the right side of your head with your elbow pointed out; rest your left hand on the outside of your left thigh or knee.
- Brace your abdominal wall gently and keep both hips facing forward so your shoulders stay stacked over your pelvis.
- Exhale and crunch your right elbow and ribs down and across toward your left hip, shortening the side of your waist as far as you can control.
- At the same time, lift your left knee a few inches off the floor and draw it inward so your elbow and knee move closer together.
- Pause for one second in the shortened position and squeeze the oblique on the right side of your waist.
- Inhale and return slowly to tall seated posture, resisting the urge to flop back upright or let the knee drop.
- Complete all repetitions on this side, then switch your hand position and crunch toward the opposite hip for the same number of reps.
- Keep your breathing rhythmic throughout: exhale on the crunch, inhale on the return, and reset your posture between reps if you feel your lower back rounding.
Tips & Tricks
- The most common mistake is pulling on the back of your head with the raised arm; keep the hand as light contact only and let the abdominal muscles move your torso.
- Do not rotate your chest toward the front; this is a side crunch, so your shoulders should travel downward and inward, not twist like a bicycle crunch.
- If you find yourself sliding off the edge of the seat, shift your weight back onto both sitting bones before starting, because a forward-perched position makes you fall into the crunch instead of controlling it.
- Keep the lifted knee drive small and deliberate; a big swinging knee raise turns this into a hip flexor exercise and steals tension from the obliques.
- Aim for the feeling of your lower ribs moving toward your hip bone, not your head tipping sideways; if only your neck moves, the range is too shallow.
- Slow the lowering phase to two or three seconds, since most people rush the return and lose the eccentric portion where much of the oblique work happens.
- If one side feels noticeably weaker or tighter, perform the weaker side first and match its repetitions on the stronger side rather than doing more reps on your favorite side.
- Choose a chair with a back you are not leaning on and no armrests in the way, and never attempt this on a rolling office chair with the wheels unlocked.
- Stop and shorten the range if you feel a pinching sensation in your lower back on the side you are bending toward.
Frequently Asked Questions
Which muscles does the Sitting Side Crunch On A Chair target?
The primary muscles are the obliques on the side you crunch toward, with support from the rectus abdominis and the deep core stabilizers. Lifting the opposite knee also lightly recruits the hip flexors.
Is the Sitting Side Crunch On A Chair good for beginners?
Yes, it is an excellent beginner oblique exercise because the chair provides balance support and the range is easy to scale. Beginners should focus on feeling the side of the waist shorten rather than chasing a large side bend.
Should my opposite knee lift during the Sitting Side Crunch On A Chair?
Lifting the knee toward the crunching elbow is part of the movement and helps bring the ribs and hip closer together. Keep the lift small and controlled so the obliques, not momentum, do the work.
Why do I feel the Sitting Side Crunch On A Chair in my neck?
This usually means you are pulling your head forward with the hand behind it. Keep the hand as light support, imagine a space between your ear and elbow, and let the trunk do the crunching.
How is the Sitting Side Crunch On A Chair different from a standing side bend?
The seated position removes leg and balance demands and lets you pair the trunk crunch with a knee drive, which shortens the waist more directly. A standing side bend often lets the hips sway and shift tension away from the obliques.
What kind of chair should I use for the Sitting Side Crunch On A Chair?
Use a stable, armless chair with a flat seat and no wheels, such as a dining chair. A rolling office chair or a soft couch will move under you and make the crunch unstable.
Can I do the Sitting Side Crunch On A Chair every day?
Since it is a low-load body weight movement, frequent practice is generally fine for most people. Treat it like any muscle-building exercise and leave a day of recovery if you are working close to fatigue.
How many repetitions of the Sitting Side Crunch On A Chair should I do?
A practical starting point is 10 to 15 controlled reps per side for two or three rounds. Add a pause at the bottom of each crunch to make the set harder before adding more volume.
What can I substitute for the Sitting Side Crunch On A Chair?
Seated side bends with a dumbbell, standing oblique crunches with a knee drive, or cable side crunches train the same oblique pattern. Floor-based side planks are a good option if you want a version with less spinal side flexion.
Is the Sitting Side Crunch On A Chair safe if I have lower back issues?
Repeated side flexion can aggravate some back conditions, so it is wise to get clearance from a healthcare or fitness professional first. If approved, keep the range small, move slowly, and stop if you feel any sharp or pinching sensation.