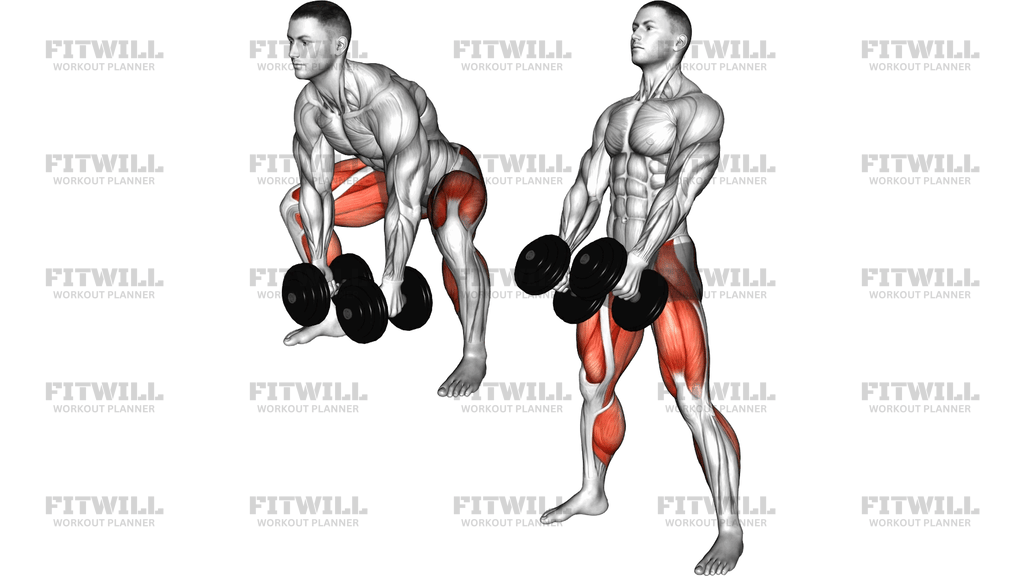
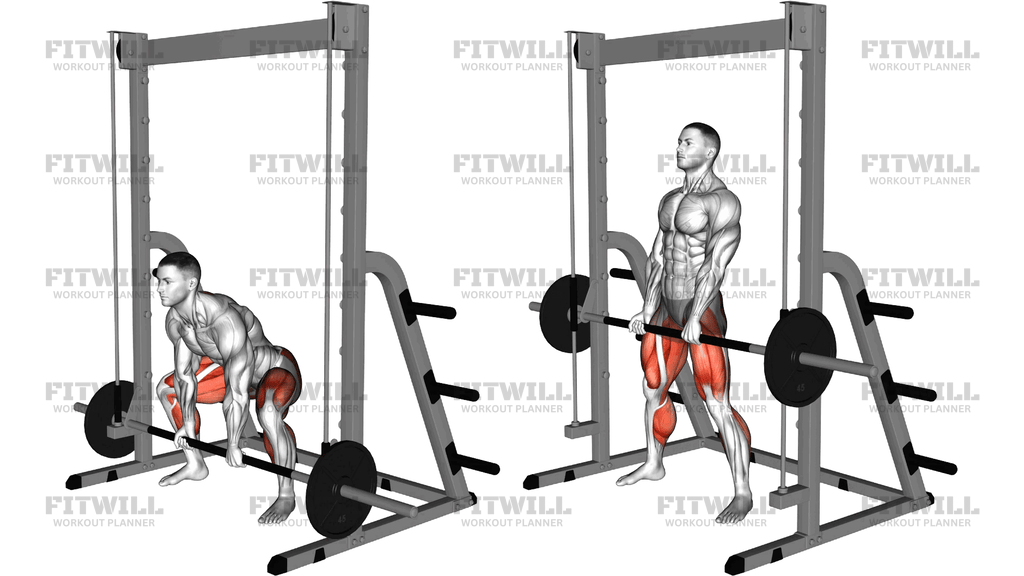
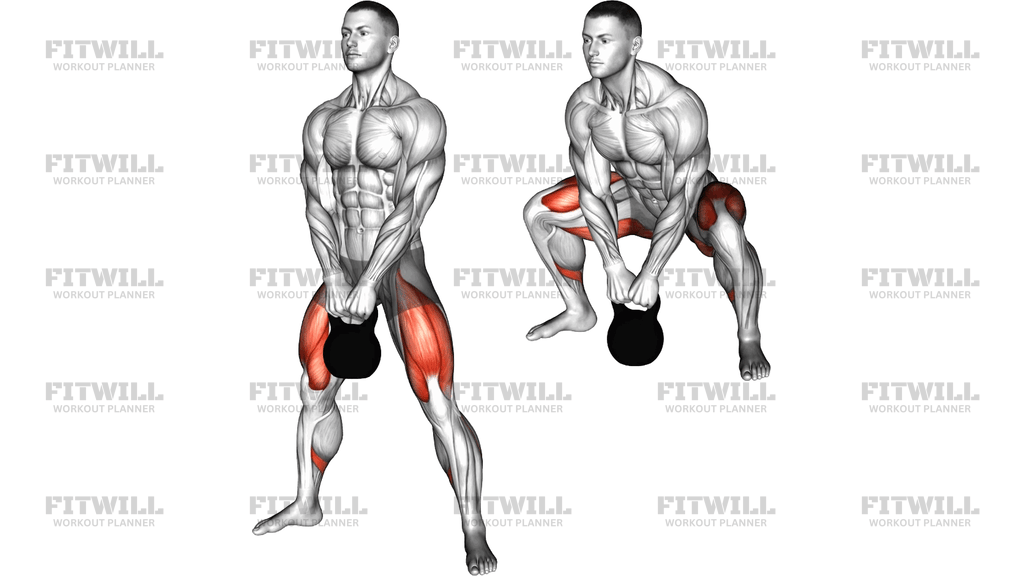
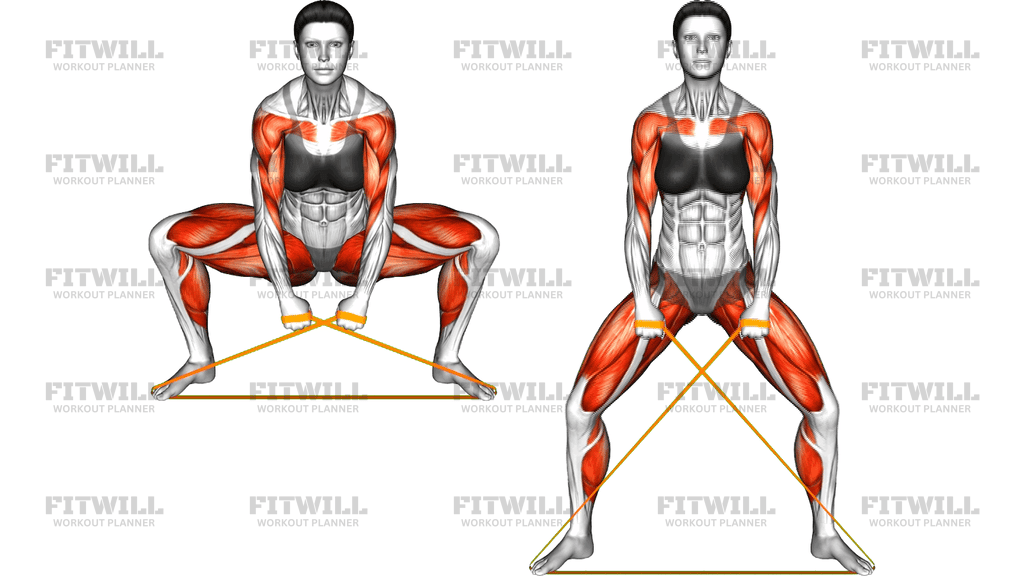
Safety Bar Front Squat
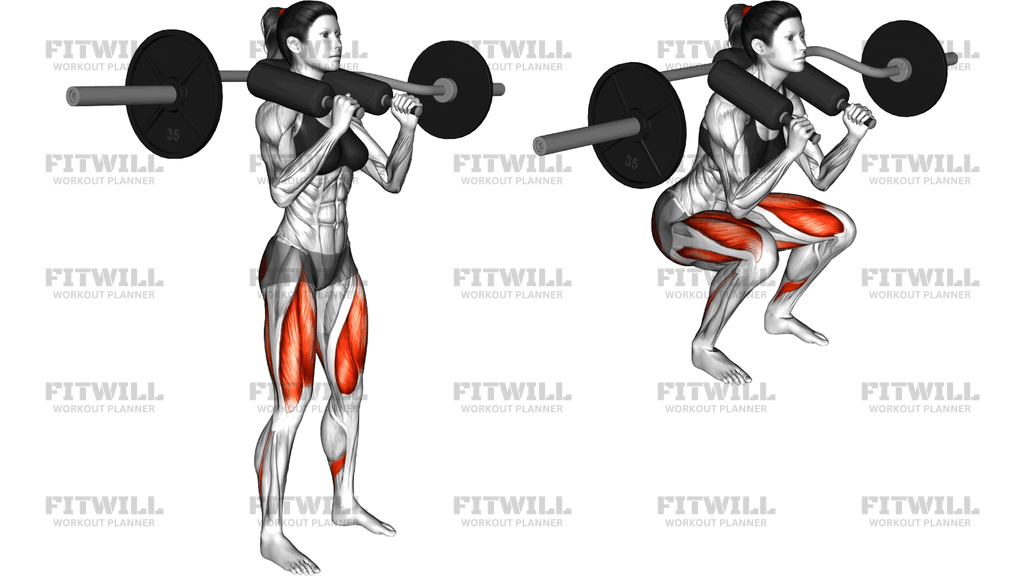
The Safety Bar Front Squat uses a safety squat bar, a specialty barbell with padded shoulder yokes and forward-facing handles, to load the squat pattern while keeping your torso noticeably more upright than a standard back squat. Because the handles sit in front of your chest, the movement blends characteristics of a front squat with the shoulder-mounted stability of a safety bar. The quads do most of the work here, with the glutes and hamstrings contributing strongly as you drive back up from depth.
This variation is especially useful for lifters who struggle with the wrist, elbow, or shoulder demands of a conventional front squat rack position. Instead of resting the bar on your front delts with fingers under the bar, you simply settle the padded yokes onto your upper traps and grip the handles in front of you. People with cranky shoulders, limited wrist mobility, or a history of upper-body discomfort can still train a squat with an upright torso and heavy quad emphasis.
The front-mounted handles also change your posture in helpful ways. Holding them at chest height encourages you to keep your elbows down and your ribcage stacked over your pelvis, which reduces the forward lean that tends to creep into back squats. The bar's slight camber adds a small stability challenge, so your upper back and core have to stay engaged to keep the load tracking over your midfoot.
Setup matters more than it might seem. The padded yokes should sit squarely on your upper traps, the handles should fall naturally at collarbone height, and your stance should be about shoulder width with toes turned slightly out. If the bar sits too low on your back or you grip unevenly, the load shifts forward and your lower back takes on work the quads should be doing.
To execute the lift, brace your trunk, unlock your hips and knees together, and descend until your thighs reach at least parallel or as deep as your mobility allows while your heels stay planted. Your knees should track over your toes, and your torso should stay tall with your chest leading the way up. Drive the floor away through your whole foot, exhale near the top, and reset your brace before the next rep.
You will see this movement in general strength programs, in quad-focused hypertrophy blocks, and in rehab-adjacent training where a lifter needs a squat that spares the shoulders and wrists. It pairs well with hinge work on the same day, since the squat pattern here is knee-dominant and leaves posterior chain volume for deadlift or hip thrust variations.
[ Workout Log & Planner ]
Put your next workout in Fitwill
Keep your plan and training log ready when you are.


Instructions
- Set the safety squat bar in a rack at roughly upper-chest height, load plates evenly on both sides, and step under it so the padded yokes rest squarely on top of your upper traps.
- Grip the two front handles at collarbone height with a firm, even grip, and keep your elbows pointing down toward the floor rather than flaring out to the sides.
- Unrack the bar, take one or two steps back, and set your feet about shoulder width apart with toes turned out 10 to 20 degrees and weight spread across your whole foot.
- Take a breath into your belly, brace your abs and upper back, and pull the handles lightly toward your chest to lock in a tall, upright torso.
- Push your hips back slightly and bend your knees, descending in a controlled line while your knees track over or just outside your toes and your heels stay glued to the floor.
- Keep lowering until your thighs are at least parallel to the floor, or deeper if your hips, knees, and back all stay in a comfortable, controlled position.
- Drive up through your midfoot and heels, keeping your chest up and elbows down, and squeeze your glutes as you approach the top of the rep.
- Exhale as you finish the ascent, take a fresh breath at the top, re-brace, and repeat for your target reps.
- When the set is done, walk forward carefully and set the bar back onto the rack hooks before releasing your grip on the handles.
Tips & Tricks
- The most common mistake is letting the padded yokes slide too far down toward the rear delts, which pitches your chest forward. Unrack, then shrug and settle the bar onto the top of your traps before stepping back.
- If your torso starts tipping forward as you descend, squeeze the front handles harder and think about driving your elbows down toward your hips rather than letting them drift up.
- Do not turn this into a half squat out of discomfort. If depth is the limiter, drop the weight and spend a few sessions finding a heel-elevated or slightly wider stance that lets you hit parallel with control.
- Knees caving inward under load usually show up on the last few reps of a set. Cue yourself to spread the floor with your feet, or lighten the load until that stays consistent.
- Because the safety bar's camber makes the load slightly less stable than a straight bar, keep your first few sessions conservative and focus on bar path over your midfoot before pushing weight.
- Breathing matters more here than it looks. If you rush reps without re-bracing at the top, your upright torso position collapses and your lower back rounds near the bottom.
- Your wrists and elbows should stay relaxed in the handle grip. If you find yourself hanging off the handles to hold yourself up, you are pulling yourself forward instead of staying tall through your spine.
- Film from the side occasionally. From the front you cannot see whether your hips are shooting up early, which is the typical sign the weight has drifted too far onto your lower back.
Frequently Asked Questions
Which muscles does the Safety Bar Front Squat work?
The quads are the primary movers, since the upright torso and shoulder-mounted load keep the demand on your knees. The glutes and hamstrings assist heavily on the way up, while your upper back and core work to hold the bar steady over your midfoot.
How is the Safety Bar Front Squat different from a regular front squat?
A regular front squat requires you to rack the bar on your front delts with flexed wrists and raised elbows, which many lifters cannot do comfortably. The safety bar rests on padded yokes on your traps with neutral-grip handles in front, so you get a similar upright torso and quad emphasis without the wrist and shoulder stress.
Is the Safety Bar Front Squat good for beginners?
Yes, provided you start light. The bar is self-limiting because the front handles punish lazy posture, so a beginner can learn a tall, knee-dominant squat pattern with a lower technical barrier than a barbell front squat.
Where exactly should the padded yokes sit on my shoulders?
They should rest on top of your upper traps, just below the base of your neck, similar to a high-bar back squat position. Sitting them too low toward the rear delts pushes your chest forward and turns the lift into a leaner, lower-back-heavy squat.
How deep should I squat with a safety bar?
Aim for at least thighs parallel to the floor, going deeper only if your heels stay planted and your spine position does not change. Depth you cannot control with the bar over your midfoot is depth that costs you more than it builds.
Why do my elbows want to rise during the descent, and how do I fix it?
Rising elbows usually mean the load is pulling you forward and you are compensating by pushing your arms up. Lightly pull the handles toward your chest, keep your elbows pointed down, and if the position still breaks, reduce the weight until your torso stays upright.
What can I substitute if my gym has no safety squat bar?
A cross-armed front squat, a front squat with lifting straps, or a goblet squat for lighter loads all give you a similar upright, quad-dominant pattern. None replicate the bar exactly, but they cover the same movement goal.
Should I squat with a belt on the Safety Bar Front Squat?
It is optional. Because the torso stays upright and the handles give you something to brace against, many lifters are comfortable beltless at moderate loads and add a belt only on heavier sets where their trunk needs extra feedback.
Is it safe for my knees and lower back?
When the bar sits correctly on your traps, your heels stay down, and your knees track over your toes, it is a well-supported squat variation for most healthy lifters. If you have a current knee, hip, or back issue, get clearance from a qualified professional and build up with lighter loads first.