Inchworm To Cobra
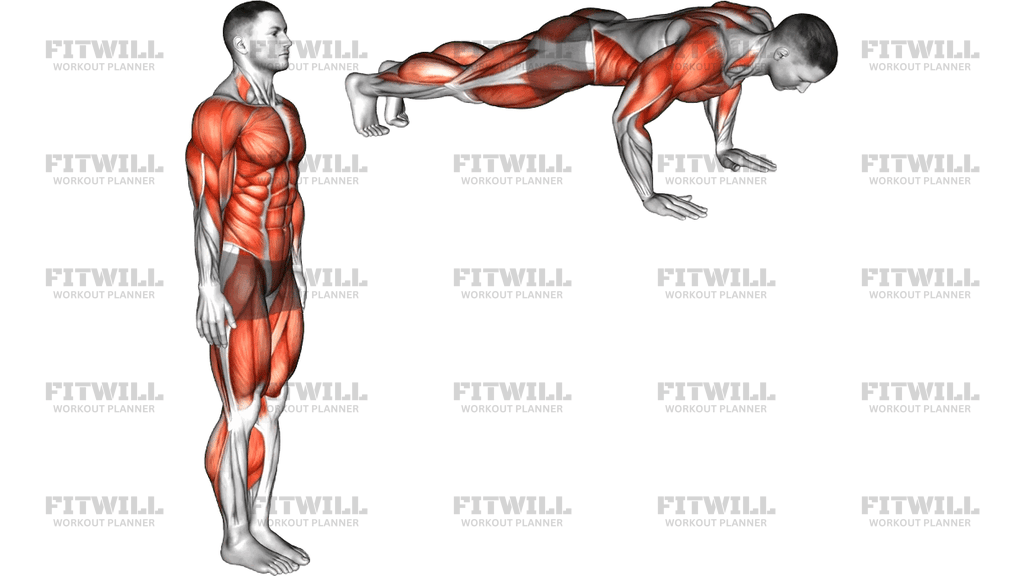
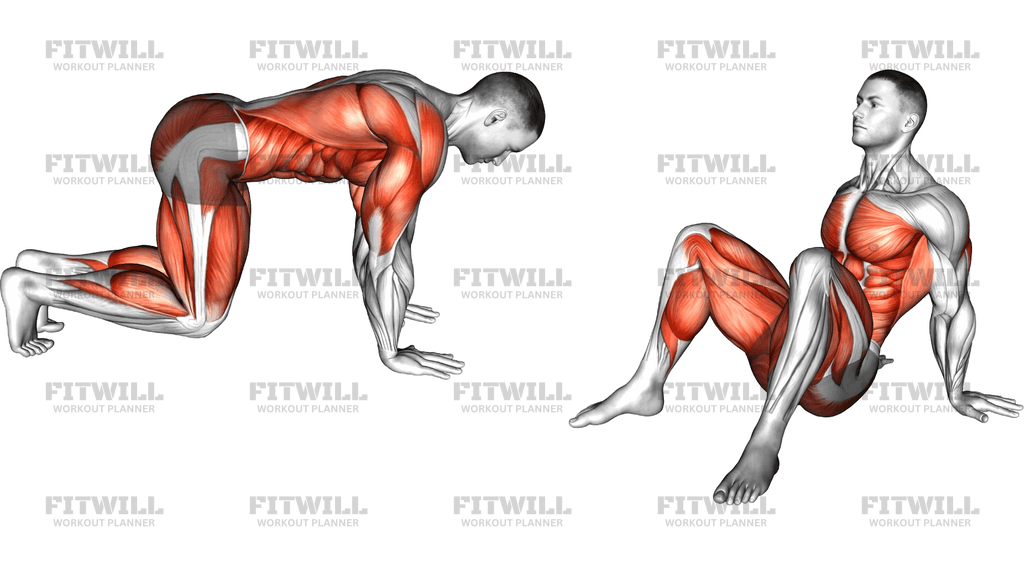
The Inchworm To Cobra is a flowing bodyweight drill that takes you from a tall stand, down through a deep forward fold, out into a plank, and up into an open cobra position before reversing the whole sequence back to standing. Because you travel through four distinct positions in one rep, it works as a warm-up, a mobility drill, and a gentle core exercise at the same time. All you need is enough floor space to lie down, and an exercise mat helps if you are on a hard surface.
The movement challenges three things that most people need: hamstring and calf flexibility from the folded position, trunk control while the hands walk out and back, and spinal extension with shoulder opening in the cobra. The transitions are where the work happens. Walking the hands forward forces the deep core to hold your spine steady while your weight shifts over the shoulders, and walking them back demands control as the hips lift and the weight returns to the legs.
Setup matters more than it looks. Start with the feet about hip-width apart, and if your hamstrings are tight, allow a soft bend in the knees so your palms can actually reach the floor instead of hanging in mid-air. A fold that bottoms out short of the floor turns the whole exercise into a struggle and robs the plank and cobra phases of their quality. Keeping the hands planted in one spot for the entire out-and-back walk also keeps the drill honest; shuffling the feet forward to shorten the return is the most common way people quietly skip the hard part.
To execute it well, hinge from the hips rather than rounding straight down, let the hands contact the floor, then walk them forward one at a time until your body forms a long plank line with the shoulders stacked over the wrists. Lower the hips slowly toward the floor, slide the chest forward and up into the cobra with the arms supporting you, and breathe there for a moment. Reverse the path: press back to the plank, walk the hands back toward the feet, and roll the spine up one vertebra at a time to standing.
This drill fits naturally at the start of a workout, especially before lower-body training, running, or any pressing session, because it raises the heart rate gently while opening the exact areas those activities tighten. It is also a good standalone mobility break for people who sit for long hours. Move at a pace you can control; the value comes from the smooth transitions, not from speed, and anyone with wrist or lower-back discomfort should keep the cobra phase modest and pain-free.
Fitwill
Log Workouts, Track Progress & Build Strength.
Achieve more with Fitwill: explore over 9600 exercises with images and videos, access built-in and custom workouts, perfect for both gym and home sessions, and see real results.
Start your journey. Download today!




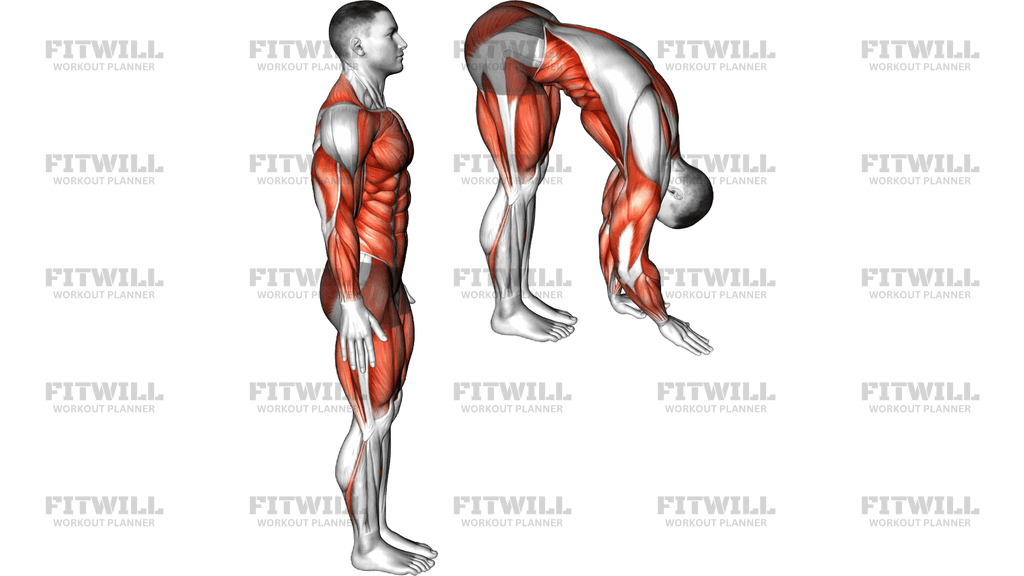
Instructions
- Stand tall with the feet hip-width apart, arms relaxed at your sides, and set your hands where they will naturally fall during the fold.
- Hinge forward from the hips with a soft bend in the knees and place your palms flat on the floor in front of your toes, fingers spread for a stable base.
- Brace the abdominals lightly so the lower back does not sag as you begin shifting weight into the hands.
- Walk the hands forward one at a time until the body forms a straight plank line, shoulders stacked directly over the wrists and legs active.
- Keep the neck neutral in the plank and exhale as you finish the walk-out.
- Lower the hips slowly toward the floor, slide the chest forward and up, straighten the arms as comfortable, and open into the cobra with the shoulders drawn down away from the ears.
- Hold the cobra for one or two easy breaths, keeping the hips as close to the floor as comfortable and the glutes relaxed.
- Press back through the palms to return to the plank, then begin walking the hands back toward the feet in small, even steps.
- As the hands approach the feet, shift the weight into the legs, let the hips rise high, and feel the stretch through the hamstrings and calves.
- Roll the spine up slowly from the lower back to the head, exhale, and stand fully upright before starting the next repetition.
Tips & Tricks
- If your palms cannot reach the floor from standing, bend the knees more rather than collapsing the upper back; depth in the fold should come from the hips, not a rounded spine.
- Keep the hands planted in the same spot for the whole round. Shifting them sideways or forward during the return walk removes the control challenge from the trunk.
- In the plank, resist the urge to let the hips spike upward or sag; both come from rushing the walk-out, so slow the hand steps down until the line stays straight.
- Entering the cobra by dumping the lower back into a sharp arch is a common mistake. Lead the movement with the chest sliding forward and let the extension build gradually.
- Keep the shoulders pulled down away from the ears during the cobra. Shrugging up next to the neck wastes the chest-opening benefit and strains the upper traps.
- If your wrists complain in the plank or cobra, spread the fingers wide, grip the floor slightly, and shift a little more weight toward the heels of the palms.
- Tight hamstrings turning the return walk into a struggle is normal at first. Take smaller hand steps back and keep a slightly longer knee bend until flexibility improves.
- Breathe steadily instead of holding your breath in the fold; exhaling as you roll up to standing helps the spine unwind smoothly.
- Do the drill in bare feet or flat shoes. Raised heels change your balance in the fold and make the hand walk-out feel less stable.
Frequently Asked Questions
What muscles does the Inchworm To Cobra work?
The abdominals and deep core stabilize you during the plank walk-out, the hamstrings and calves lengthen in the fold, and the cobra phase opens the chest and front shoulders while the lower back and glutes support the extension. It is a full-body mobility drill rather than a single-muscle exercise.
Is the Inchworm To Cobra suitable for beginners?
Yes. Beginners can bend the knees generously in the fold, take fewer hand steps in the walk-out, and keep the cobra shallow. The drill scales easily just by adjusting how far the hands travel.
Should I keep my knees straight when folding forward at the start?
Not necessarily. A soft knee bend lets the palms reach the floor and keeps the movement smooth. Straighten the legs gradually over time as hamstring flexibility improves, but never force the fold with locked knees.
How far should I walk my hands out in the Inchworm To Cobra?
Walk out until your shoulders are stacked over your wrists and your body forms one straight line from head to heels. Going past that point shifts weight into the shoulders awkwardly; stopping short keeps the drill too easy.
What is the most common mistake in this exercise?
Rushing the transitions, especially letting the lower back sag in the plank or slamming into a deep arch in the cobra. Slow, deliberate hand steps and a gradual chest-led lift fix both problems.
Can I do the Inchworm To Cobra if my wrists hurt during the plank?
Try spreading the fingers wider, pressing into the base of the thumbs, and shortening the hold in the cobra. If discomfort persists, a wrist-friendly alternative is the same drill performed on fists or with a folded mat under the palms.
What can I substitute for the Inchworm To Cobra in a warm-up?
A combination of a standing forward fold, a plank walk-out, and a separate cobra or upward-facing stretch covers the same ground. The combined drill simply links them into one continuous flow.
How many reps of the Inchworm To Cobra should I do?
Three to five controlled repetitions work well as a warm-up, with a one or two breath hold in the cobra each time. Focus on smoothness rather than adding reps quickly.
Is it safe for my lower back to arch in the cobra position?
A gentle spinal extension is a normal, useful movement, but it should be built gradually and stay free of pain. Keep the arch modest, lead with the chest, and reduce the range if you feel any pinching or discomfort in the lower back.