Feet Front Tap
Feet Front Tap is a simple standing drill where you balance on one leg and tap the other foot lightly on the floor in front of you, then return it to the start and repeat on the other side. It looks almost too easy, but that is exactly why it works: every tap asks your standing leg to hold you steady while your moving leg travels forward under control. No equipment is needed, just enough floor space to stand with your feet hip-width apart and a wall or chair nearby if your balance is still a work in progress.
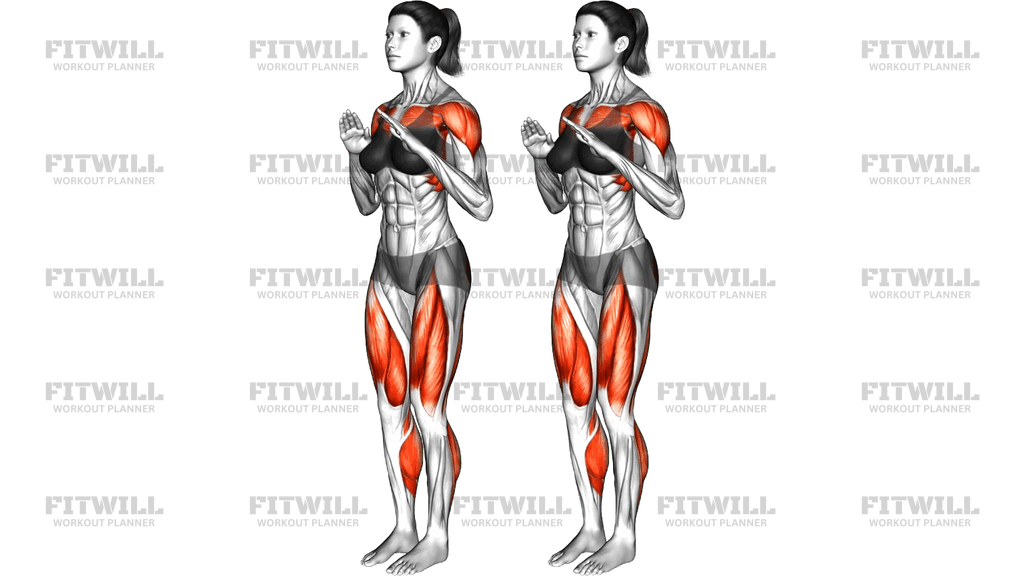
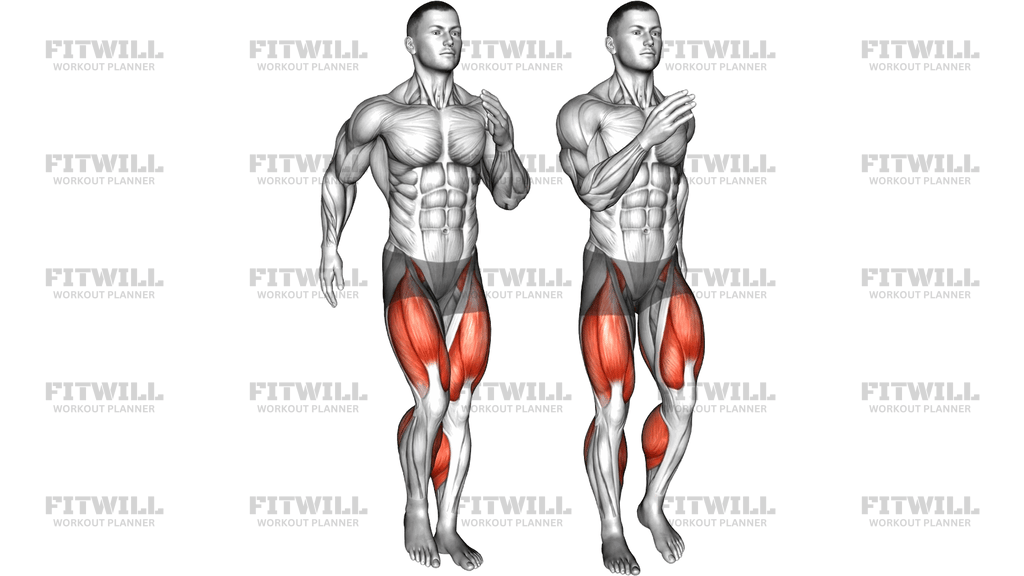
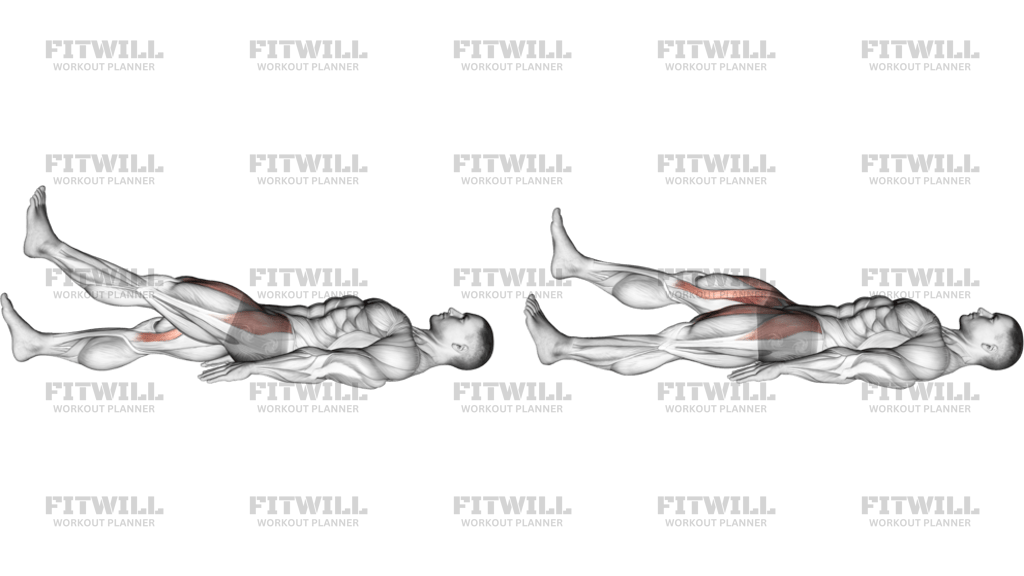
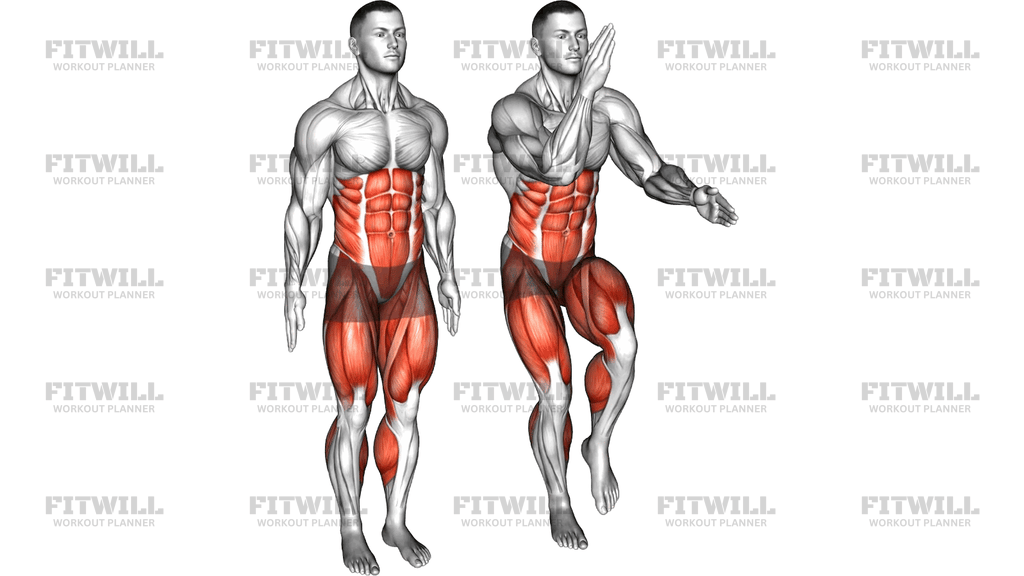
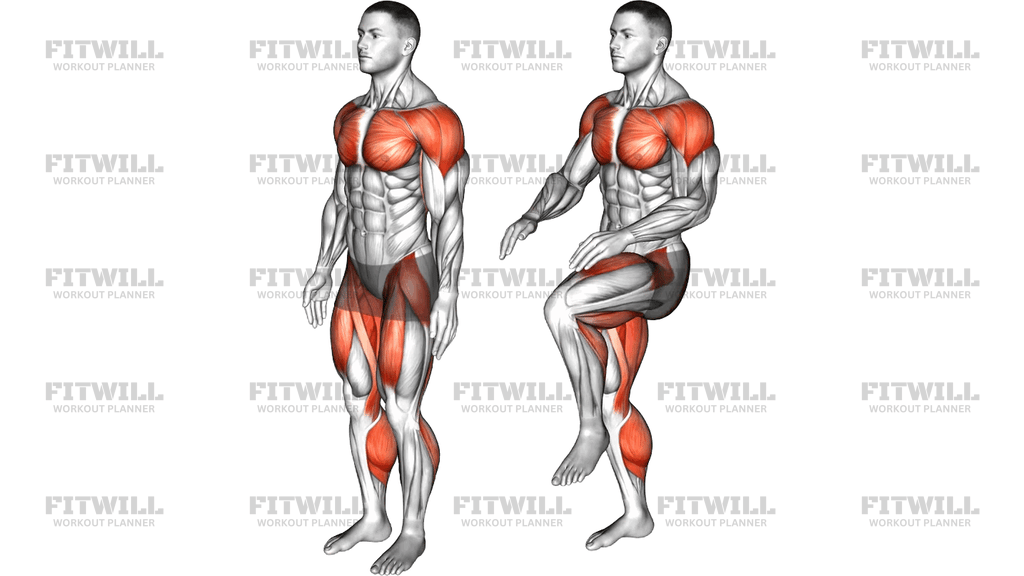
This movement earns its spot in warm-ups, balance blocks, and low-impact lower body sessions. It trains the hip flexors of the tapping leg as it lifts and reaches forward, the quads on the front of the thigh as you control the descent of the foot, and the glutes and calf muscles of the standing leg as they make constant small corrections to keep you upright. Your core stays quietly busy the entire time, bracing to stop your torso from wobbling every time one foot leaves the ground.
Setup matters more than it seems. Stand tall with your weight stacked over the middle of one foot, ribs down, and your gaze fixed on a still point at eye level. If you start the set already leaning back or locking the standing knee, every rep gets sloppier from there. A tall spine with a soft bend in the standing knee gives you a stable base and lets the ankle do its job of absorbing and correcting.
Execution is about control, not speed. Lift one foot, reach it forward, and tap the ground with your toes or the ball of your foot a comfortable distance ahead of you, then lift the foot straight back to standing without letting it rest or drag. The tap should be light, almost like testing thin ice. Keep your hips square to the front the whole time; the most common giveaway of a rushed rep is the pelvis rotating or the torso tipping toward the tapping side.
Feet Front Tap fits a lot of situations. It is a gentle reintroduction to single-leg work for beginners, a balance refresher before squats or lunges, a useful drill for older adults who want to stay steady on their feet, and a low-fatigue filler between harder exercises. Because it needs no equipment and puts minimal load on the joints, it is also an easy movement to practice daily.
Stay honest with the tempo and the range. If you find yourself slamming the foot down, shortening the reach, or using the wall for support on every rep, slow down and reduce the forward distance until you can perform the tap cleanly. Progress by reaching the foot farther forward, pausing for a beat with the foot hovering just above the floor, or performing all reps on one side before switching.
[ Workout Log & Planner ]
Put your next workout in Fitwill
Keep your plan and training log ready when you are.


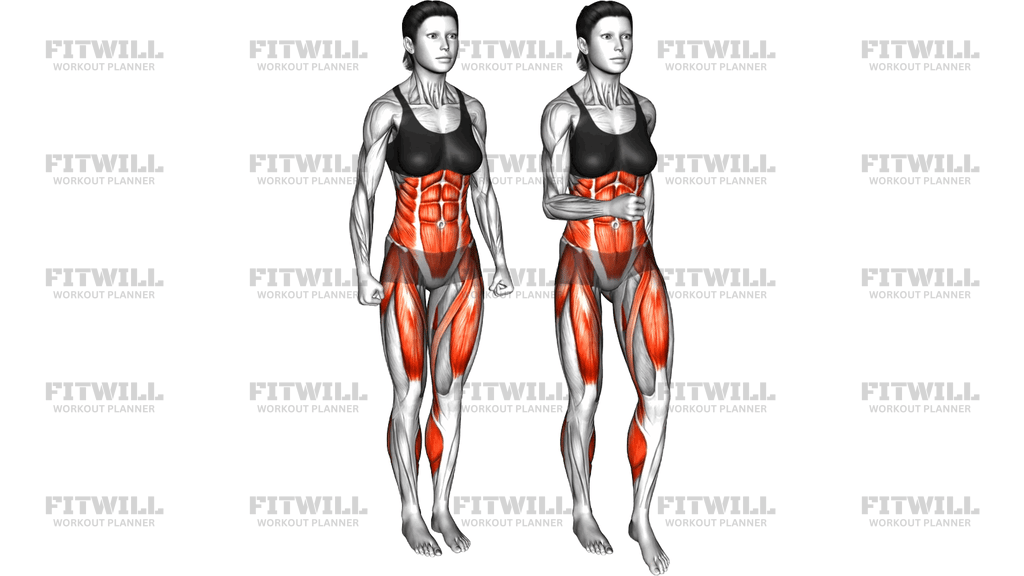
Instructions
- Stand tall with your feet hip-width apart, arms relaxed at your sides, and shift your full weight onto one leg so the other foot hovers just off the floor.
- Soften the bend in your standing knee slightly and brace your abs as if bracing for a light nudge to the stomach.
- Pick a fixed point at eye level to stare at; keep your gaze forward rather than looking down at your feet.
- Slowly lift the free foot and reach it forward, extending the leg in front of you with the toes pulled slightly up.
- Lightly tap the floor with the ball of your foot or toes a comfortable distance in front of your body, keeping the tap soft and brief.
- Keep your hips square to the front and your torso upright; do not lean your chest back or let the pelvis rotate as the foot reaches.
- Lift the foot straight back off the floor and return it to standing beside the other foot without resting your weight on it mid-rep.
- Exhale as you reach the foot forward and inhale as you bring it back, keeping your breathing steady throughout the set.
- Complete the desired number of taps on one side, then switch legs, or alternate feet rep by rep if you prefer.
- Between sets, shake out the ankles and reset your stance so each set starts balanced on a fresh, stable base.
Tips & Tricks
- If your standing ankle starts burning or twitching, that is normal early on; the calf and ankle stabilizers are doing real work, so shorten the set rather than widening your stance.
- A common mistake is looking down at the tapping foot, which drops the chest and throws off balance. Keep your eyes on a fixed point at eye level instead.
- Do not let the tapping foot slam down. A heavy tap means you are dropping the leg instead of lowering it under control from the hip.
- Watch for the torso tipping backward as the foot reaches forward. Counter this by keeping your ribs stacked over your hips and bracing the abs before each tap.
- If you wobble badly on the standing leg, stand next to a wall and let one or two fingertips rest on it for balance rather than grabbing on with a full hand.
- Keep the standing knee soft but not bent into a mini-squat. A locked knee makes the leg rigid and reactive; an overly bent knee turns this into a different exercise.
- To make the tap harder, hover the foot just above the floor for two seconds before and after the tap instead of returning it to standing.
- Alternate-side reps hide asymmetries. Occasionally do all reps on one leg first to check whether one side is noticeably less steady than the other.
- Perform the drill barefoot or in flat shoes so you can feel the floor through the standing foot and use your toes for balance.
Frequently Asked Questions
What muscles does Feet Front Tap work?
The hip flexors of the tapping leg do the lifting, the quads help control the reach, and the glutes, calves, and ankle stabilizers of the standing leg keep you balanced. Your abs work isometrically to hold your torso steady throughout.
Is Feet Front Tap suitable for complete beginners?
Yes, it is one of the most approachable single-leg drills because the tapping foot can return to the floor every rep. Beginners can stand near a wall and use a fingertip for support until the balance improves.
How far forward should I tap my foot?
Reach only as far as you can while keeping your torso upright and your hips square to the front. A reach of roughly one foot-length ahead of your stance is plenty; distance can increase as control improves.
Why do I wobble when I lift one foot?
Standing on one leg shrinks your base of support, so the ankle and hip of the standing leg must make constant corrections. This improves quickly with practice, especially if you fix your gaze on a still point and avoid rushing the reps.
Should my tapping foot rest on the floor between reps?
Touch it down briefly, but keep the tap light and avoid loading your weight onto it. If you need to fully rest between reps, pause the set, reset your stance, and continue rather than leaning on the tapping foot.
Can Feet Front Tap replace single-leg balance exercises like single-leg stands?
It complements them rather than replacing them. The front reach adds a dynamic hip flexion and ankle control element, while a static single-leg stand trains pure holding balance; doing both covers more ground.
How many reps and sets should I do?
Eight to twelve taps per leg for two to three sets works well as a warm-up or balance drill. Focus on smooth, quiet taps rather than chasing higher numbers.
Is it safe for someone with knee or ankle issues?
The movement is low-load and low-impact, but the standing leg still bears your full weight on one ankle and knee. If you have a current injury or significant instability, get clearance from a healthcare professional first and start with fingertip support on a wall.
How can I make Feet Front Tap more challenging?
Hover the foot just above the floor before and after each tap, increase the forward reach, or slow the tempo so each rep takes several seconds. Performing every rep on one leg before switching also raises the balance demand.