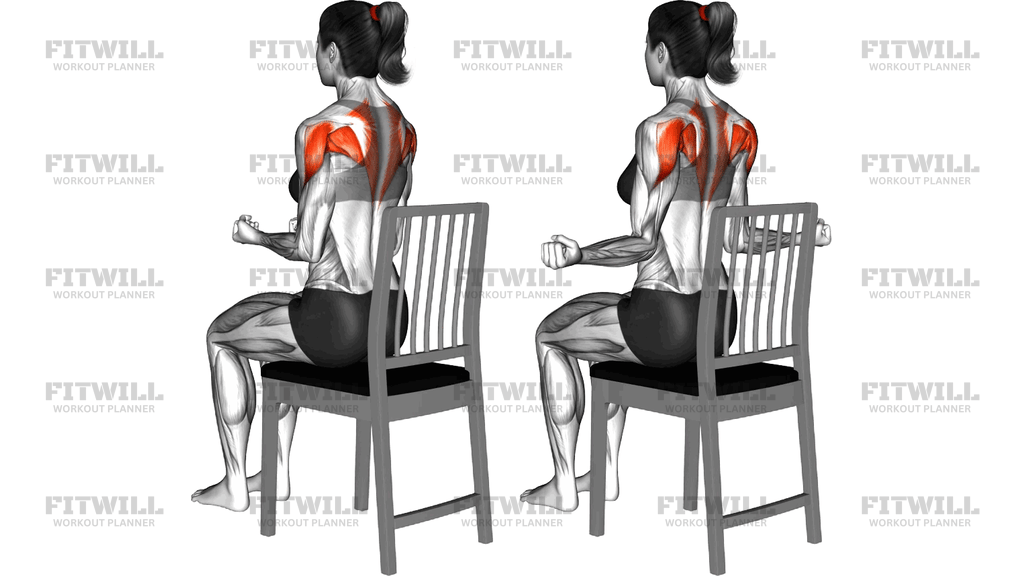
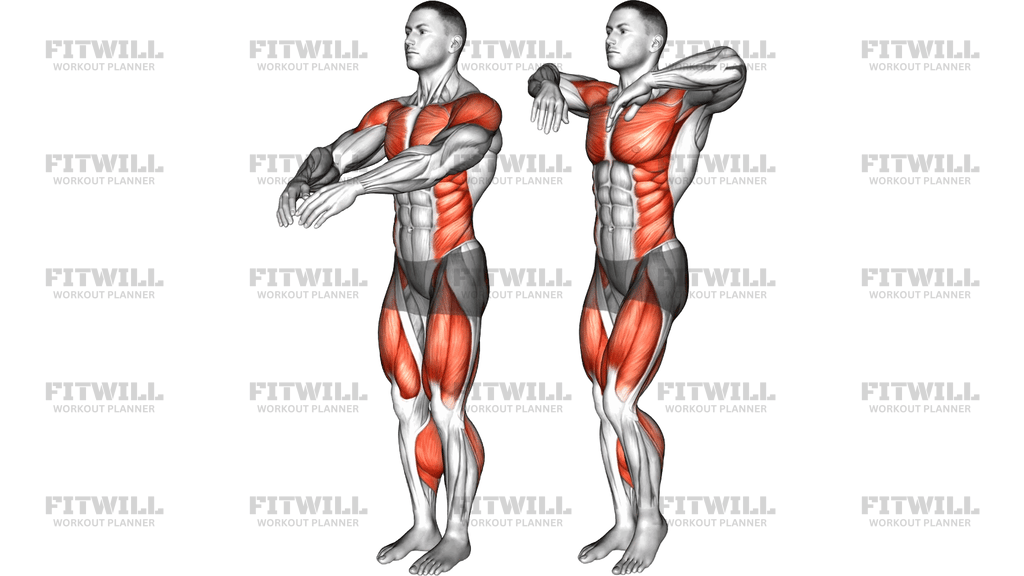
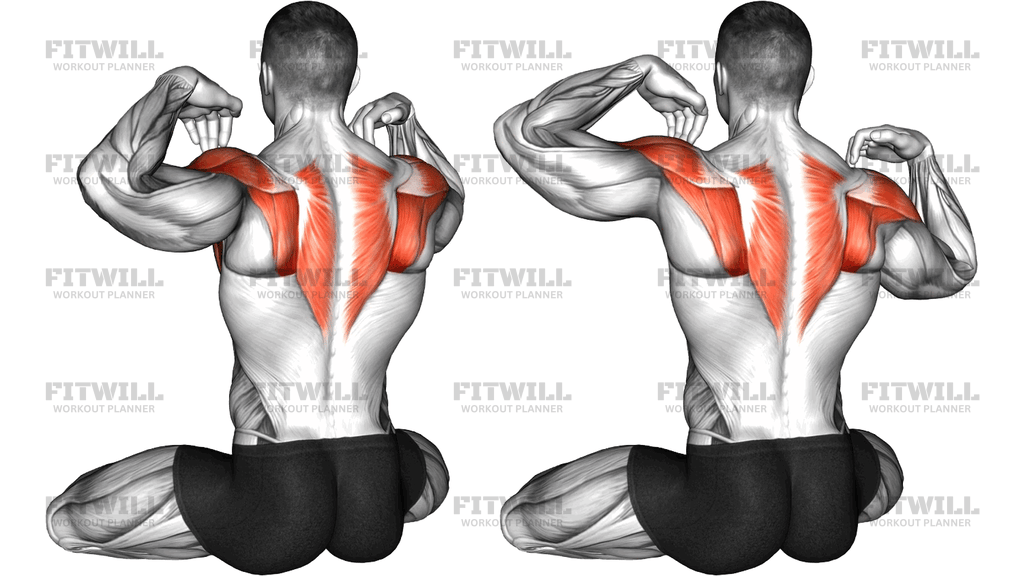
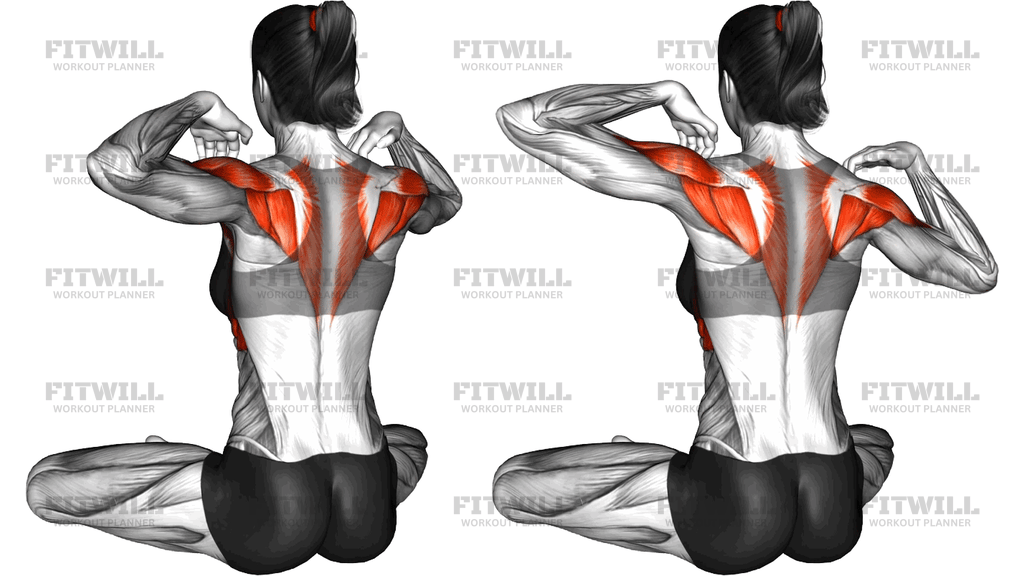
Standing Shoulder Medial And Lateral Rotation
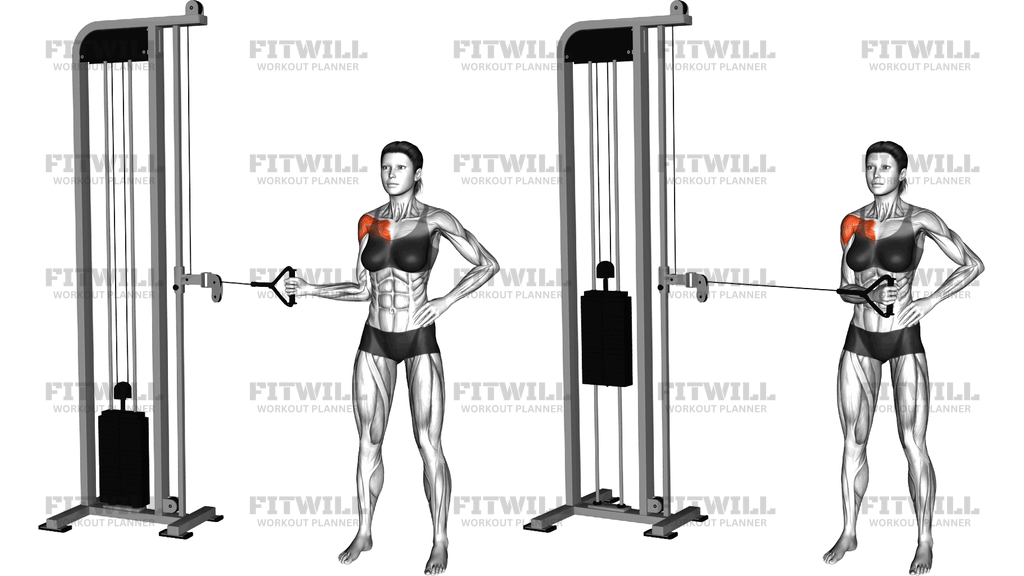
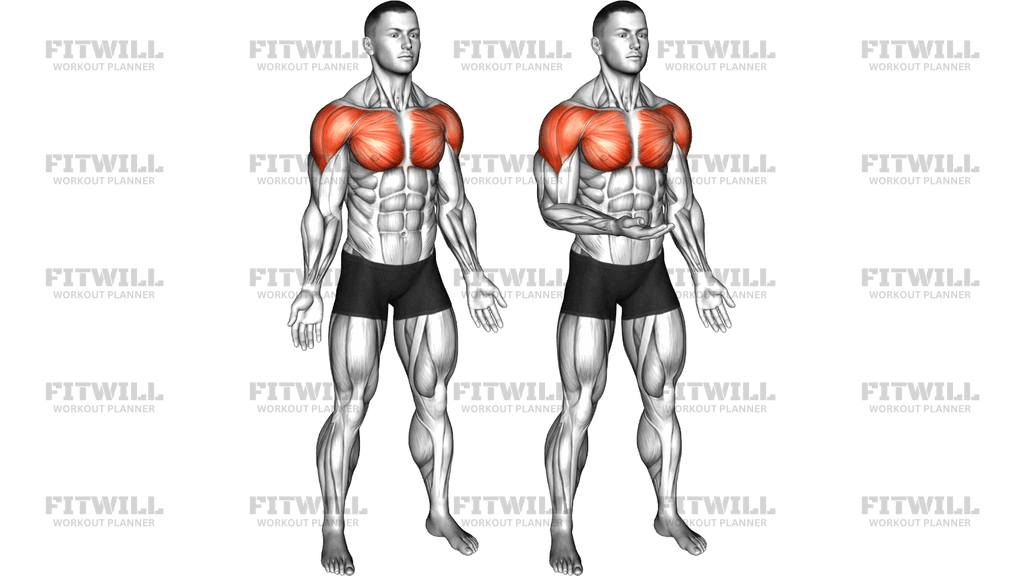
The Standing Shoulder Medial And Lateral Rotation is a simple rotational drill for the shoulder joint performed standing, with the elbow bent to roughly 90 degrees and pinned lightly against the side of the torso. From that position you rotate the forearm inward across the body for medial rotation, then outward away from the body for lateral rotation, tracing a smooth arc like a door swinging on a hinge. No equipment is required, which makes it easy to use as a warm-up, between-set activator, or standalone rotator cuff session at home.
This movement targets the rotator cuff, the group of four small muscles that steer the head of the humerus inside the shoulder socket. Lateral rotation leans on the infraspinatus and teres minor, while medial rotation brings in the subscapularis along with help from the pecs and front delts. Because the arm stays close to the body, the work stays concentrated in these deep rotators rather than spilling into the larger pressing muscles.
The setup is what makes or breaks this drill. Elbow position is everything: keep it bent at 90 degrees and tucked at your side for both directions of rotation. If the elbow drifts away from the ribs, you change the rotation axis and the cuff stops doing the job you want it to do. Stand tall with feet about hip width, ribs stacked over the pelvis, and avoid leaning or shrugging as the arm turns.
Execute each rep slowly and deliberately. Rotate the forearm across your stomach until you feel the end of your comfortable range for medial rotation, pause briefly, then sweep it back out to the side until the forearm points forward or slightly outward for lateral rotation. The tempo should be controlled enough that you could stop the forearm at any point in the arc. Rushing turns a precision exercise into a momentum exercise.
This movement suits anyone rebuilding general shoulder control, lifters who want to warm up the cuff before benching or overhead pressing, overhead athletes managing rotational demands, and desk workers whose shoulders feel stiff and sluggish. It is also a useful diagnostic: comparing left and right range or smoothness often reveals an asymmetry worth addressing.
Keep the effort moderate. The rotator cuff responds better to frequent, crisp, low-tension reps than to maximal squeezing. If you feel pinching at the front of the shoulder or pain at the end range, shorten the arc rather than pushing through, and let comfort and control define your range over time.
[ Workout Log & Planner ]
Put your next workout in Fitwill
Keep your plan and training log ready when you are.


Instructions
- Stand upright with your feet about hip width apart, weight balanced evenly, and your shoulders relaxed down away from your ears.
- Bend one elbow to 90 degrees and tuck it lightly against the side of your ribs, starting with the forearm pointing forward, palm facing inward.
- Brace your trunk gently so your hips and lower back stay still, and let your opposite arm hang loose or rest on your hip for balance.
- For medial rotation, sweep the forearm inward across the front of your body, keeping the elbow glued to your side, until your hand approaches your stomach.
- Pause for a beat at the end of your comfortable range, then reverse the arc outward into lateral rotation until the forearm points forward or slightly out to the side.
- Continue moving between the two ends of the arc in one smooth pendulum-like path, as if the forearm were a door swinging on the elbow hinge.
- Exhale as you rotate inward, inhale as you rotate outward, keeping the breathing steady and unhurried.
- Complete your reps on one side, then switch the drill to the other arm, re-checking that the elbow stays pinned to the ribs before you start.
- Between reps, reset your posture: unshrug the shoulder, soften the grip, and re-stack your ribs over your pelvis before continuing.
Tips & Tricks
- The most common fault is letting the elbow float away from the ribs as the forearm turns, which turns rotation into an arm swing. Imagine a coin balanced on the outside of your elbow that must not drop.
- If you catch yourself shrugging on the working side, drop the shoulder blade down and back before the first rep and check it again every few reps.
- Avoid snapping the forearm back at the outer end of the arc. The cuff works hardest during slow deceleration, so own the last few degrees instead of bouncing off them.
- Do not twist your torso to gain extra range. Rotation should come only from the shoulder joint, so watch that your chest and navel stay facing forward the whole time.
- Keep the wrist neutral and the hand relaxed. Gripping hard or flopping the wrist changes the feel of the rotation and adds unnecessary forearm tension.
- If your range is smaller on one side, match the stiffer side's range on both sides for a few weeks rather than forcing the loose side further.
- Start with no added resistance and higher reps; the position of this drill already provides some load through gravity, and adding weight too early usually degrades the elbow position first.
- Use this drill before pressing or pulling sessions as a wake-up for the cuff, two to three easy sets of controlled rotations per side is usually plenty.
Frequently Asked Questions
Which muscles does the Standing Shoulder Medial And Lateral Rotation work?
It primarily trains the rotator cuff, with the infraspinatus and teres minor handling lateral rotation and the subscapularis driving medial rotation. The front delts and chest assist slightly on the inward turn, but the emphasis stays on the deep rotators.
Why does my elbow need to stay against my ribs during this exercise?
Pinning the elbow keeps the rotation axis consistent, so the cuff rotates the shoulder instead of the arm swinging around. Once the elbow drifts, the larger shoulder muscles take over and the drill loses its precision.
Is the Standing Shoulder Medial And Lateral Rotation suitable for beginners?
Yes, it is one of the most accessible shoulder drills because it needs no equipment and the range is self-limited. Beginners should focus on slow tempo and keeping the elbow tucked rather than chasing a big arc.
How many reps and sets should I do?
Two to three sets of ten to fifteen smooth rotations per side works well, either as a warm-up before upper body training or as a standalone session. Keep the effort light enough that your last rep looks exactly like your first.
Should I feel a stretch at the end of the rotation?
A mild stretch or tension at the end range is normal, but pinching, sharpness, or grinding are signals to shorten the arc. Work within a comfortable range and let it expand gradually over weeks.
Can I do both medial and lateral rotation on the same set?
Yes, that is the standard way to perform it, sweeping from the inward position to the outward position and back counts as one full rep. This trains both rotational directions in a continuous, controlled path.
What can I use if I want more resistance than body weight?
A light resistance band anchored at hip height, or a very light dumbbell held in the hand, can be added later while keeping the identical elbow-tucked setup. Progress resistance only when you can keep the elbow and torso perfectly still.
How is this different from the wall or side-lying rotation versions?
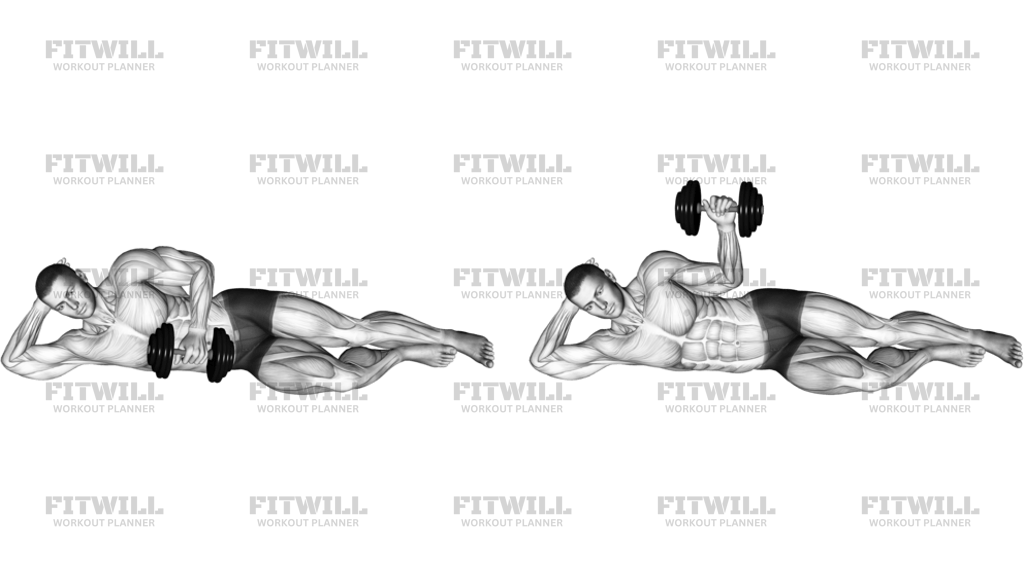
Standing makes it the easiest version to set up and the most forgiving, while side-lying variations isolate each arm against gravity more directly. The standing version works well as an entry point and as a warm-up before harder variations.
My shoulder clicks during the rotation. Is that a problem?
Painless clicking is common and usually harmless, especially at moderate speeds. If the clicking comes with discomfort or a catching sensation, reduce the range, slow the tempo, and if it persists, get it assessed before continuing.