Push Up (Bosu Ball)
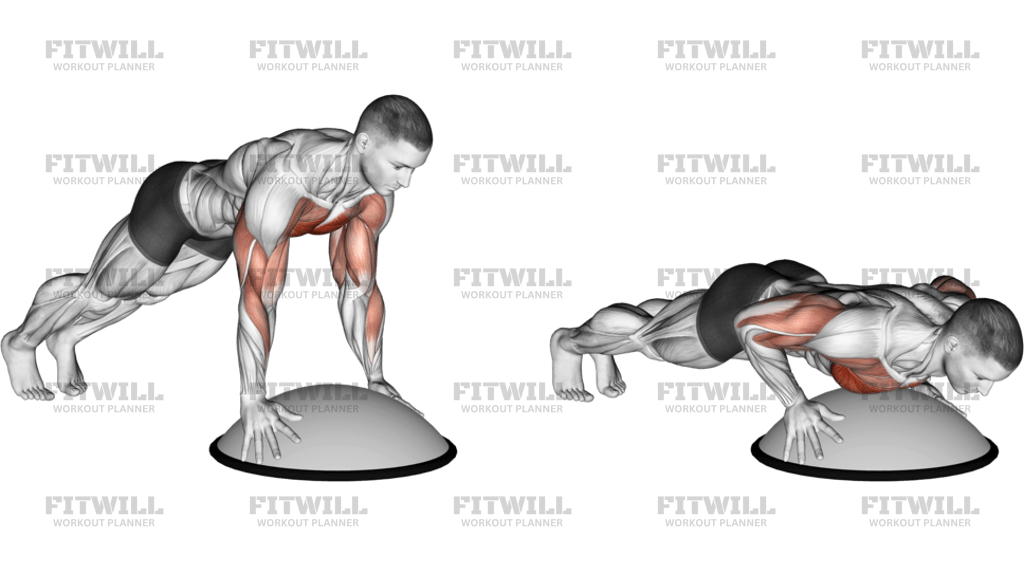
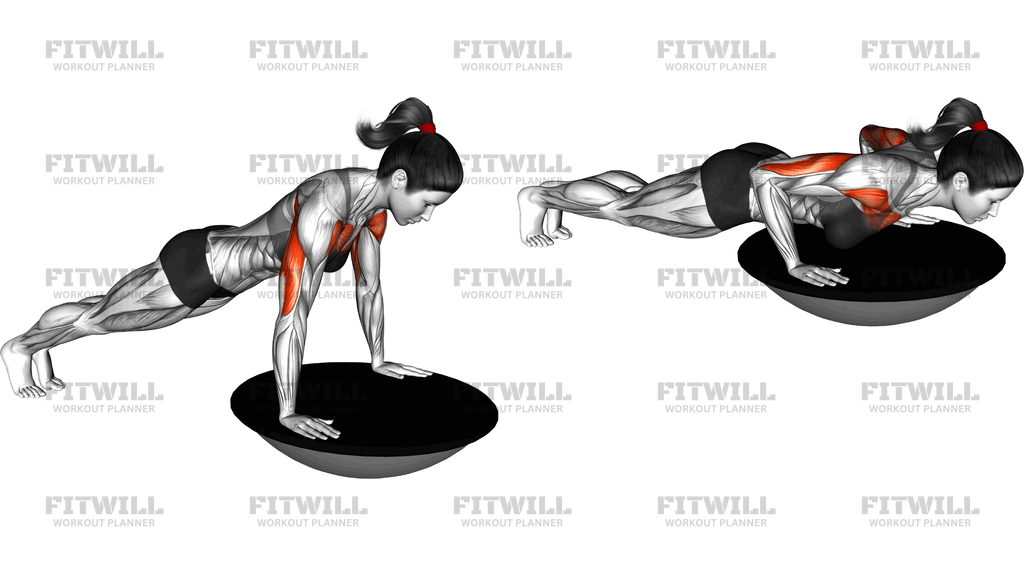
The Push Up (Bosu Ball) is a standard push-up performed with both hands placed on the flat, plastic base of a Bosu ball while the dome sits face-down on the floor. Because the flat surface is unstable and wants to tip toward one edge, every rep forces your chest, triceps, and shoulders to press while your deep core, wrists, and shoulder stabilizers work overtime to keep the ball level and your body in a straight line. It looks like a small equipment change, but it turns one of the most familiar bodyweight exercises into a genuine stability challenge.
This version is a good fit once you can perform 15 or more solid reps on the floor and want a new stimulus without adding external load. It suits intermediate lifters, athletes who train for sports that demand balance and reactive control, and anyone whose pressing progress has stalled and needs a fresh coordination demand. Because the ball exaggerates every asymmetry, it also works well as a self-assessment tool: if one side keeps dipping, you have found a weakness worth addressing.
The main muscles doing the pressing are the chest, with strong help from the triceps and front shoulders. The secondary work is where this exercise earns its place in a program. Your deep core muscles brace to stop your hips from sagging while your hands wobble, your shoulder stabilizers fight to keep the shoulder joint centered under load, and the muscles around the wrists and forearms constantly adjust to the shifting surface. You are not building drastically more chest strength than a floor push-up, but you are training control and joint stability that a stable surface never asks for.
Setup matters more here than in a regular push-up. Hand placement on the ball dictates everything: too narrow and the ball tips side to side, too wide and it rocks front to back while your shoulders lose the pressing line. Place your hands on opposite sides of the flat surface, roughly shoulder-width, with your fingers gripping the edge for security. Start with the dome side down, which is the more stable orientation shown here, before considering flipping the ball for a much harder variation.
Execution should look almost identical to a quality floor push-up, just slower. Set a straight line from head to heels, brace your abs, and lower your chest toward the ball with your elbows around 45 degrees from your torso. The descent should be deliberate, because rushing it is exactly when the ball tips and your wrists collapse. Touch close to the ball or hover just above it, then press away while actively pushing the ball evenly into the floor so it stays level.
A few practical points keep this safe and productive. Progress from floor push-ups to knee push-ups on the ball, or to a single hand on the ball and one on the floor, before jumping straight to the full version. Keep a mat under the ball in case it slips, and stop the set the moment your lower back starts dipping or your wrists start aching. The value of this exercise comes from clean, controlled reps, not from grinding out extra volume on a wobbling surface.
[ Workout Log & Planner ]
Put your next workout in Fitwill
Keep your plan and training log ready when you are.


Instructions
- Place a Bosu ball dome-side down on a non-slip floor or exercise mat so the flat plastic base faces up.
- Kneel behind the ball, set both hands on the flat base at roughly shoulder width with your fingers curled over the edges, then walk your feet back into a full push-up position.
- Position your shoulders directly over your wrists and form one straight line from your head through your heels, squeezing your glutes to lock your hips in place.
- Brace your core as if bracing for a light punch, and press the ball evenly into the floor with both hands so it sits level before you start the rep.
- Bend your elbows to about 45 degrees from your torso and lower your chest slowly toward the ball, keeping it from tipping toward either side.
- Descend until your chest is just above the flat surface or lightly touches it, with your elbows still tracking behind your wrists.
- Press through both palms to straighten your arms, actively pushing the ball flat as you rise so it does not rock or tilt.
- Breathe in as you lower and exhale as you press back up, keeping the breath steady rather than holding it under tension.
- Reset your brace and check that the ball is level again before starting the next rep.
- When your form or the ball's balance starts to break down, finish the set and step off one hand at a time rather than collapsing onto the ball.
Tips & Tricks
- The most common failure point is one hand pressing harder than the other, which sends the ball tipping sideways. Fix it by imagining you are trying to crush the ball flat between your palms on every rep.
- If the ball rocks front to back during the descent, you are lowering too fast. Count a slow two to three seconds down; the ball rewards patience and punishes momentum.
- Hips sagging while your hands wobble means your brace is failing, not your chest. Practice holding a straight-arm plank with your hands on the ball for 20 to 30 seconds before adding the push-up.
- Keep your elbows at roughly 45 degrees from your ribs. Flaring them to 90 degrees loads the ball unevenly and puts your shoulder stabilizers in a weaker position.
- Wrist discomfort usually comes from gripping the edge too hard or letting your weight roll past the heel of your hand. Spread your fingers, center your palms, and keep your weight over the middle of each hand.
- If you cannot keep the ball level for even one rep, regress to placing only one hand on the ball and one hand on the floor, or drop to your knees while your balance adapts.
- Your neck should stay in line with your spine; craning to watch the ball tilts your whole pressing line and makes wobbling worse.
- Expect slower strength progress on this variation and treat it as a control exercise. Pair it with regular floor push-ups or weighted pressing rather than replacing them entirely.
- Check the floor surface before you start: a Bosu ball can slide on smooth hardwood or tile, so use a mat underneath or verify grip before loading your hands on it.
Frequently Asked Questions
What muscles does the Push Up (Bosu Ball) work?
The chest, triceps, and front shoulders do the pressing, while the deep core, shoulder stabilizers, and forearm muscles work continuously to control the unstable flat surface of the Bosu ball.
Is the Push Up (Bosu Ball) harder than a regular push-up?
It is harder in terms of balance and control, though the chest and triceps load is similar. Most people find they can do fewer clean reps with hands on the ball than on the floor.
Should the Bosu ball be dome-side down or dome-side up?
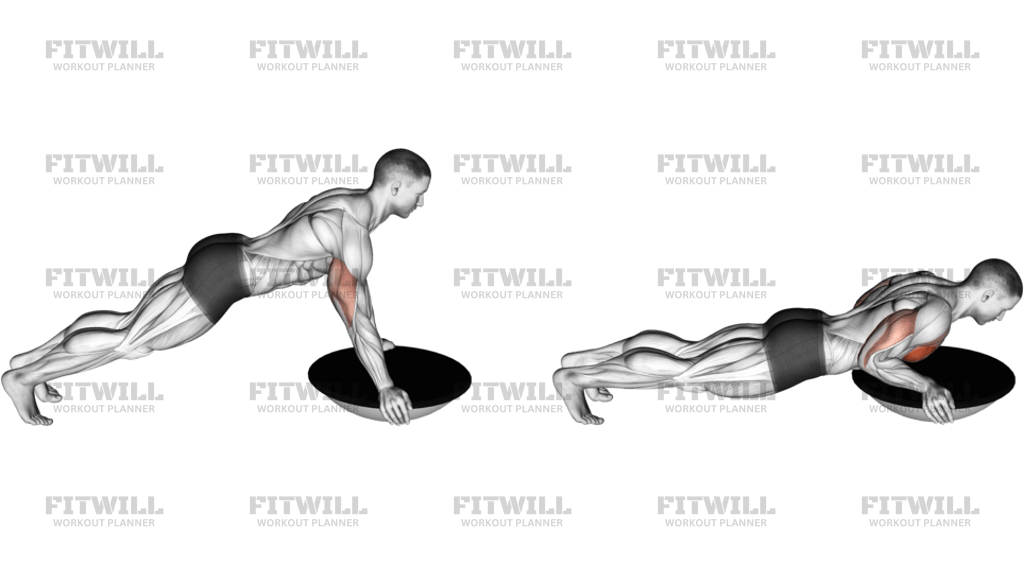
Dome-side down with your hands on the flat base, as this is the standard and more stable setup. Dome-side up is a far more demanding variation and is not a good starting point.
Can beginners do the Push Up (Bosu Ball)?
Beginners are better served by mastering floor push-ups first. A reasonable bridge is doing knee push-ups with one or both hands on the ball until the ball stays level for a full set.
Why does the Bosu ball keep tipping to one side during my push-ups?
This usually means one arm is stronger or pressing harder than the other, or your hand positions are uneven on the ball. Recheck that both hands are mirrored at shoulder width and consciously match the pressure from each palm.
What is the biggest mistake to avoid with this exercise?
Letting the lower back sag as the ball wobbles. Once your hips drop, you lose the core benefit and start stressing your lumbar spine, so end the set when you can no longer hold a straight line.
What can I use instead of a Bosu ball for push-ups?
A stability ball under the hands, a pair of rolled towels or pads, a balance board, or suspension handles all create a similar instability challenge for the pressing muscles.
How many reps and sets of the Push Up (Bosu Ball) should I do?
Two to four sets of 6 to 12 controlled reps works well, always stopping when the ball starts tilting or your hips sag rather than grinding out extra reps.
Is the Push Up (Bosu Ball) safe for my wrists?
It is generally fine if your palms are centered on the ball and your weight stays over the middle of each hand. If you have existing wrist issues, keep the weight on the heel of the palm, grip the edges lightly, or stick to floor push-ups.
How do I progress from the Push Up (Bosu Ball)?
Once you can complete several sets with the ball staying level, elevate your feet on a low bench, slow the lowering phase, or flip the ball dome-side up for a dramatically harder balance demand.