Standing Twist Air Bike
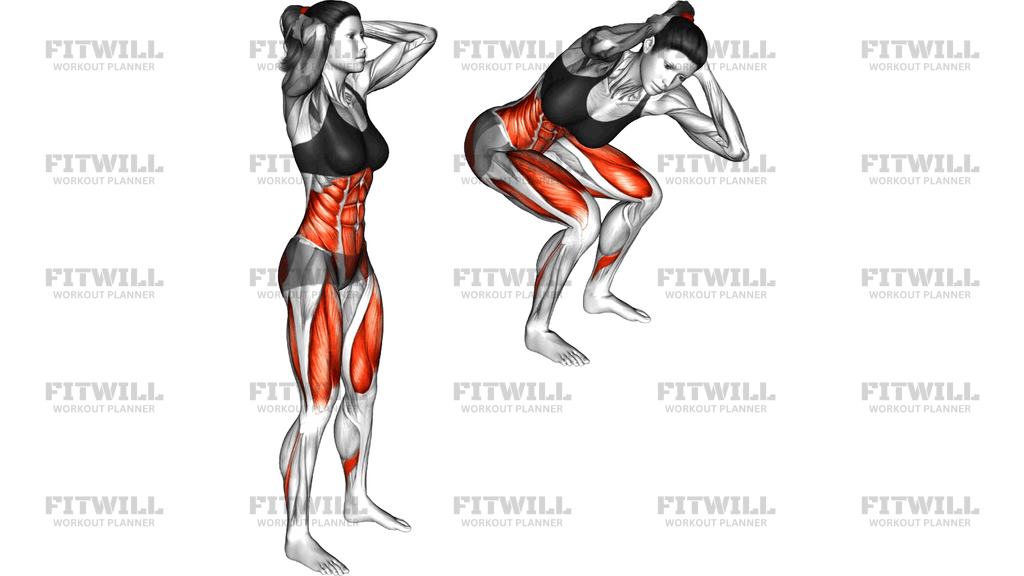
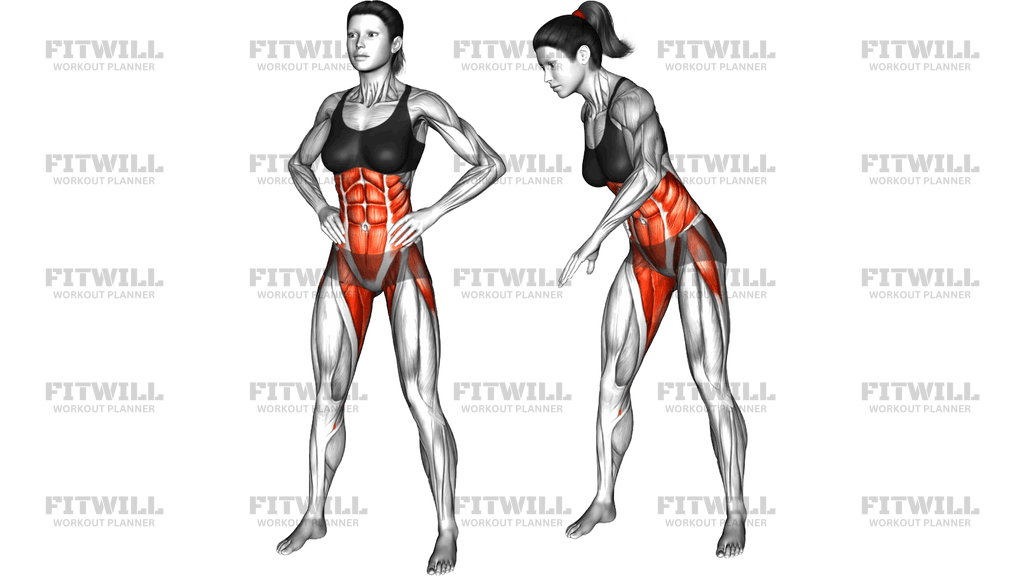
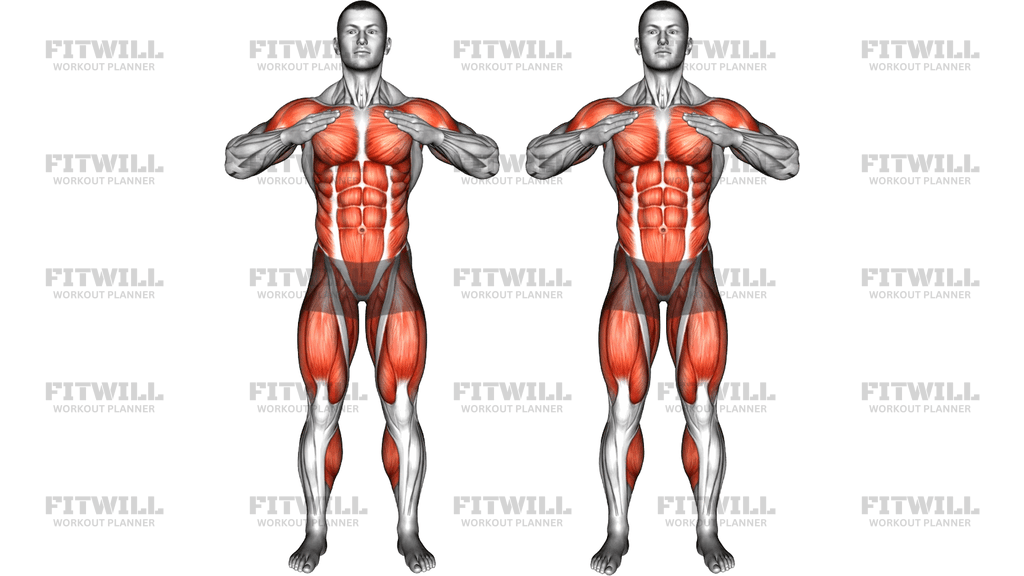
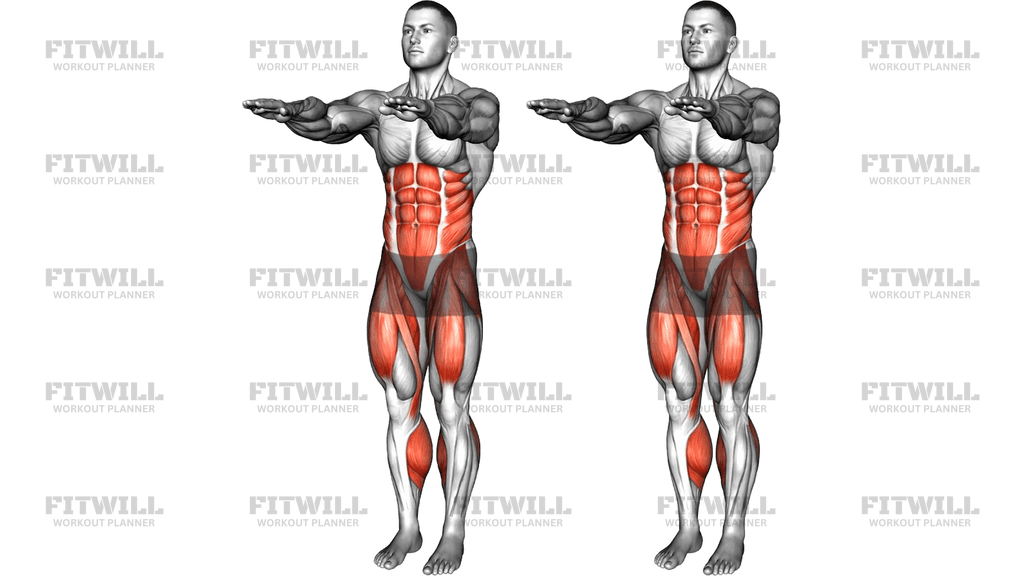
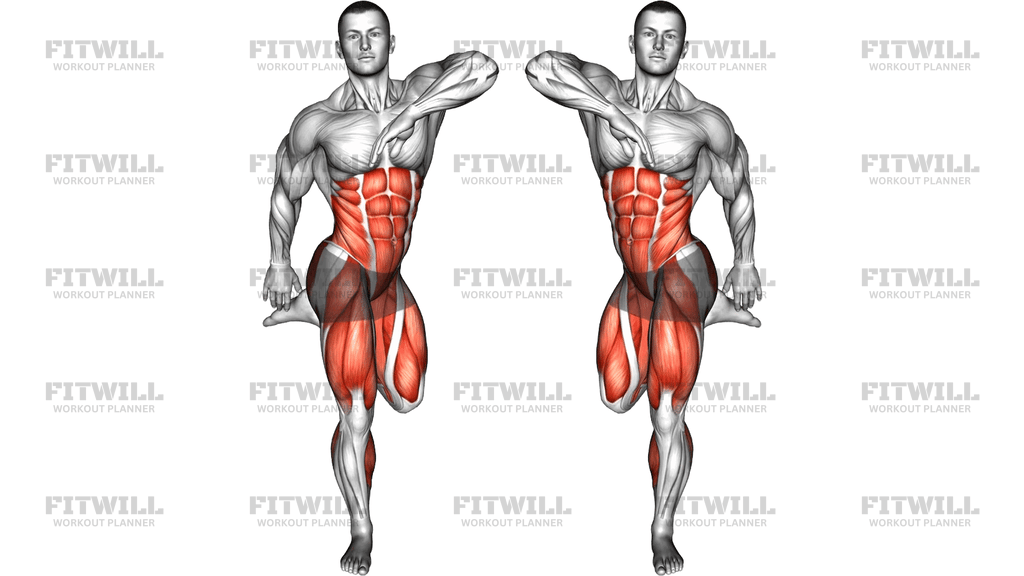
The Standing Twist Air Bike is a body weight core exercise that recreates the alternating, pedaling rhythm of a bicycle crunch while you stay on your feet. You stand with your hands behind your head and rotate your ribcage from side to side, sweeping each elbow down and across toward the opposite hip in a continuous cycling pattern. Because there is no floor contact for your back, your entire trunk has to stabilize itself while your legs keep you balanced.
This movement works the obliques along the sides of your waist as the primary drivers of the rotation, with the rectus abdominis and deeper core muscles bracing throughout. Your thighs and calves stay active to keep you grounded, and your shoulders and upper back assist as the elbows travel through each rotation. The elevated heart rate it produces also makes it a useful conditioning drill, not just a core exercise.
It suits warm-ups, circuit training, and home workouts where no equipment is available. Anyone who finds bicycle crunches uncomfortable on the lower back often tolerates the standing version better, since the spine stays lengthened and the hips and legs absorb more of the load. It is also a practical option for older trainees or beginners rebuilding rotational control without getting down on the floor.
Setup matters more than it looks. A stance about shoulder-width to slightly wider gives you a stable base for rotation, and placing your hands lightly behind your head — rather than pulling on your neck — keeps the emphasis on your trunk. Soft knees and a braced core protect your lower back as your ribcage turns.
To execute it well, rotate from the torso rather than swinging your arms. Each elbow should drive toward the opposite side of your waist, and your hips can turn slightly with the motion while your feet stay planted. Keep the rhythm steady and controlled; cranking fast and loose turns this into a neck-and-shoulder exercise very quickly.
The most common use cases are fat-loss circuits, core finishers, and dynamic warm-ups before sports that involve rotation. Keep the reps moderate at first, focus on feeling each side of your waist work, and only speed up once the pattern feels smooth and your neck stays relaxed.
[ Workout Log & Planner ]
Put your next workout in Fitwill
Keep your plan and training log ready when you are.


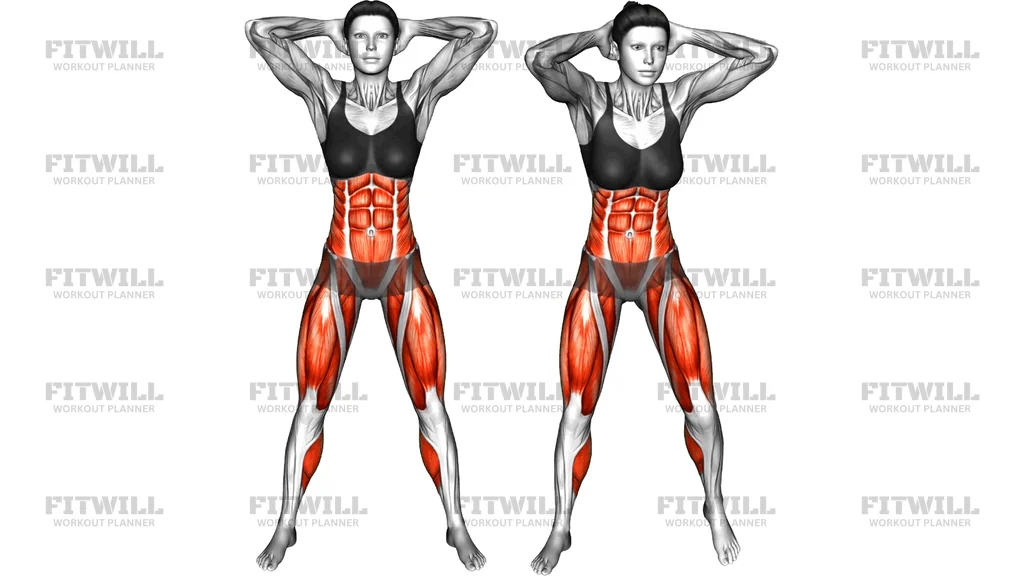
Instructions
- Stand with your feet about shoulder-width apart or slightly wider, toes turned out a few degrees, and let your knees stay soft.
- Place your fingertips lightly behind your head or ears and open your elbows out to the sides so they stay visible in your peripheral vision.
- Brace your abdominal muscles as if preparing for a light push, and keep your chest lifted with your gaze forward.
- Shift slightly onto the ball of one foot and rotate your torso, driving one elbow down and across toward the opposite hip while your ribcage turns.
- Rotate through the other side in a smooth, pedaling rhythm, alternating elbows as if cycling in place.
- Keep the rotation coming from your waist and ribcage — your arms just follow the turn rather than leading it.
- Stay light on your feet, letting your heels rise slightly with each turn, and keep your knees bent to absorb the rotation.
- Breathe steadily throughout, exhaling as each elbow sweeps across and inhaling as you return to center.
- Continue for your target time or rep count, then slow the pace for the last few turns before bringing your feet back together to reset.
Tips & Tricks
- If you feel strain in your neck, your hands are probably pulling on your head — rest your fingertips behind your ears and let the elbows do the traveling.
- Swinging the arms quickly without turning the ribcage is the most common fault; slow down until you can feel the side of your waist contract on every turn.
- Keep your knees soft. Locked knees combined with fast rotation transfers stress into the lower back instead of the obliques.
- Don't let your feet stay glued flat to the floor — a slight heel lift on the turning side lets the hips rotate naturally and protects your spine.
- If you find yourself holding your breath during fast sets, drop the speed; this move should feel like steady cycling, not sprinting, until your conditioning improves.
- A wider stance makes the rotation easier to control; if you wobble, step your feet out a few inches before adding speed.
- Keep your chest tall rather than rounding forward toward your knees — the twist should come from a long spine, not a hunched one.
- For a tougher core challenge, pause briefly at the end of each rotation instead of bouncing straight back the other way.
Frequently Asked Questions
Which muscles does the Standing Twist Air Bike work?
The obliques on the sides of your waist drive the rotation, supported by the rectus abdominis and deeper core muscles. Your quads, calves, and hips stay active to keep you balanced while standing.
Is the Standing Twist Air Bike good for beginners?
Yes. Because it is performed standing with no equipment, beginners can start with slow, small rotations and build speed and range as their coordination improves. It is often easier on the lower back than floor-based bicycle crunches.
Where should my hands go during the Standing Twist Air Bike?
Place your fingertips lightly behind your head or ears with elbows opened wide. The hands are there to support the head position only — never pull on your neck to force the rotation.
Should my feet stay flat or move during the twist?
Your feet stay planted in the same spot, but your heels can rise slightly and your hips can turn with each rotation. Forcing the feet completely flat makes the lower back absorb more of the twist.
How is the Standing Twist Air Bike different from a regular bicycle crunch?
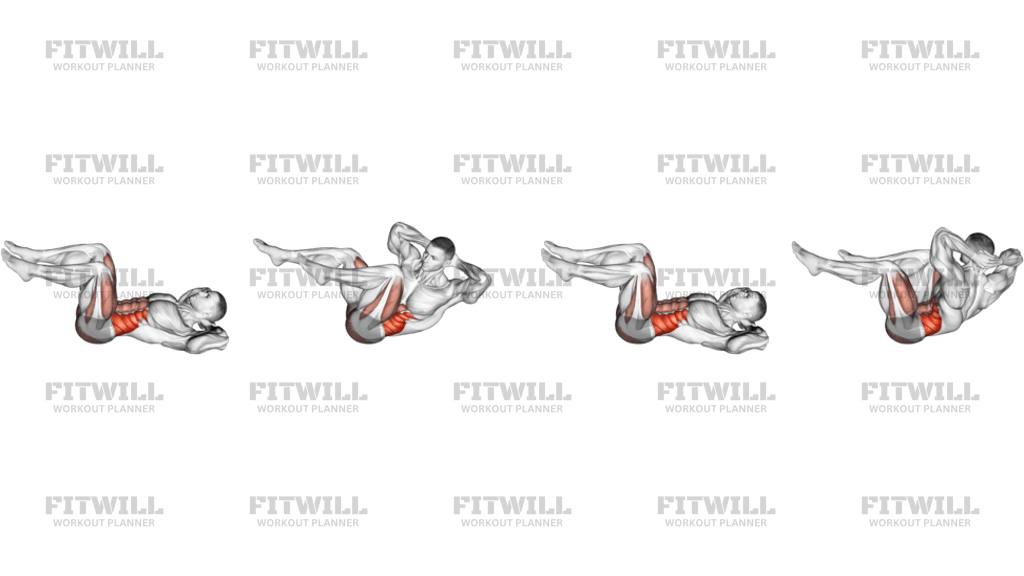
The bicycle crunch is done lying on your back with alternating knee and elbow movement, while this version keeps you standing and rotating side to side. The standing position adds balance demand and keeps the spine in a longer, more neutral line.
How fast should I perform the twisting motion?
Start at a controlled, steady pace where each elbow clearly sweeps toward the opposite hip. Once the pattern feels smooth and your neck stays relaxed, you can speed up for conditioning.
Can the Standing Twist Air Bike help reduce waist fat?
It strengthens and conditions the muscles around your waist and burns some calories, but no single exercise targets fat loss in one area. Combine it with overall training and nutrition habits for body composition changes.
My lower back aches when I do this exercise — what should I change?
Slow down, reduce how far you rotate, and check that your knees are bent and heels are allowed to lift with the turn. If discomfort continues, shorten the set or switch to a slower standing rotation with a smaller range.
What can I use instead if standing is difficult?
Seated torso rotations or a standard floor bicycle crunch train a similar rotation pattern. You can also hold onto a sturdy chair back with one hand to reduce the balance demand while learning the movement.
How many reps or how long should I perform the Standing Twist Air Bike?
Aim for 20 to 40 seconds of continuous alternating twists per set, or roughly 20 to 30 total turns. Add rounds or speed gradually as your coordination and conditioning improve.