Seated Forward Reach To W Pose
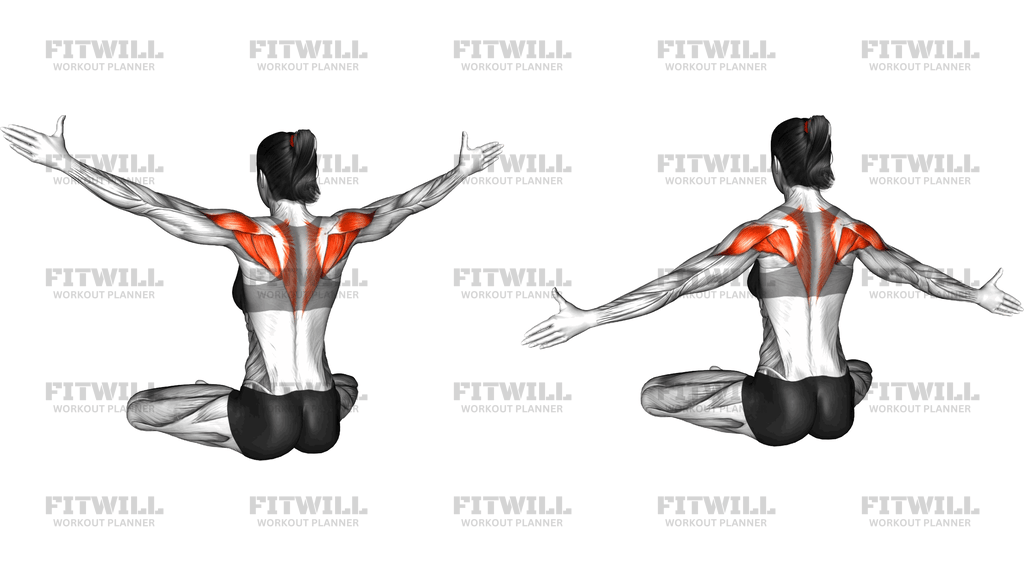
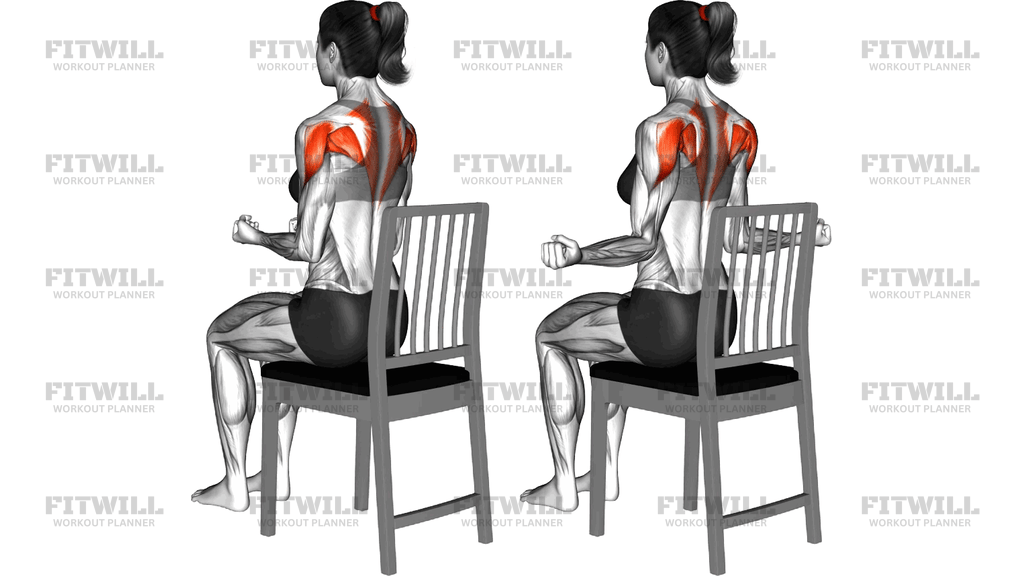
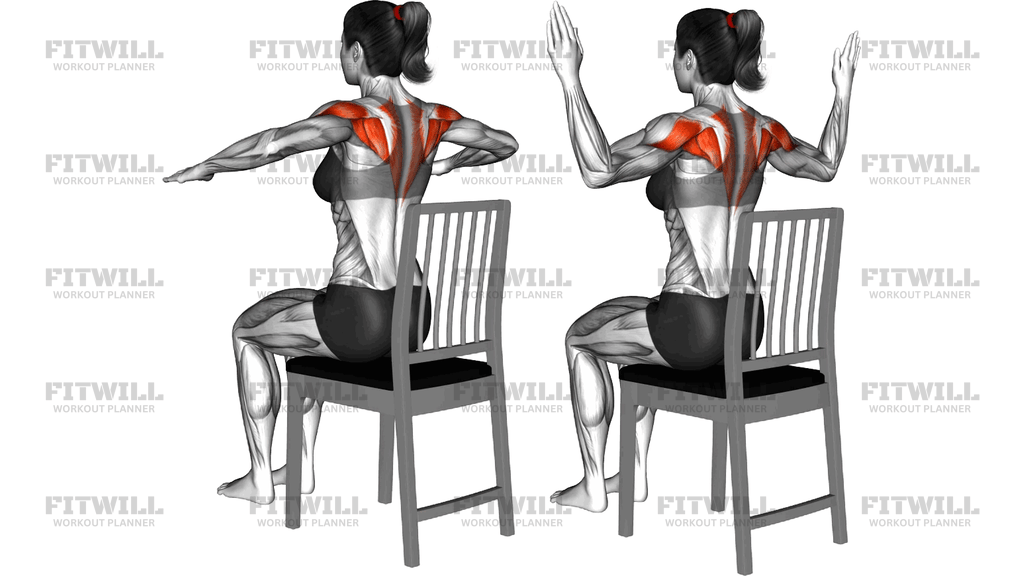
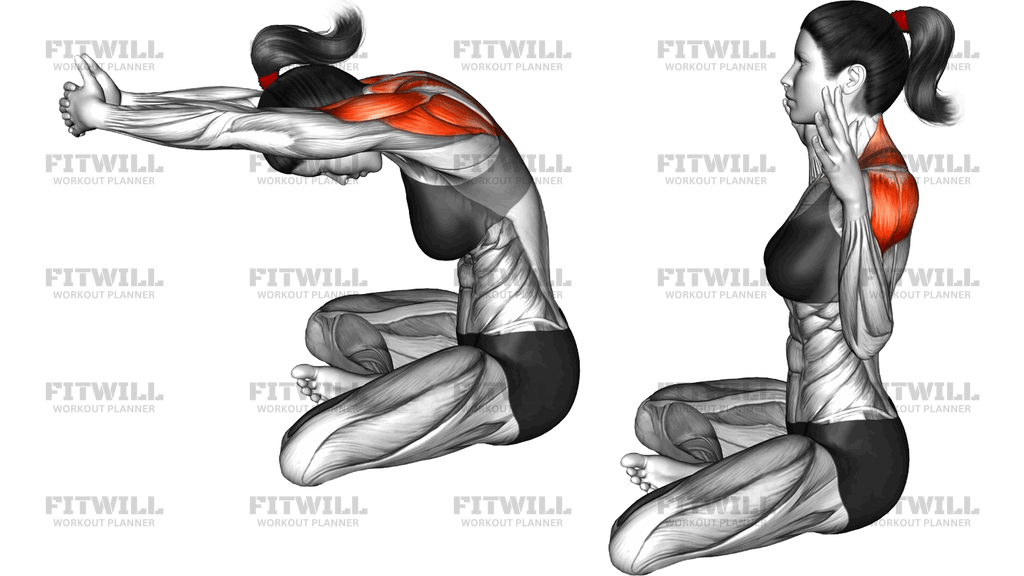
The Seated Forward Reach To W Pose is a body-weight mobility drill performed from a kneeling, heels-sitting position. You flow between two distinct arm positions: a rounded forward reach with the arms extended and fingers interlaced, and an upright W position with the elbows bent and drawn back beside the ribs. The transition between these two shapes moves the shoulder girdle through a wide arc, lengthening the upper back after each reach and then reactivating the muscles between the shoulder blades as the elbows pull back.
This combination makes the drill useful for anyone who spends long hours sitting at a desk or driving. The forward reach rounds the thoracic spine and stretches the muscles along the spine and the rear of the shoulders, while the W position pulls the shoulder blades together and opens the chest. Because the movement is done slowly and under your own control, it doubles as light strengthening for the rear shoulders, rhomboids, and mid traps, not just passive stretching.
Setup matters more than it looks. Sitting back on your heels gives you a stable base so the work happens in the upper back and shoulders instead of the hips compensating. Keeping the ribs stacked over the pelvis in the W position prevents the lower back from arching to fake extra shoulder range. Interlacing the fingers during the reach lets you push the hands genuinely away, which is what creates the stretch through the upper back rather than just dropping the head down.
To execute it well, move with the breath: exhale as you round forward and press the hands long, inhale as you sit tall and draw the elbows back into the W. The reach should feel like someone is pulling your fingertips away from your body, and the W should feel like the shoulder blades are gently pinching toward the spine. Avoid forcing the head down or shrugging the shoulders toward the ears at either end.
Common use cases include desk-worker warm-ups, cooldowns after upper-body training, posture-focused routines, and gentle mobility work for people easing back into exercise. It requires no equipment and very little space, so it fits easily into breaks during the workday. Move within a comfortable range and keep the motion smooth; if either position causes pinching in the shoulders or sharp pain anywhere, reduce the range or stop and adjust your hand position.
Fitwill
Log Workouts, Track Progress & Build Strength.
Achieve more with Fitwill: explore over 9600 exercises with images and videos, access built-in and custom workouts, perfect for both gym and home sessions, and see real results.
Start your journey. Download today!




Instructions
- Kneel on the floor and sit your hips back onto your heels, resting your hands on your thighs with a tall spine.
- Interlace your fingers and extend both arms straight out in front of you at roughly shoulder height, palms facing away.
- Brace the core lightly to keep the hips anchored on the heels throughout the movement.
- Exhale and round the upper back, pressing the interlaced hands forward and away so the mid back widens and the head drops gently between the arms.
- Hold the forward reach for a slow breath, feeling the stretch along the upper back and rear shoulders.
- Inhale and sit back up tall, bending the elbows and drawing them down and back beside the ribs until the arms form a W shape at your sides.
- Squeeze the shoulder blades toward each other at the W position without shrugging the shoulders or arching the lower back.
- Pause briefly, then reach forward again into the rounded position to begin the next repetition.
- Breathe steadily throughout, exhaling on the reach and inhaling on the pull back into the W.
- After the final repetition, release the fingers, lower the hands to the thighs, and sit tall for a few breaths before standing.
Tips & Tricks
- Push through the palms during the reach rather than just dropping the head; the stretch comes from actively pressing the hands away, not from neck flexion.
- If your heels are uncomfortable to sit on, place a folded towel or cushion between the hips and heels so the upper body can relax into the movement.
- Watch for the ribs flaring forward at the W position; if the chest lifts and the lower back arches, pull the elbows back less far and keep the torso upright.
- Keep the shoulders down away from the ears in both positions; shrugging turns the drill into an upper-trap exercise and reduces the stretch across the mid back.
- The elbows in the W should stay roughly at shoulder height or slightly below; letting them drift above shoulder level often causes pinching at the front of the shoulder.
- Move at the pace of your breath instead of counting quickly; rushing the transition between the reach and the W wastes the stretch and the squeeze.
- If rounding forward feels jammed in the mid back, sit slightly taller before reaching and let the rounding start from the ribs rather than collapsing from the neck.
- Tight shoulders are common at first; a shorter, higher W with the hands closer to the body is a fine starting point that still trains the shoulder blades.
- Stop if you feel sharp pain or tingling into the arms; adjust the hand width or elbow height before continuing.
Frequently Asked Questions
What muscles does the Seated Forward Reach To W Pose work?
It primarily targets the rear shoulders and the muscles between the shoulder blades, including the rhomboids and mid traps. The forward reach phase stretches the upper back, while the W phase lightly strengthens the shoulder blade retractors.
Is the Seated Forward Reach To W Pose a stretch or a strength exercise?
It is best classified as a mobility drill that combines both. The rounded reach is a stretch for the upper back and rear shoulders, and pulling into the W adds gentle active work for the rhomboids and rear delts.
Why do I sit on my heels during this exercise?
Sitting back on the heels locks the hips in place so the movement comes from the upper back and shoulders rather than the pelvis. It also makes the drill floor-friendly and easy to hold for several repetitions.
Should my arms be at shoulder height in the W position?
Roughly, yes. The elbows should end up at or slightly below shoulder height, bent so the arms form a W shape beside your ribs. If that height causes front-shoulder pinching, lower the elbows a few inches.
Can beginners do the Seated Forward Reach To W Pose?
Yes, it is very beginner-friendly because it uses body weight only and the range is self-selected. Beginners should simply use a smaller rounding motion and a shallower W, then gradually expand the range as comfort improves.
Why do I interlace my fingers during the forward reach?
Interlacing the fingers lets you press the palms actively away from your body, which rounds the upper back and produces a real stretch. Without the interlace, many people just let the arms hang and only flex the neck.
My lower back hurts when I pull into the W position. What should I change?
You are likely arching the lower back to compensate for limited shoulder blade movement. Keep the ribs stacked over the pelvis, shorten the elbow pull-back, and focus on squeezing the shoulder blades instead of lifting the chest.
How many repetitions of the Seated Forward Reach To W Pose should I do?
Eight to ten slow repetitions work well as a warm-up or cooldown, holding each reach for one breath. You can also do fewer, longer holds of fifteen to twenty seconds if you are using it purely as a stretch.
Can I do this exercise if kneeling is uncomfortable for my knees?
Yes, the same arm pattern works seated upright on a chair or bench with the feet flat on the floor. Keep the torso tall and the hips still so the movement still comes from the upper back and shoulders.
When is the best time to use this drill?
It fits well as a warm-up before pressing or pulling workouts, as a break from prolonged desk sitting, or as part of a cooldown. Because the load is minimal, it is safe to use daily within a comfortable range.