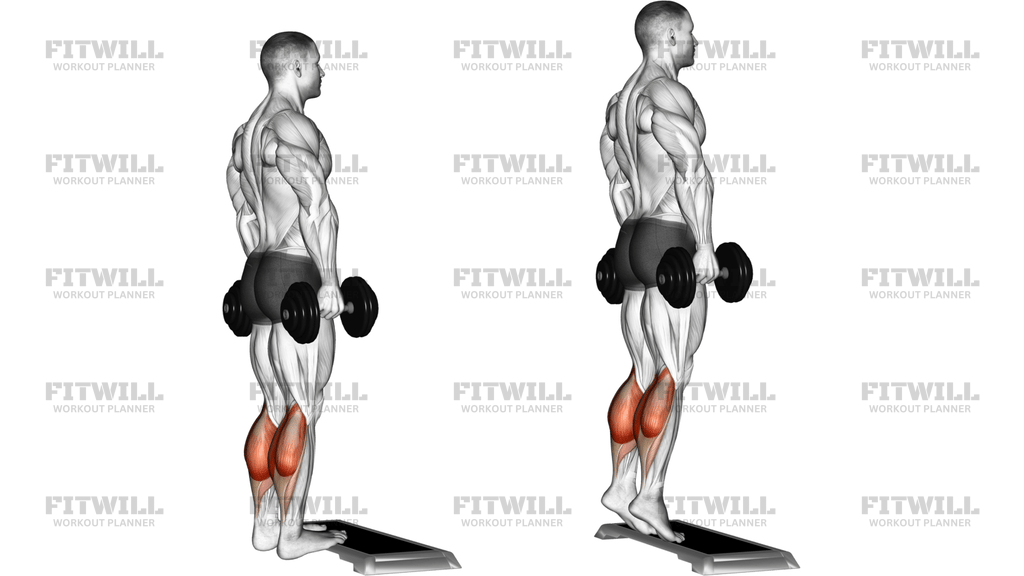
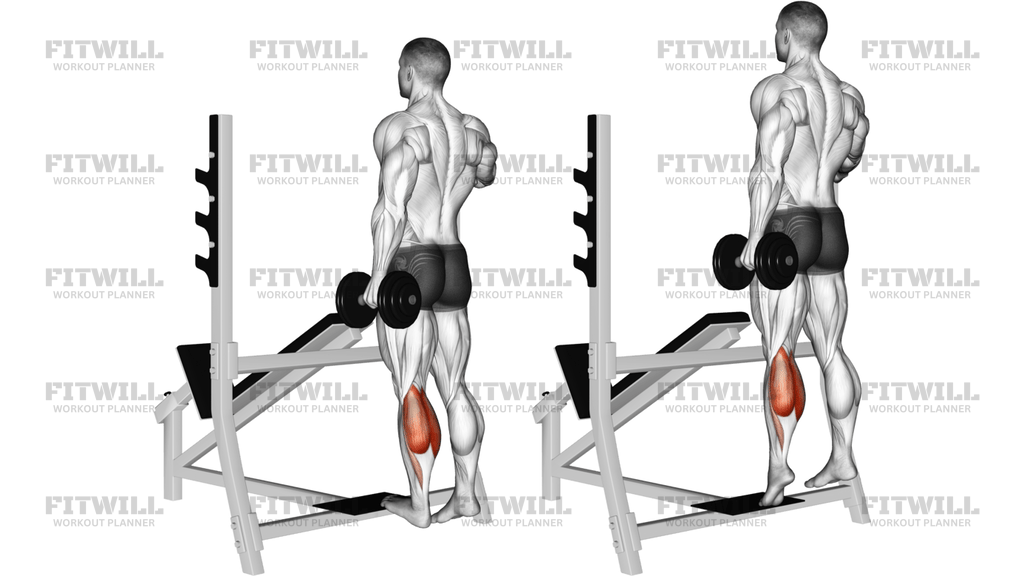
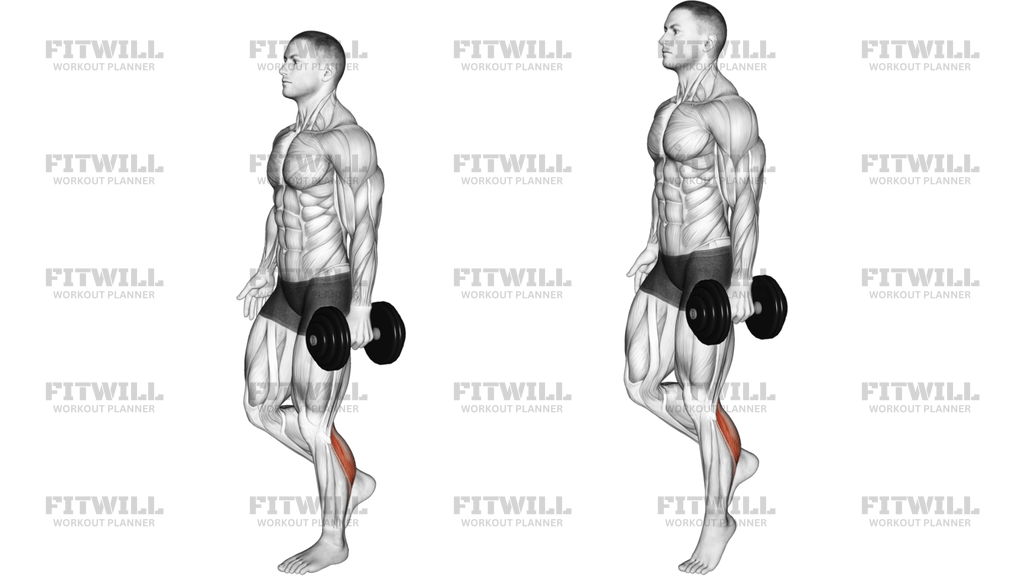
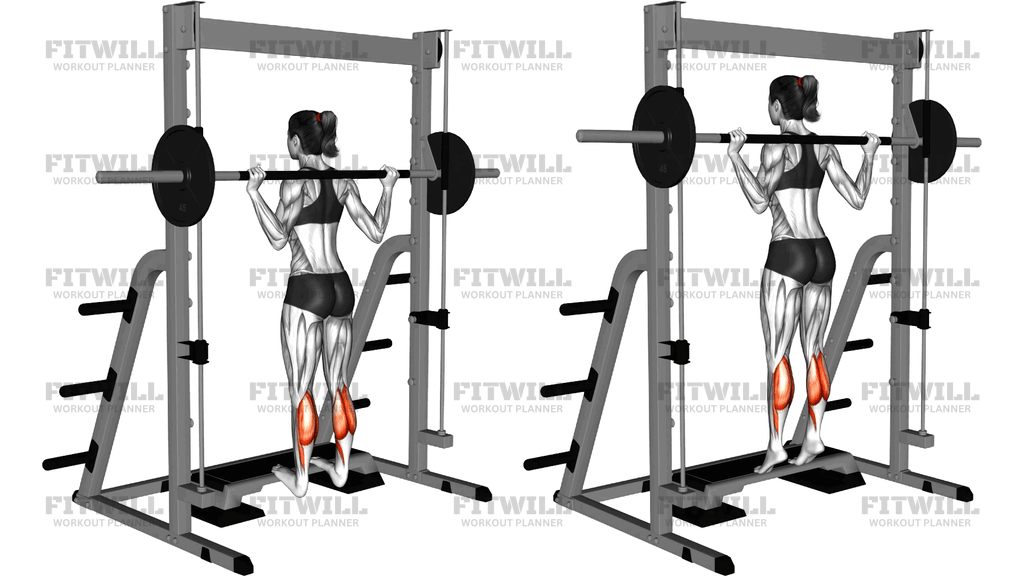
Chair Sit Alternate Heel Raise Agains Wall
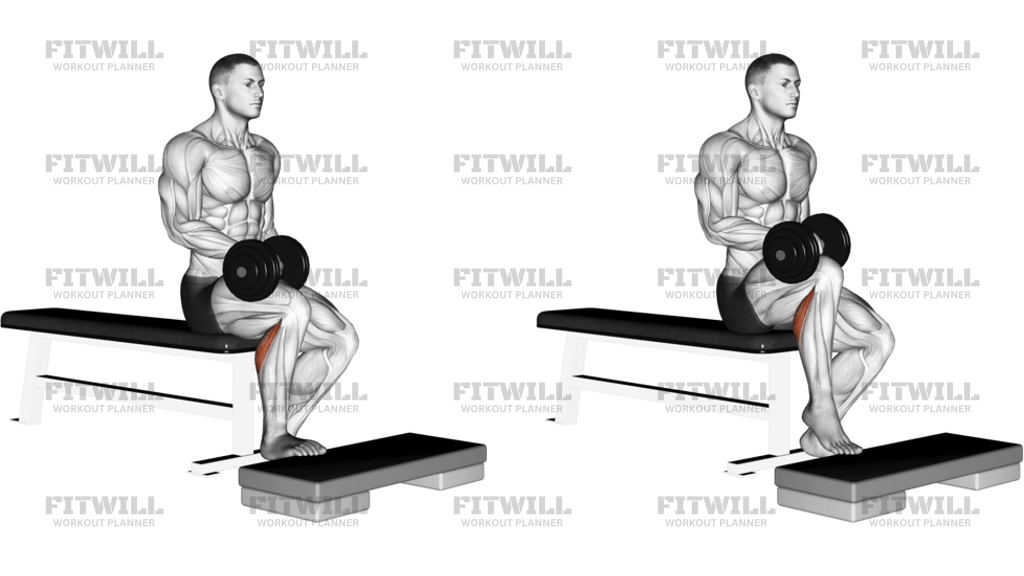
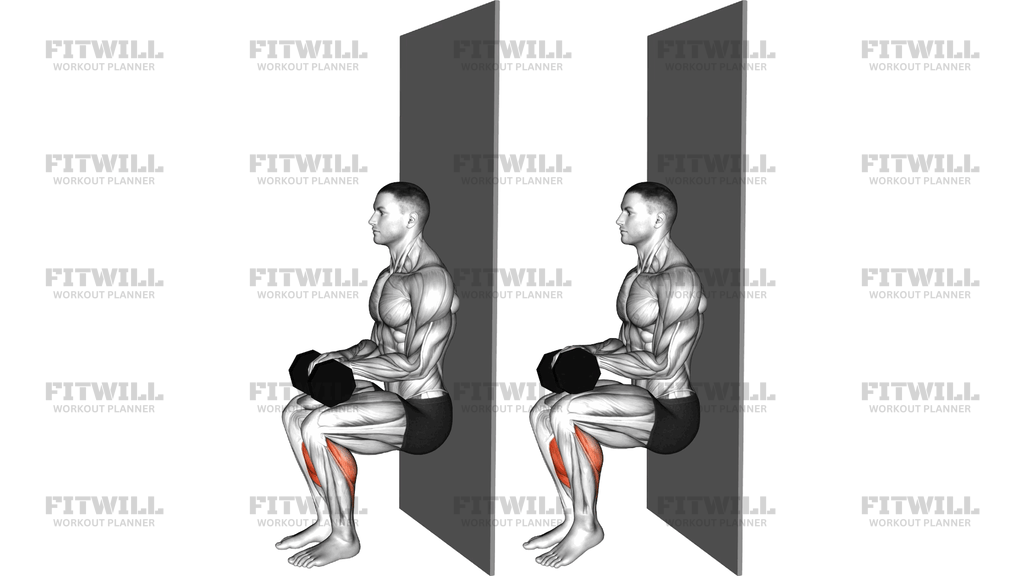
Chair Sit Alternate Heel Raise Against Wall is a seated calf exercise where you sit on a chair with your back braced against a wall, rest a dumbbell on each thigh just above the knee, and lift your heels one leg at a time by pressing up through the balls of your feet. Because the knee stays bent throughout, the work shifts toward the soleus, the deep calf muscle that sits underneath the gastrocnemius and handles most of the load in seated positions.
This version earns its setup. Sitting on a chair removes the balance demands of standing raises, and the wall behind you stops the most common seated-raise error: leaning forward or rocking the torso to help drive the heel up. With your back and hips supported, the only thing moving is the ankle joint, which means the calf does the work instead of momentum. The dumbbell across the thigh adds a controllable load directly over the ankle, and holding a dumbbell in each hand lets you load the legs evenly even though the heels move one at a time.
The alternating pattern is the distinguishing feature. Instead of raising both heels together, you press one heel up while the other stays down, then switch. This doubles the time each calf spends under tension and lets you focus on one side at a time, which is useful if one calf is noticeably weaker or stiffer than the other. Many people find they can feel the working calf contracting far more clearly in this one-sided rhythm than in a standard two-leg raise.
This exercise suits beginners learning to isolate the calves, lifters who sit for long hours and want dedicated lower-leg work, and anyone whose home setup includes a chair, a wall, and a pair of dumbbells but no calf machine. It also works well as a finisher after heavier standing calf work, when the gastrocnemius is fatigued and the soleus can take over.
To execute it well, sit tall with your back and hips against the wall, feet flat and roughly hip-width apart, and the dumbbells resting steady on your thighs close to the knees. Press one heel into the floor as you lift the other heel as high as the ankle allows, pause briefly at the top, then lower it under control and repeat on the other side. Keep the movement smooth and avoid bouncing at the bottom, since the stretch position is where the calf tendon takes over from the muscle if you rush.
The main safety points are simple. Keep the dumbbells seated firmly on the thighs rather than letting them slide toward the kneecap, and keep your lower back against the wall instead of arching or slumping as the set gets hard. Because this is a high-repetition, low-risk movement, treat burning and fatigue as the signal to stop rather than pushing into sloppy reps.
[ Workout Log & Planner ]
Put your next workout in Fitwill
Keep your plan and training log ready when you are.


Instructions
- Place a sturdy chair with its back facing away from a clear wall, leaving enough room behind it for your torso to rest against the wall when you sit.
- Sit on the chair and slide back until your shoulders, upper back, and hips are touching the wall, then place a dumbbell on each thigh just above the knee.
- Set your feet flat on the floor, hip-width apart, with knees bent around 90 degrees and the dumbbells resting steady on the thighs.
- Brace your trunk lightly and press your back into the wall so your torso cannot lean forward during the set.
- Keeping your left foot flat, press through the ball of your right foot and lift your right heel as high as it will go without pulling your toes back or rolling the ankle outward.
- Pause for a beat at the top of the raise, feeling the right calf shorten fully.
- Lower the right heel back to the floor under control, then immediately press the left heel up in the same way while the right foot stays flat.
- Continue alternating left and right, treating each switch as one rep and keeping the tempo even on both sides.
- Exhale as you press a heel up and inhale as you lower it, keeping the breathing steady rather than holding your breath.
- When the set is done, lift both dumbbells off the thighs and set them on the floor before standing up out of the chair.
Tips & Tricks
- Position the dumbbells about two to three inches above the kneecap. Placing them directly on the knee joint is uncomfortable and can push the knee around as you lift.
- If your torso pitches forward mid-set, the wall contact is your built-in check: your shoulders will peel away. Reset against the wall and lighten the load rather than fighting the lean.
- Resist the urge to let the toes of the working foot roll inward or outward. The ball of the foot and the toes should point straight ahead so the calf works in line with the ankle.
- The non-working foot should stay genuinely flat. Letting it drift up turns the alternating version into a shaky two-leg raise and steals tension from the side doing the work.
- Use a full bottom position. Letting the heel drop slightly below flat at the start of each rep stretches the calf before it contracts, but dropping and bouncing back up converts the rep into a tendon rebound.
- Because the soleus responds well to volume, higher reps in the 12 to 20 range per side usually work better here than grinding out very heavy dumbbells you cannot hold steady on your thighs.
- If the dumbbells slide during the set, it usually means your thighs are tilted too far downhill. Shift back on the chair so your thighs angle slightly up toward the knee.
- Keep your head neutral against the wall rather than jutting the chin forward as fatigue builds; a forward head position usually comes with a forward torso lean.
- If one calf fatigues much faster than the other, start each set with the weaker side and match the rep count with the stronger side rather than doing extra reps.
Frequently Asked Questions
Which muscles does Chair Sit Alternate Heel Raise Against Wall work?
The main muscle is the soleus in the lower calf, with the gastrocnemius assisting and the small muscles around the ankle stabilizing the foot. Because the knee stays bent while you sit, the soleus takes more of the load than it would in a standing heel raise.
Why does this exercise use a wall behind the chair?
The wall gives your back and hips a fixed reference so the torso cannot lean forward or rock as you press each heel up. That keeps the work on the calf instead of letting momentum or body English take over.
Is Chair Sit Alternate Heel Raise Against Wall good for beginners?
Yes. The chair and wall remove balance demands, the load is easy to adjust by changing dumbbell weight, and the alternating rhythm lets a beginner focus on one calf at a time and feel the muscle contracting clearly.
Why lift one heel at a time instead of both together?
Alternating keeps each calf under tension for longer per set and lets you compare sides directly. It is especially useful when one calf is weaker or less flexible, since the stronger side cannot hide the difference.
Where exactly should the dumbbells sit during the movement?
Rest each dumbbell flat on the thigh a couple of inches above the kneecap, where it stays secure without pressing on the joint. If a dumbbell slides toward or off the knee, shift back on the chair so the thigh angles slightly upward.
What is the most common mistake in this exercise?
Leaning the torso forward and driving through the thigh to heave the heel up. Keep your shoulders and upper back against the wall throughout, and if that contact breaks, the weight is too heavy or you are rushing the reps.
How high should I lift the heel?
Lift as high as the ankle allows while keeping the ball of the foot planted and the toes pointing forward. Forcing extra height by rolling onto the outside of the foot shifts stress away from the calf and toward the ankle joint.
What can I substitute if I do not have dumbbells?
You can perform the same seated alternating heel raise with just your body weight, or press your hands down on your thighs to add manual resistance. A barbell or weighted plate across the thighs works as well if it sits comfortably above the knees.
How many reps and sets should I do?
A practical starting point is two to three sets of 12 to 20 alternating reps per side with a moderate dumbbell. Calves generally respond well to higher volumes, so prioritize controlled full-range reps over maximal weight.
Is this exercise safe for the knees or ankles?
The knee stays bent and essentially static, and the ankle moves through its normal range, so the joints are not exposed to heavy or awkward loading. If you have a current ankle or knee injury, start with no added weight and keep the range pain-free.