4 Cone Single Foot Lateral Hops
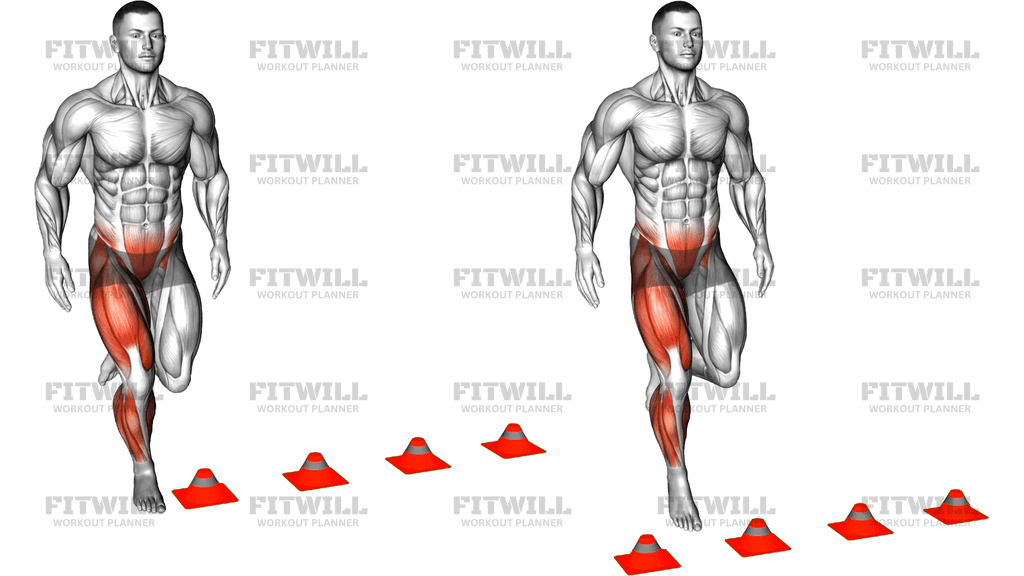
4 Cone Single Foot Lateral Hops are a single-leg plyometric drill in which you balance on one foot and hop side to side over a straight line of four low cones. Each rep demands that you produce force off one leg, absorb the landing cleanly, and stay composed between hops, which makes it far more demanding than the same pattern done with both feet. The four-cone layout gives you a fixed path and rhythm, so every hop has the same target distance and you can immediately tell when your accuracy or power starts to fade.
This drill is a staple for athletes in sports that involve cutting, skating, sprinting, or change of direction, because most real-world movement happens off a single leg at speed. Soccer, basketball, tennis, and volleyball players all benefit from the combination of lateral power, ankle stiffness, and balance it develops. It is also useful for general gym-goers who want to expose and fix left-right differences, since the weaker leg cannot hide behind the stronger one the way it can in two-legged jumps.
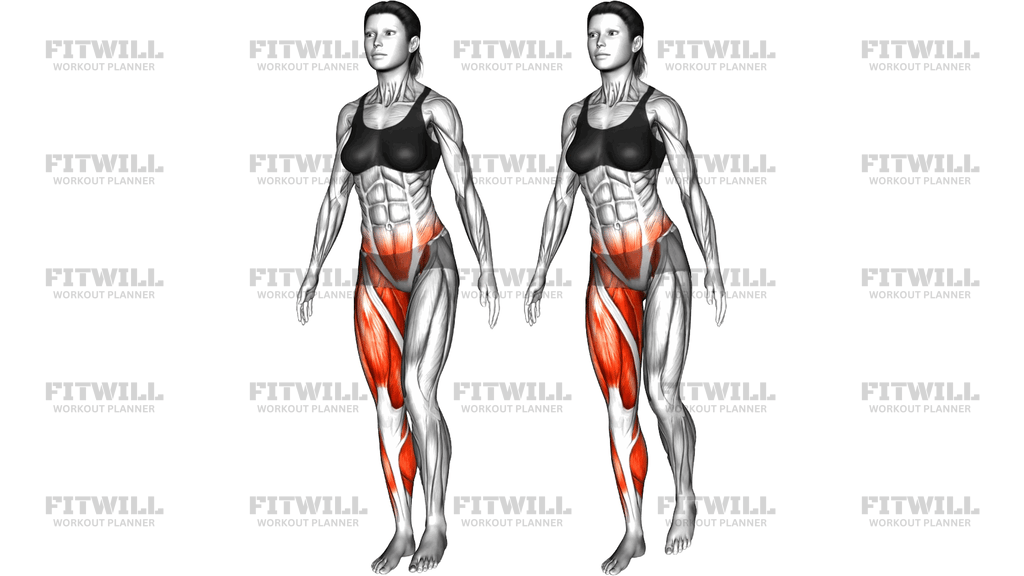
The main work comes from the quads and calves of the hopping leg, with the glutes and hip stabilizers controlling alignment at the hip and the deep core keeping the torso steady over the foot. Just as important is the braking role: every landing is an eccentric contraction that teaches your tendons and muscles to absorb force quickly and reuse it. That reactive quality is what separates a stiff, snappy hop from a slow, grindy one.
Setup matters more than it looks. The cones should sit in an even line with spacing you can actually clear on one foot, and you should start beside the first cone rather than on top of it. If the spacing is too wide, form breaks down into long, collapsing hops; if it is too tight, you lose the power benefit. Choose a flat, non-slip surface and give yourself room on both sides of the line.
To execute the drill well, stay on the balls of your feet, keep the hops low and quick rather than high and slow, and drive each sideways hop from the hip and ankle rather than flopping over the cones. Land softly with a slightly bent knee stacked over the foot, reset your balance only if you truly need it, and work down the full line of four cones before resting. Accuracy first, then speed: a cone knocked over means the hop was mistimed, not that you were working hard.
Because this is a high-impact, single-leg movement, treat it as a skill as much as a conditioning tool. Keep the volume modest, especially early on, do it fresh rather than exhausted, and build up from two-footed lateral hops or slower single-leg hops if the full drill feels shaky. Stop if your landing knee starts diving inward or your ankle begins to wobble on every contact.
[ Workout Log & Planner ]
Put your next workout in Fitwill
Keep your plan and training log ready when you are.


Instructions
- Place four low cones in a straight, evenly spaced line on a flat, non-slip surface, with a gap you can comfortably clear in a sideways hop on one foot.
- Stand on your right foot beside one end of the cone line, with the cones running across your body from side to side.
- Balance on the ball of the standing foot, keep a soft bend in the knee and hip, lift the free foot slightly behind you, and let your arms hang relaxed at your sides.
- Brace your core lightly and keep your chest up so your shoulders stay stacked over the hopping foot.
- Push off the outside foot and hop sideways over the first cone, driving the movement from the hip and ankle and keeping the hop low and quick.
- Land on the same foot on the far side of the cone with the knee bent and stacked over the toes, absorbing the impact through the calf, quad, and hip.
- Immediately rebound and continue hopping laterally over each of the four cones in turn, alternating sides of the line as you go.
- Exhale sharply on each takeoff and breathe steadily between hops rather than holding your breath.
- Once you clear the last cone, stop, set the free foot down, shake out your leg, and reset at the opposite end of the line to hop back on the other foot.
- Complete the same number of passes on each leg, resting fully between sets so every hop stays crisp.
Tips & Tricks
- If your knee collapses inward on landing, think about spreading the floor with your foot and pushing the knee out over the little toe rather than letting it drift toward the midline.
- Keep the hops short and fast; the most common mistake with four cones in a row is turning them into big, high leaps that stretch ground contact and kill the rebound.
- If you clip cones repeatedly, the spacing is too wide or your rhythm is rushed — narrow the gaps slightly or slow the tempo until every hop is clean.
- Stay on the forefoot for the entire pass. Landing flat-footed mid-line turns the drill into a slow step-over instead of a reactive hop.
- Keep the arms swinging gently with each hop to help rhythm; stiff, glued-down arms usually mean the torso is rigid and the hops become jerky.
- Look a cone or two ahead instead of staring at your feet — this keeps your head and torso tall and improves balance on the hopping foot.
- If your balance breaks down, tap the free foot down once to stabilize, then continue, rather than hopping with a wobbling ankle.
- Do this drill early in a workout while your nervous system is fresh; doing it late, when legs are tired, degrades landing quality and invites sloppy knees.
- Start with two to four passes per leg and add volume gradually; single-leg plyometrics load the ankle and knee far more than two-footed hopping.
Frequently Asked Questions
What muscles do 4 Cone Single Foot Lateral Hops work?
The quads and calves of the hopping leg do most of the pushing and braking, while the glutes and hip stabilizers keep the knee and pelvis aligned. The core works to keep the torso quiet over a moving, single-leg base.
Are 4 Cone Single Foot Lateral Hops suitable for beginners?
Beginners should first master two-footed lateral hops over the same cones, then slow single-leg hops without cones. Once you can balance on one foot and land quietly for repeated reps, the full four-cone drill becomes a reasonable progression.
How far apart should the four cones be?
A practical starting point is roughly one to two feet between cones, close enough that you clear each one with a quick, low hop on one foot. Widen the gaps only when you can complete every hop without clipping a cone or losing balance.
Why hop on one foot instead of both feet over the cones?
Single-leg hopping exposes side-to-side differences, loads the ankle and knee stabilizers much more, and closely matches how force is produced and absorbed in running and cutting sports. It is harder, so the hop distance and volume should be smaller than in two-footed drills.
Should I pause and reset my balance between hops?
Ideally no — the drill trains continuous rebounding, so aim to flow from landing straight into the next takeoff. If your ankle or knee is genuinely unstable, take one quick balance reset and continue rather than hopping with poor control.
What is the most common mistake in 4 Cone Single Foot Lateral Hops?
The most frequent errors are hopping too high and too slowly, letting the landing knee cave inward, and drifting forward down the line instead of hopping straight across it. Fix these by keeping hops low, pushing the knee over the toes, and staying square to the cone line.
Can I do this drill if I have knee or ankle problems?
Single-leg hopping is a high-impact activity, so clear it with a health professional first if you have a current or past injury. Substituting two-footed lateral hops or low lateral step-overs over the cones keeps the movement pattern with far less joint stress.
How many sets and reps should I do?
Two to four passes down the four-cone line per leg is plenty for most people, with full rest between passes. Stop the set as soon as your hops get sloppy or loud — quality of landings matters more than total volume.
What surface is best for 4 Cone Single Foot Lateral Hops?
A flat, slightly forgiving surface such as a gym floor, rubber matting, or firm turf works best. Avoid uneven ground or slick floors, since the drill depends on precise, repeated single-leg landings over the cones.