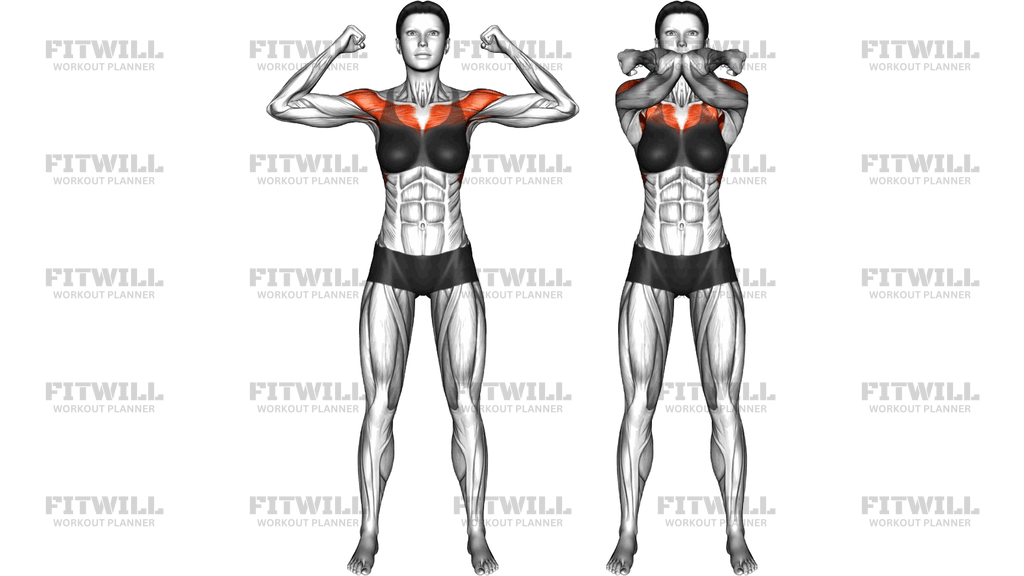
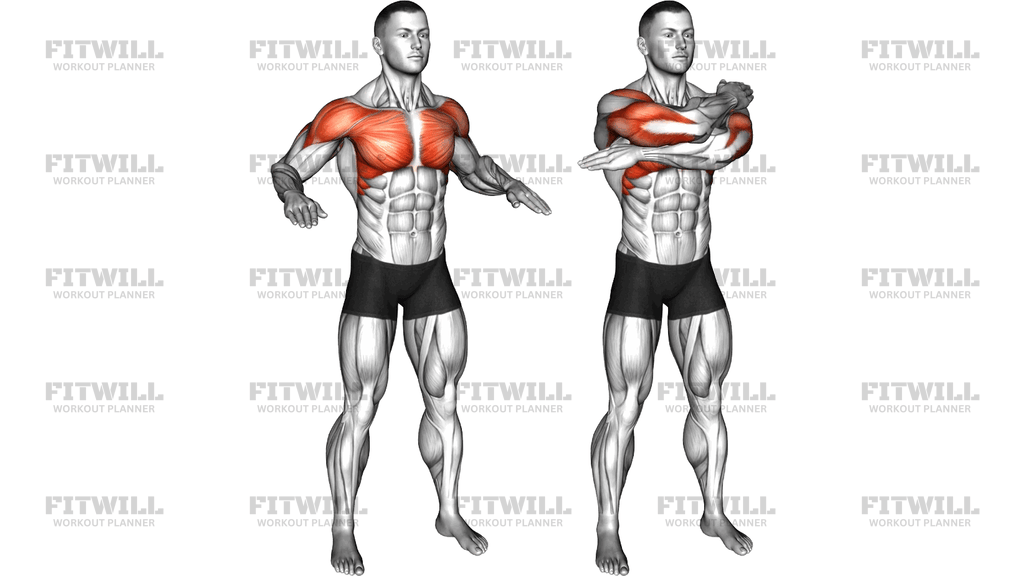
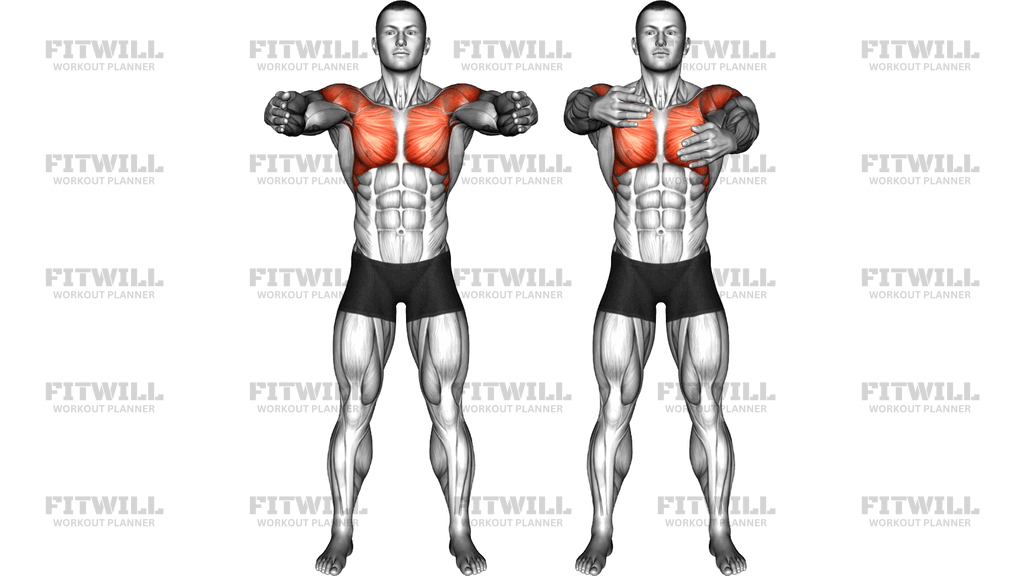
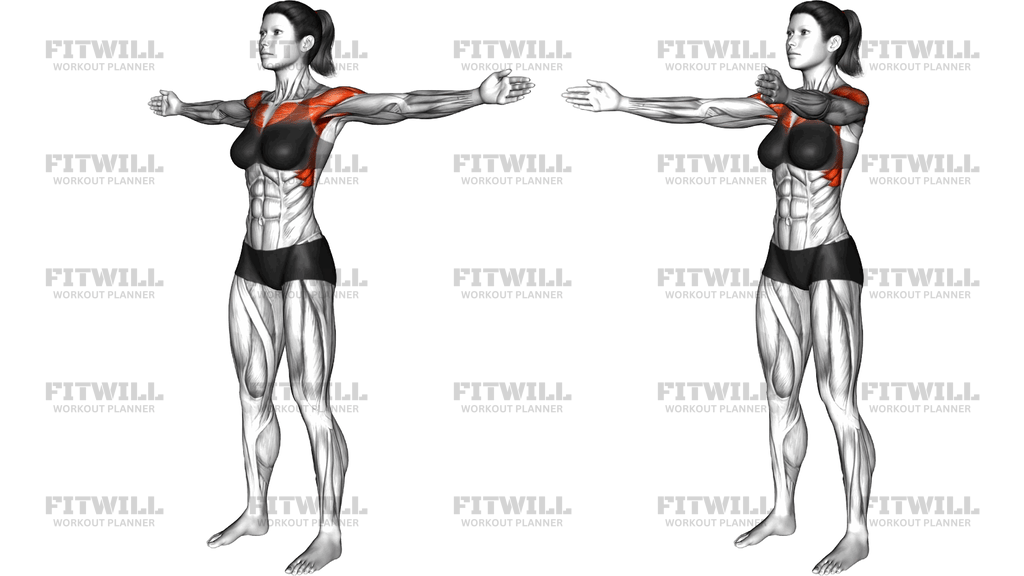
Resistance Band Single Arm Low Chest Fly
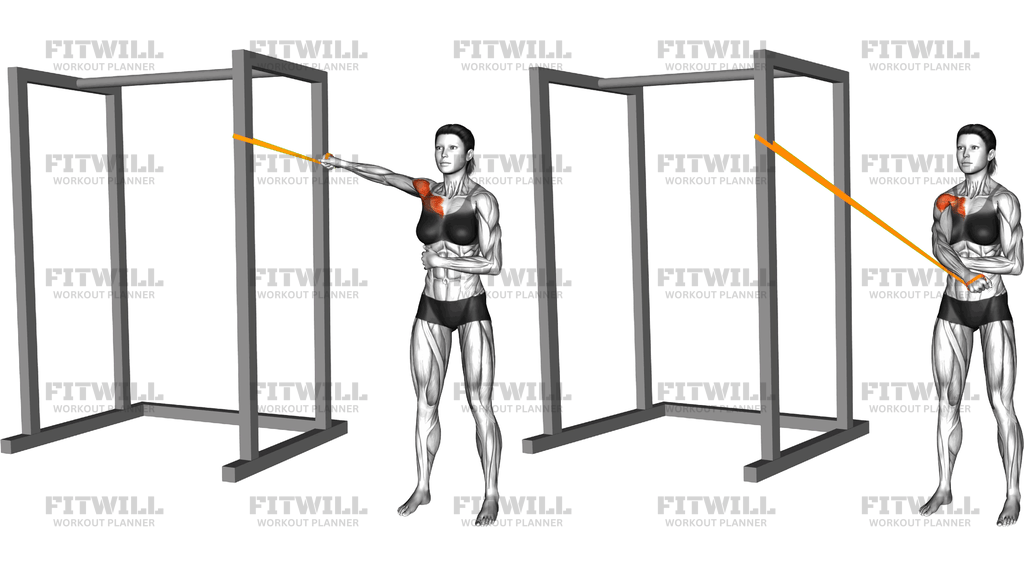
The Resistance Band Single Arm Low Chest Fly is a one-sided flye variation where you anchor a band at roughly head height on a rack or sturdy upright, start with your arm out wide at shoulder level, and sweep it down and across your body toward the opposite hip. Because the hand finishes low, the resistance vector crosses the chest fibers on a downward diagonal, which places strong tension on the sternal (lower) portion of the pectoralis major while the front deltoid assists. Working one arm at a time also means your trunk has to resist the band's pull, so the obliques and deep core work quietly as stabilizers throughout the set.
This movement suits a wide range of trainees. Beginners appreciate how easy it is to adjust load — simply step closer to the anchor to reduce tension or farther away to increase it. Lifters training at home or in a busy commercial gym can use it when cable stations are occupied, since all it takes is a looped band and any solid vertical post. It is also a useful tool for addressing left-to-right imbalances, because each side handles its own resistance with no chance of the stronger arm compensating.
Setup details matter more here than in most band exercises. The anchor height determines the angle of pull, so attach the band high enough that your starting position has the arm roughly level with the shoulder and the band already under light tension. Stand far enough from the anchor that there is no slack at the start, and keep the non-working hand braced across your midsection as shown in the standard execution, which gives you a reference point for staying square. If the band is anchored too low or you stand too close, the fly turns into a vague arm sweep with minimal chest loading.
Execution is simple but unforgiving of sloppiness. From the wide starting position, lead with the hand and draw a smooth arc down and across the body until the hand approaches the opposite hip or thigh. The arm should stay slightly bent and locked at that angle — the motion happens at the shoulder joint, not the elbow. Squeeze the chest briefly at the bottom, then let the arm travel back along the same path until the band's tension is still present. Avoid letting the band snap the arm back to the start; the return is where a lot of the muscle-building work happens.
In practice, this exercise fits well as an accessory movement after presses, as a finishing flye on chest days, or as part of a minimal-equipment full-body session. Keep the reps in the twelve to twenty range for most purposes, since band tension rises steeply near the bottom of the arc. If you feel it mostly in the front of the shoulder or the back of the armpit, shorten the range slightly and focus on driving the movement from the chest rather than letting the arm drift behind the shoulder line.
[ Workout Log & Planner ]
Put your next workout in Fitwill
Keep your plan and training log ready when you are.


Instructions
- Anchor a resistance band securely around an upright rack post at about head height, and check that the anchor will not slide down under load.
- Stand side-on to the anchor and grip the free end of the band in your far hand, stepping away until the band pulls your extended arm out to roughly shoulder height with no slack.
- Set your feet about hip-width apart, soften the knees, and brace the hand of your non-working arm across your stomach to keep your torso square.
- Draw the shoulders down and back, keep the ribs stacked over the pelvis, and take a breath in to prepare.
- Keeping a slight, fixed bend in the elbow, sweep the arm down and across the body in a smooth arc until the hand reaches the level of the opposite hip or thigh.
- Pause briefly at the bottom and squeeze the chest, making sure the hand crosses in front of the body rather than the torso twisting to meet it.
- Exhale as you pull down and across through the working range.
- Slowly let the arm travel back up and out along the same arc, resisting the band until the arm returns to shoulder height with tension still on the band.
- Complete all reps on one side, then re-grip and switch arms, keeping the same distance from the anchor so both sides get equal resistance.
Tips & Tricks
- If the band slips down the anchor post mid-set, loop it around twice or attach it to a dedicated attachment point rather than trusting friction alone.
- The most common mistake is bending and straightening the elbow during the sweep, which turns the fly into a press; lock in a soft elbow bend before the first rep and keep it there.
- Do not let the band pull your trunk into rotation — if your shoulders start turning toward the anchor, reduce the tension by stepping slightly closer instead of muscling through with a twisted torso.
- Because band resistance peaks when the hand reaches the opposite hip, control the last third of the pull deliberately rather than letting momentum fling the arm across.
- Keep the working shoulder from riding up toward the ear; if you feel the movement in the top of the shoulder, drop the arm a touch and reset the shoulder blade before continuing.
- Shorten the range if the arm drifts behind your midline at the bottom — going too far past the body stresses the shoulder joint without adding chest work.
- A staggered stance with the foot opposite the working arm slightly forward gives you a more stable base when the band tension gets heavy.
- Switch which hand is on top when gripping the band so the material does not dig into the same spot on your palm every set, or use a handle for comfort.
- Match your distance from the anchor exactly when you change sides; even a half-step difference makes one side noticeably harder than the other.
Frequently Asked Questions
Which muscles does the Resistance Band Single Arm Low Chest Fly work?
The primary target is the chest, especially the sternal or lower fibers, because the arm travels on a high-to-low diagonal across the body. The front deltoid assists, and the obliques and core stabilize your trunk against the band's sideways pull.
Why does the band get anchored at head height if this is a low chest fly?
The anchor height creates the downward arc that makes this a low fly — the hand starts wide at shoulder level and finishes near the opposite hip. That finishing-low path is what biases the lower portion of the chest.
Is the Resistance Band Single Arm Low Chest Fly suitable for beginners?
Yes, it is a good beginner flye because the load is easy to scale by stepping toward or away from the anchor. Start with a light band and a short range until the arc feels natural.
How far should I stand from the anchor point?
Stand far enough that the band is already under mild tension with your arm out at shoulder height, but not so far that you cannot complete the pull with control. Note your footing and repeat it exactly on the other side.
Why do I feel this in my shoulder instead of my chest?
This usually means the elbow is straightening and extending during the sweep, shifting work to the shoulder and arm. Keep a fixed, soft elbow bend and focus on the hand drawing an arc rather than pushing forward.
Can I substitute a cable machine for the band in this exercise?
Yes, a cable set to a high pulley with a single handle replicates the same diagonal path. The band version offers easier setup anywhere and a gentler resistance curve at the start of each rep.
How many reps should I do on the Resistance Band Single Arm Low Chest Fly?
Twelve to twenty reps per side works well, since band tension climbs sharply near the bottom of the arc. Choose a band and stance that leave the last few reps challenging but clean.
Should my torso stay completely still during the movement?
Your trunk should stay square and resist rotation, though a slight natural lean toward the working side is fine. If your shoulders twist noticeably toward the anchor, reduce the tension rather than fighting it with a strained lower back.
Is it safe to let my arm cross all the way to the opposite hip?
Bringing the hand to the level of the opposite hip is fine for most people, but pulling it far past the midline behind the body can pinch the shoulder. Stop where the squeeze feels strong and comfortable, and keep the motion pain-free.
What should I check before starting the set?
Confirm the band is anchored securely and will not slide down the post, inspect the band for small tears or thin spots, and make sure the anchor post is stable. A band releasing under tension is the main safety risk in this exercise.