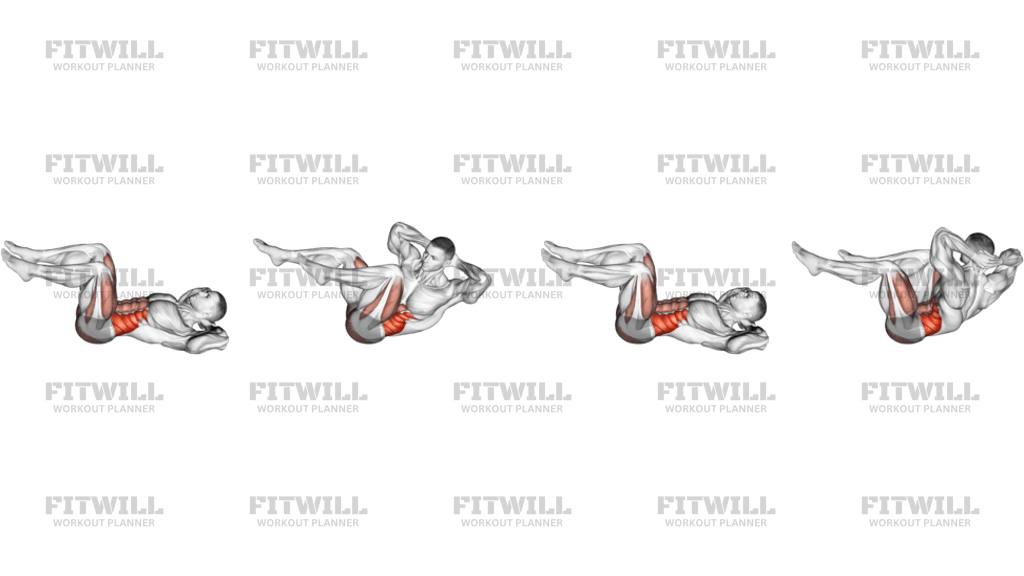
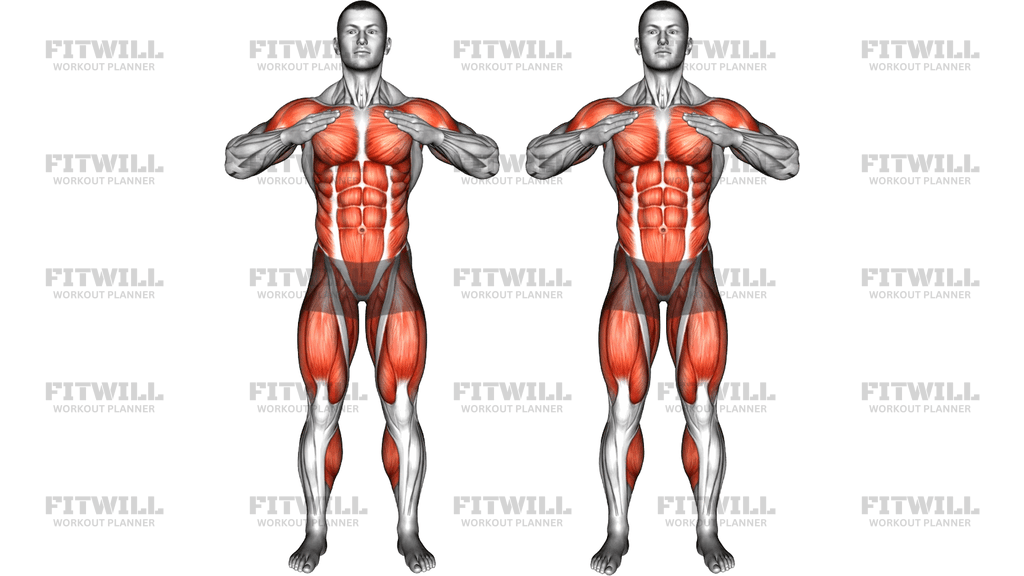
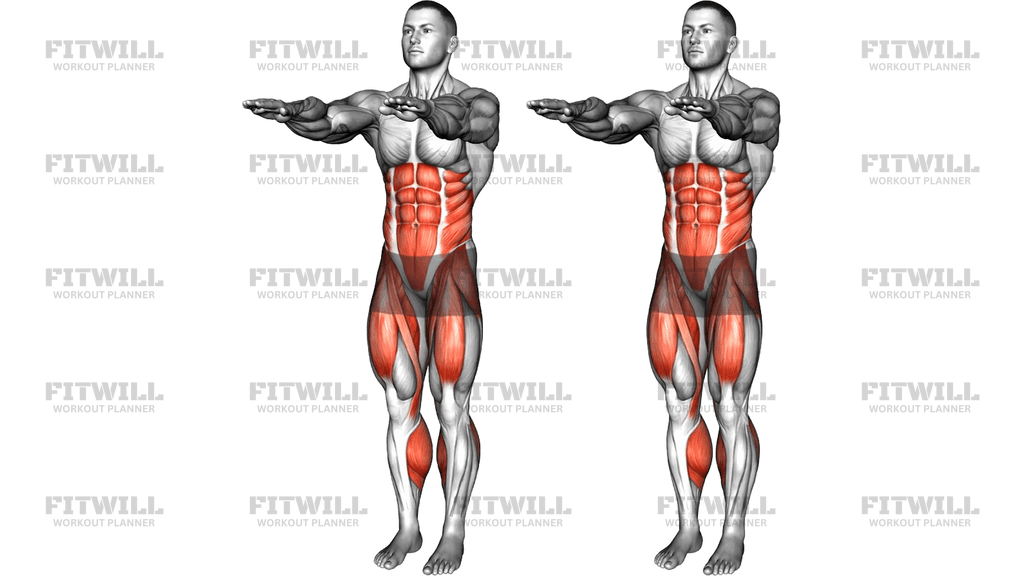
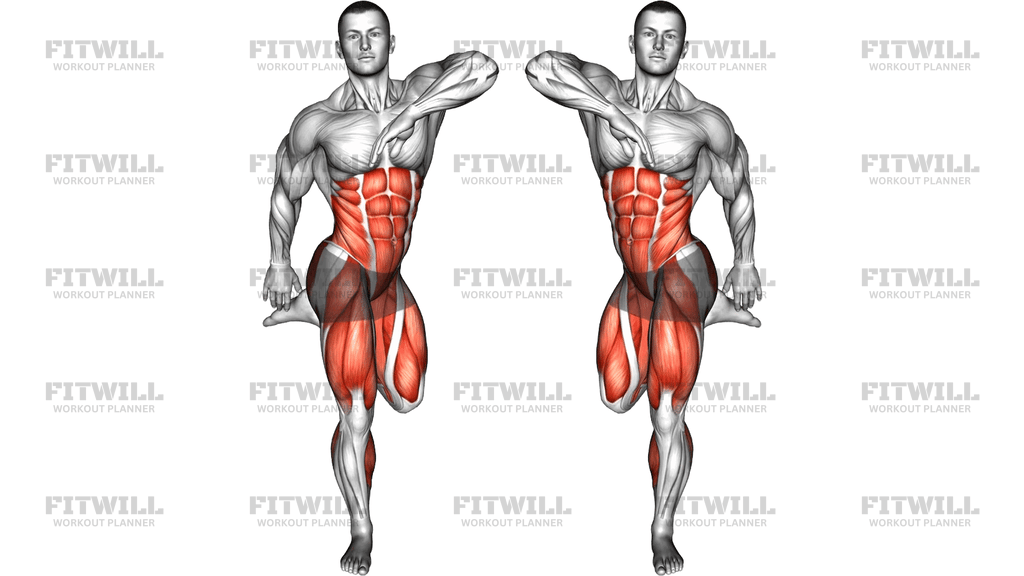
Side Crawl
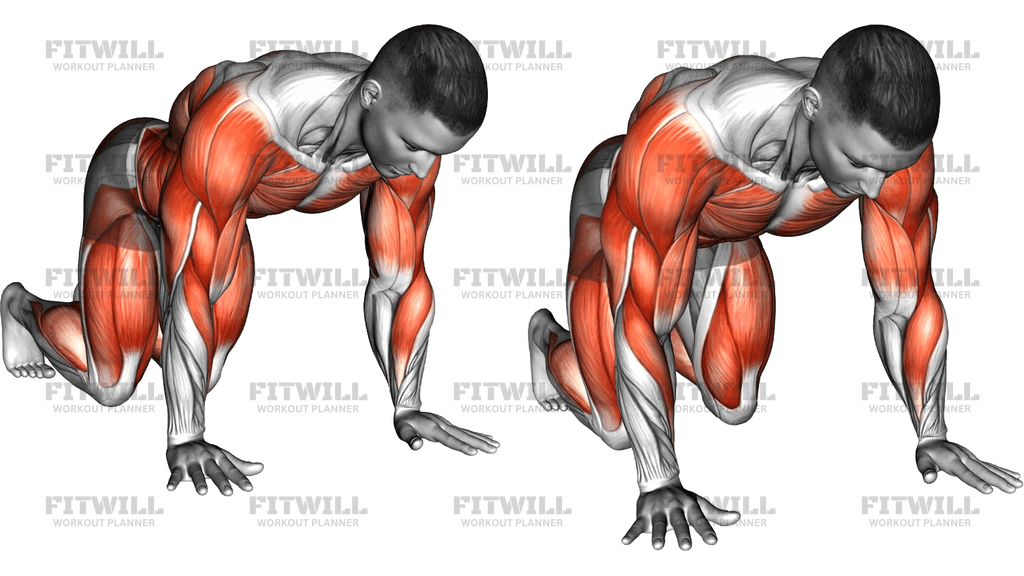
The Side Crawl is a lateral locomotion drill performed from a hovering quadruped position, sometimes called a bear position. You start on all fours with your knees stacked just off the floor, then travel sideways across the floor by stepping one hand and the same-side foot out to the side, following with the opposite hand and foot. Unlike a standard forward bear crawl, the side-to-side path forces your obliques and hip stabilizers to control movement in the frontal plane, which most floor-based core drills ignore.
This movement earns its place in a workout because it trains the core the way it actually works: resisting collapse while the limbs move. As you reach laterally, your obliques and deep core have to keep your hips level and your spine neutral, while your shoulders take on a significant stabilizing load and your legs work to control each step. The hover of the knees also keeps constant tension on the quads and hip flexors, so you feel this through the whole body within a few steps.
Setup matters more than speed here. If your hips ride up or your lower back sags, you shift the work away from the lateral core and onto passive joint positions. Aim for a box-like shape: hands under shoulders, knees under hips but hovering an inch or two off the floor, back flat enough that a glass of water resting on it would not spill. Short, deliberate steps beat long reaches every time, especially when you are learning the timing of hand-and-foot pairs.
The Side Crawl fits well into warm-ups, circuit training, and athletic conditioning blocks. It is a common choice in team sport preparation because lateral movement under trunk control transfers directly to change-of-direction ability, and it is equally useful as a low-skill core finisher for general lifters. Crawl for distance, for time, or for a set number of steps in each direction.
Keep your working space clear and expect your wrists and shoulders to tire before your abs do. If the floor is hard on your knees in the hover position, a thin mat helps, and if your wrists complain, make a fist and bear weight on your knuckles or scale back to shorter bouts. Stop the set the moment your hips start to drift upward or your steps get sloppy, because the value of this drill lives entirely in the positions you can hold.
[ Workout Log & Planner ]
Put your next workout in Fitwill
Keep your plan and training log ready when you are.


Instructions
- Find a clear strip of floor at least a few meters long. Place your hands on the floor directly under your shoulders with your fingers spread and your index fingers pointing forward.
- Tuck your toes, set your knees under your hips at about hip width, and lift both knees an inch or two off the floor so your weight rests on your hands and the balls of your feet.
- Flatten your back so it forms one line from head to hips, and brace your abs as if bracing for a light push to the ribs.
- Keeping this hover position, step your right hand and right foot out to the right at the same time, moving them roughly shoulder-width apart.
- Follow by stepping your left hand and left foot sideways until you return to your original box shape, knees still hovering.
- Continue stepping sideways in this lead-and-follow pattern, moving with short, controlled steps rather than long lunging reaches.
- Keep your hips low and level the entire time; check that your head stays in line with your spine and your eyes look at the floor slightly ahead of your hands.
- Breathe steadily through your nose and mouth, exhaling as you step and avoiding held breath as tension builds.
- Travel your intended distance or step count in one direction, then crawl back the other way leading with the opposite side.
- To finish, lower your knees gently to the floor, sit back on your heels, and shake out your wrists before the next set.
Tips & Tricks
- The most common fault is the hips creeping upward into a pike as fatigue sets in, which turns the drill into a leg exercise. Cue yourself to keep your belt line low and your knees hovering at the same height throughout.
- If your lower back sags between steps, shorten your brace by exhaling before each step and re-tightening your abs; a sagging back means the hover is too demanding for right now.
- Keep your steps small. Long sideways reaches push your weight past your hand and make your shoulder do the stabilizing instead of your core.
- Move the same-side hand and foot together. Crossing hand and opposite foot creates twisting that defeats the lateral purpose of the Side Crawl.
- Spread your fingers and grip the floor lightly. This spreads the load across your wrists and forearms and stops your hands from tiring long before your obliques.
- Do not look up or let your head drop. Your eyes should rest on a spot on the floor slightly ahead of you so your neck stays a neutral extension of your spine.
- Program it early in a session when you are fresh if the goal is movement quality, or use it as a finisher for time if the goal is conditioning and core endurance.
- If you run out of floor space, crawl sideways to one wall, pause for a breath in the hover, and travel back leading with the other side.
- Expect the trailing side to feel more coordinated work; the leading limb sets the distance, so consciously keep both sides stepping equal amounts.
Frequently Asked Questions
What muscles does the Side Crawl work?
The Side Crawl primarily trains the obliques and deep core, which must keep your hips level as you step sideways. Your shoulders, quads, hip stabilizers, and forearms also work hard to support the hovering quadruped position.
How is the Side Crawl different from a regular bear crawl?
A bear crawl moves forward and backward, while the Side Crawl travels laterally. That sideways path shifts the demand onto the obliques and hip stabilizers, which control side-to-side motion in a way forward crawling does not.
How high should my knees be during the Side Crawl?
Keep them hovering only an inch or two off the floor. Lifting them higher pitches your weight back toward your heels and makes the steps awkward, while letting them touch removes the constant core and leg tension.
Is the Side Crawl suitable for beginners?
Yes, as long as you keep the steps short and the sets brief. Beginners should start with 10 to 15 steps in each direction and only progress once the hips stay level and the knees stay off the floor for the whole set.
Why do my hips keep rising into a pike during the Side Crawl?
That usually means your core or shoulders are fatiguing, so your body shortcuts the hover by shifting weight back. Slow the pace, shorten your sets, and focus on keeping your belt line low and your knees at the same height as your hips.
What can I use instead of the Side Crawl?
A forward bear crawl trains the same hovering position with less lateral demand, and a static bear hold or plank shoulder tap covers the anti-movement core work if you lack floor space for traveling.
How should I breathe while doing the Side Crawl?
Breathe continuously and rhythmically rather than holding your breath, exhaling as you step. Holding your breath makes the brace collapse after a few steps and shortens your working time.
My wrists hurt when I do the Side Crawl. What should I do?
Spread your fingers and press through your fingertips to share the load, or make fists and bear weight on your knuckles. Cutting the set shorter and building wrist tolerance gradually also helps.
How far or how long should I crawl for?
Start with a distance of 10 to 20 meters or 20 to 30 total steps per set, split evenly in both directions. When form stays clean, progress by adding distance or time, not by taking bigger, faster steps.
Can the Side Crawl help with sports performance?
It can, because lateral travel while braced mirrors the trunk control needed for change-of-direction and defensive movement in many field and court sports. It is best treated as a quality drill in warm-ups or conditioning blocks rather than a maximum-effort test.