Standing Single Leg Hip Swirl With Chair Support
Standing Single Leg Hip Swirl With Chair Support is a controlled mobility and activation drill where you balance on one leg while the free leg draws a smooth circular path around the hip joint. One hand rests on the back of a sturdy chair for balance, which lets you focus entirely on moving the hip through its full range without worrying about wobbling or losing your footing. The movement looks simple, but done slowly it wakes up the hip flexors, the muscles around the outer hip, and the deep core muscles that keep your trunk steady while one limb moves independently.
This drill is especially useful for anyone whose hips feel stiff from long hours of sitting, for beginners building single-leg stability before progressing to lunges or single-leg deadlifts, and for older adults who want a safe, supported way to maintain hip mobility. Because the chair takes care of balance, you can put your attention where it belongs: keeping the circles smooth, the torso upright, and the standing leg quiet. It also works well as a warm-up before lower-body strength sessions, runs, or any activity that demands hip extension and rotation.
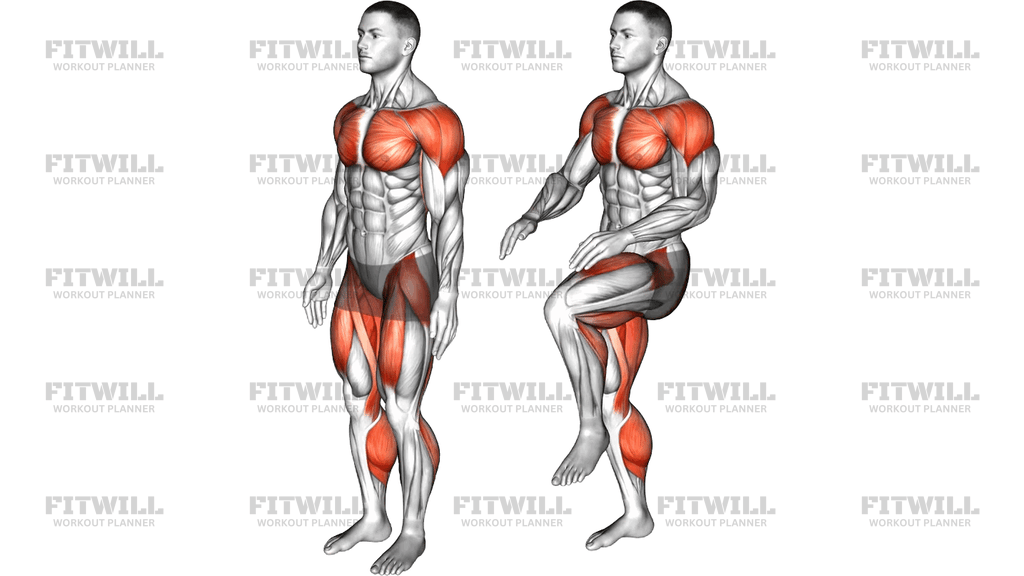
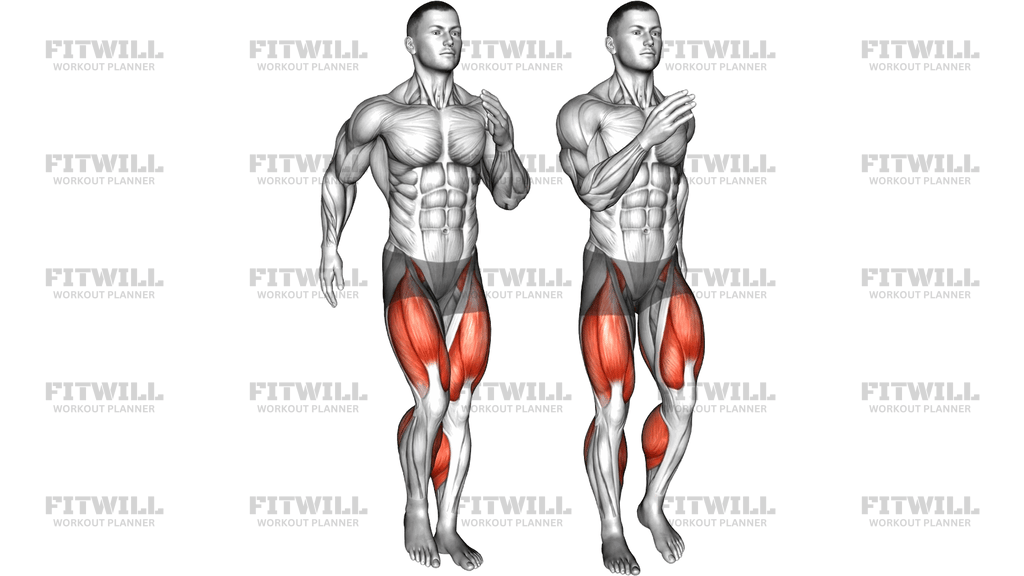
The main work comes from the hip flexors at the front of the hip and the quadriceps on the working thigh as the leg lifts and travels through the arc. Meanwhile the lower abs and obliques on the opposite side brace to stop your pelvis from tipping with every pass of the leg, and the small stabilizing muscles of the standing hip keep you from drifting sideways. That combination of moving one hip while stabilizing the other is what makes the exercise worthwhile beyond a simple leg swing.
Setup matters more than it appears. Stand tall beside the chair with your inner hand light on the chair back, not leaning into it, and place your free hand on your hip to monitor whether your pelvis stays level. Keep the working leg relaxed and long, with just enough tension to guide it through the circle. If you lean heavily on the chair or let your torso rotate, you remove the challenge from the stabilizing muscles and turn the drill into something closer to a passive swing.
Execute the swirl by lifting one knee slightly, then drawing a controlled circle with your foot — forward and across your body, out to the side, back behind you, and around to the start. Keep the circle modest at first, roughly the size of a dinner plate, and grow it only as long as you can keep your trunk still. Breathe steadily, complete all repetitions in one direction, then reverse the circle before switching sides.
A few practical points will keep this safe and effective. Move slowly enough that you could pause the leg at any point in the circle; momentum is the main way this drill gets wasted. Expect some fatigue in the front of the hip and thigh, but back off if you feel pinching at the front of the hip joint or any strain in the low back. A stable, non-wheeled chair is essential — position it against a wall if you want extra security.
[ Workout Log & Planner ]
Put your next workout in Fitwill
Keep your plan and training log ready when you are.


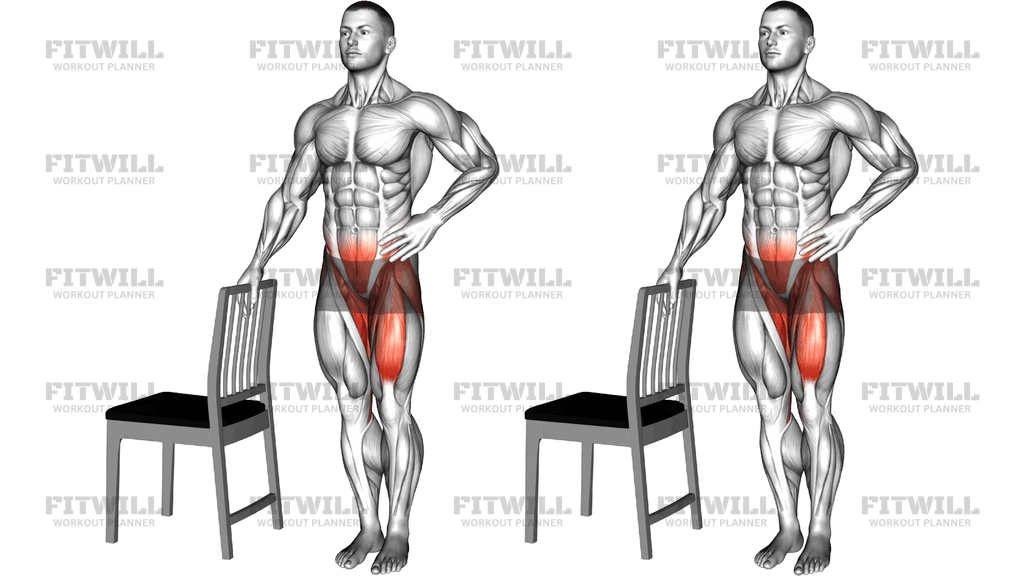
Instructions
- Place a sturdy, non-wheeled chair beside you and stand tall next to it with your feet together.
- Rest the hand closest to the chair lightly on the top of the chair back and place your other hand on your hip so you can feel whether your pelvis stays level.
- Shift your weight onto the leg farther from the chair and brace your core as if preparing for a light nudge from any direction.
- Lift the leg nearest the chair slightly off the floor, keeping the knee soft and the foot relaxed.
- Draw a smooth circle with that foot: bring the knee forward and slightly across your body, sweep it out to the side, send the leg back behind you, and loop it around to the starting point.
- Keep the circle small at first and only enlarge it as far as you can move without your torso rotating or your hips tilting.
- Exhale gently through each half of the circle and avoid holding your breath as the leg passes the hardest points.
- Complete your repetitions clockwise, then reverse and repeat counterclockwise on the same leg.
- Lower the working foot to the floor, reset your stance, move to the other side of the chair, and repeat with the opposite leg.
Tips & Tricks
- Keep your hand on the chair for balance only — if you notice your shoulder dropping or your weight shifting toward the chair, you are leaning instead of stabilizing.
- The most common mistake is letting the pelvis hitch upward on the working side as the leg lifts. Keep the hand on your hip and feel that both hip bones stay at the same height.
- If your lower back arches when the leg travels behind you, shorten the circle at the back rather than tipping your pelvis forward to fake extra range.
- Slow the movement down before you make it bigger; a small, deliberate circle trains the hip more than a fast, wide one.
- Point your toes down slightly as the leg sweeps back and lift them a little as it comes forward — this keeps the foot from scraping the floor without adding tension to the thigh.
- Keep the standing knee soft, not locked. A locked knee makes it harder for the standing hip to control small drifts.
- If the front of the working hip pinches at the top of the circle, reduce the height of the knee rather than forcing through the restriction.
- Do the drill barefoot or in flat shoes; a grippy sole on a slick floor under a pivoting foot is the main slipping risk here.
- Treat this as a warm-up or mobility filler — one to two sets per side is usually plenty before a lower-body session.
Frequently Asked Questions
What muscles does the Standing Single Leg Hip Swirl With Chair Support work?
The main work comes from the hip flexors and quadriceps of the moving leg as it travels through the circle. The lower abs, obliques, and the stabilizing muscles of the standing hip work isometrically to keep your pelvis and trunk still.
Is this exercise suitable for complete beginners?
Yes, and the chair support is exactly what makes it beginner-friendly. Because balance is handled, a new trainee can concentrate on smooth hip movement, and the circle can start very small and grow over time.
How big should the circle be?
Start with a circle roughly the size of a dinner plate and only expand it as long as your torso stays facing forward and your pelvis stays level. Range that costs you posture is not useful range.
Why do I need a chair instead of doing this free-standing?
The chair removes the balance demand so the hip can move through a fuller arc with control. Once you can draw large, smooth circles without leaning, you can progress to a free-standing version.
Should I lean on the chair with my hand?
No — the hand should rest lightly, like a spotter's touch. Leaning your weight into the chair unloads the core and standing-leg stabilizers, which are a big part of what this exercise trains.
What kind of chair is safe to use?
Use a heavy, stable chair with no wheels and no swivel base, ideally positioned so it cannot slide backward. A chair that tips or rolls mid-rep is the main safety risk in this drill.
Why does the front of my hip pinch during the swirl?
A pinch at the top of the circle usually means you are lifting the knee higher than your current hip mobility allows. Lower the arc, keep the movement slow, and work within a pinch-free range.
Can I use the Standing Single Leg Hip Swirl With Chair Support as a warm-up?
Yes, it works very well before squats, lunges, running, or any single-leg training because it raises hip range of motion and activates the stabilizers without fatigue. One or two sets per side is enough.
How can I make this exercise harder once the chair version feels easy?
Progress by enlarging the circle, slowing the tempo, removing the hand from the chair, or finally performing the swirl free-standing with hands on hips. Each step increases the demand on the standing hip and core.
Should I do both directions on each leg?
Yes. Drawing the circle clockwise and then counterclockwise covers slightly different paths around the hip socket and keeps the mobility gains more balanced. Finish one direction completely before reversing.