Planche To Handstand
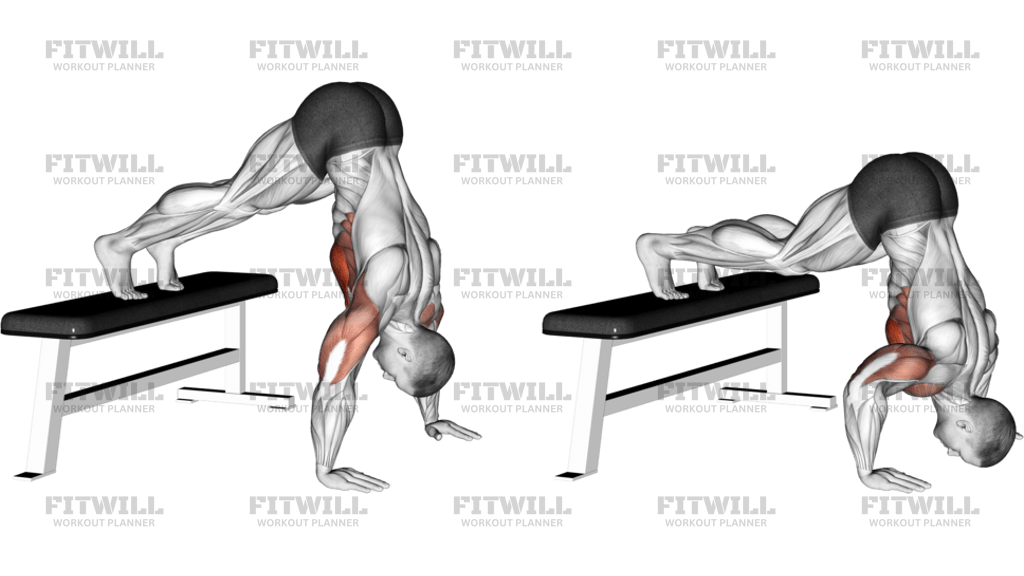
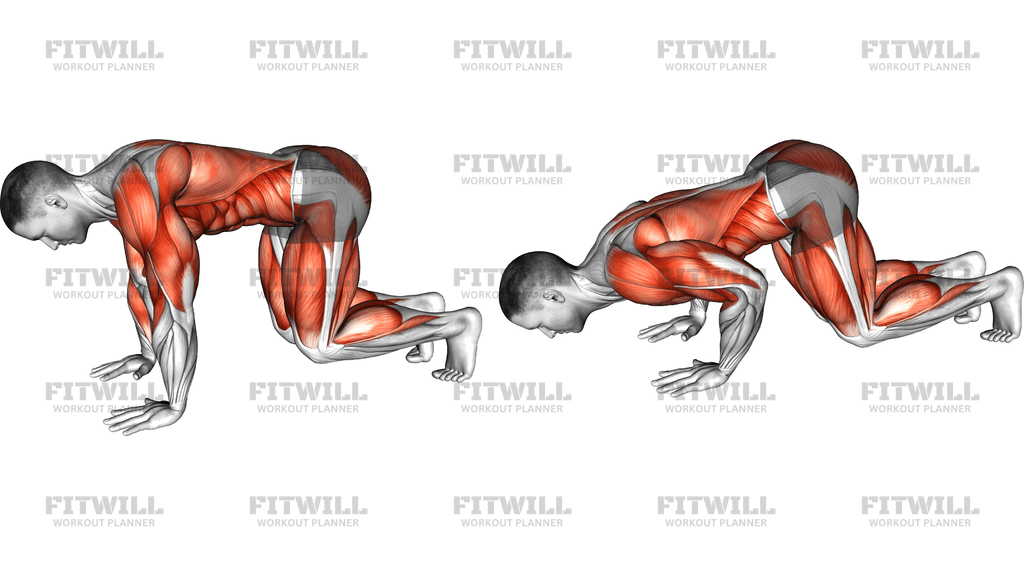
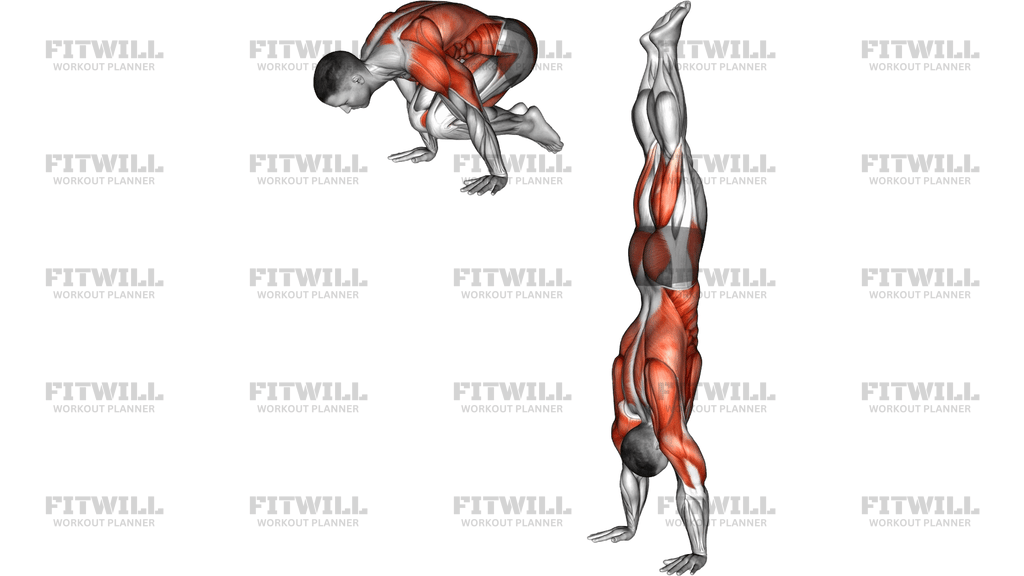
The Planche To Handstand is one of the most demanding pressing transitions in calisthenics. You begin in a planche position—shoulders stacked over or slightly ahead of the hands, body levered off the floor—and then press through the shoulders until you arrive in a straight, vertical handstand on your palms. The movement shown here typically starts from a tuck planche, where the knees are drawn toward the chest, making the lever shorter and the press manageable before you progress to more open leg positions.
This is not a movement you can muscle through with arm strength alone. It trains the anterior and lateral deltoids, triceps, upper chest, and the entire shoulder girdle, while the lats, traps, and deep core work together to keep the body from collapsing or swinging as the center of mass travels from well in front of the hands to directly above them. The wrist flexors and forearm musculature take a serious load too, since they must stabilize your full body weight at extreme angles throughout the transition.
The Planche To Handstand is a staple for advanced gymnasts, hand-balancers, and calisthenics athletes who have already built a solid planche and a comfortable freestanding handstand. It bridges the two skills, teaching you to move your mass over your base of support while under maximum load. If you can hold a tuck planche for 20-30 seconds and hold a freestanding handstand with control, this transition is the logical next skill in your progression.
Setup precision matters more here than in almost any other bodyweight press. Hand placement, finger pressure, and shoulder position at the bottom determine whether the press goes up cleanly or whether your feet drift backward and the balance is lost. The movement path is essentially a lean-transfer: your hips rise and travel backward over your wrists while your shoulders extend from a protracted, forward-leaning position to an elevated, stacked position at the top.
Because the shoulders carry your entire body weight at long leverage angles, this exercise punishes rushed progression. Build up through tuck, advanced tuck, and straddle variations before attempting full planche entries, and keep your wrist warm-up thorough. Practicing on a floor surface with some give, or with a spotter or wall nearby for early attempts, keeps failed reps low-risk while you learn the balance transfer.
[ Workout Log & Planner ]
Put your next workout in Fitwill
Keep your plan and training log ready when you are.


Instructions
- Set up on a firm, flat floor with your hands placed slightly wider than shoulder width, fingers spread and angled a few degrees outward for balance control.
- From a squat or lean forward, place full weight onto your palms, press the floor away with straight arms, and lift your feet off the ground, drawing your knees in to establish a solid tuck planche with your shoulders over or slightly in front of your wrists.
- Brace your trunk hard, round your upper back slightly, and keep your glutes engaged so the tucked body stays rigid instead of sagging between the shoulder blades.
- Begin the press by slowly extending the shoulders—drive the floor away and let your hips rise up and travel backward over your wrists, keeping the knees tucked for as long as possible.
- As the hips pass over the hands, start to open: straighten the back, extend the hips, and let the legs travel upward toward the ceiling in one controlled line.
- Finish in a fully vertical handstand with arms locked, shoulders elevated next to the ears, body in a straight line from hands to pointed toes.
- Pause briefly at the top to find balance with fingertip and palm pressure before descending.
- Lower under control by reversing the path: hinge at the shoulders and bring the hips forward and down, re-tucking the knees to land back in the tuck planche rather than collapsing to the floor.
- Breathe shallowly and steadily throughout—exhale as you press up, inhale on the way down—because heavy breath-holding destabilizes the handstand.
- Step or lower the feet down safely after each rep, shake out the wrists, and reset your hand placement before the next attempt.
Tips & Tricks
- The most common failure is hips drifting backward too slowly, so your weight falls behind the wrists and you pitch onto your palms or back down. Speed up the hip travel slightly once the shoulders start extending.
- If your elbows bend during the press, the load is shifting onto a push-up pattern instead of a straight-arm transition. Reduce the difficulty with a deeper tuck and keep the elbows locked from the first millimeter of movement.
- Keep your fingertips gripping the floor in the planche position—finger pressure is what stops you from tipping forward before the press begins.
- Film yourself from the side. Most people think their hips are over their hands at the start when they are actually several inches too far forward, which makes the press nearly impossible.
- Do not rush the leg opening. Extending the legs too early throws your mass backward and turns the press into an uncontrolled fall into the handstand.
- Train the two ends separately: solid tuck planche holds and solid handstand stands build the strength and balance you need, so you can then work only the middle transition.
- Your wrists take enormous flexion load at the bottom. Warm them up with gradual weight shifts and stretches before every session, and stop if sharp wrist pain appears.
- Practicing on parallel bars or parallettes reduces wrist strain and gives you clearance, but learn the floor version's balance before expecting the same timing on bars.
- Fall safely on purpose: practice bailing by turning sideways or stepping one hand forward, so a failed rep never means landing on your head or shoulders.
Frequently Asked Questions
What muscles does the Planche To Handstand work the most?
The shoulders carry most of the load, especially the anterior delts, with strong contributions from the triceps, upper chest, lats, traps, and the deep core that keeps your body rigid during the transition. Your wrists and forearms work hard stabilizing the entire press.
Can beginners train the Planche To Handstand?
Not directly—it is an advanced skill that assumes you can already hold a tuck planche and a freestanding handstand. Beginners should build a base with push-ups, pike push-ups, planche leans, and wall handstands first.
Why do I keep falling backward when I press into the handstand?
Your hips are usually traveling backward too far or your legs are opening too early, pushing your center of mass past the wrists. Keep the knees tucked longer and use fingertip pressure to regulate the lean as you rise.
Should I practice the Planche To Handstart from a tuck planche or a full planche?
Always start from the tuck planche, as shown with the knees drawn in, because the shorter lever lets you learn the hip-transfer timing before the full planche's leverage makes the press dramatically harder. Progress to advanced tuck and straddle entries over months, not weeks.
How is the Planche To Handstand different from a regular handstand press?
A normal press starts with your feet on the floor and uses a controlled forward lean to lift off. The Planche To Handstand starts with your entire body weight already balanced on straight arms in the planche, so the press happens under far greater leverage and shoulder load.
Can I use a wall for support when learning this transition?
A wall is useful for drilling the shoulder extension and hip path, but the balance transfer is the actual skill, so keep most practice freestanding with a safe bail technique. Early attempts near a crash mat or with a spotter are a reasonable middle ground.
Are parallettes a good substitution for floor practice?
Yes—parallettes take the wrists out of extreme flexion and give your head clearance, which makes higher-volume transition practice more comfortable. Just remember the balance timing feels slightly different, so split your practice between both setups.
How many sets and reps should I do?
Treat it like a skill: 3-6 sets of 1-3 clean attempts with full rest between sets, done while fresh early in the session. Stop the set as soon as your form degrades, because sloppy reps ingrain bad balance habits.
Is the Planche To Handstand safe for the wrists and shoulders?
It is safe for healthy, well-conditioned wrists and shoulders that have been progressively prepared, but it places very high loads on both. Thorough warm-ups, gradual progression through planche variations, and stopping at sharp pain are the key safeguards.