Sprinter Lunge Stretch
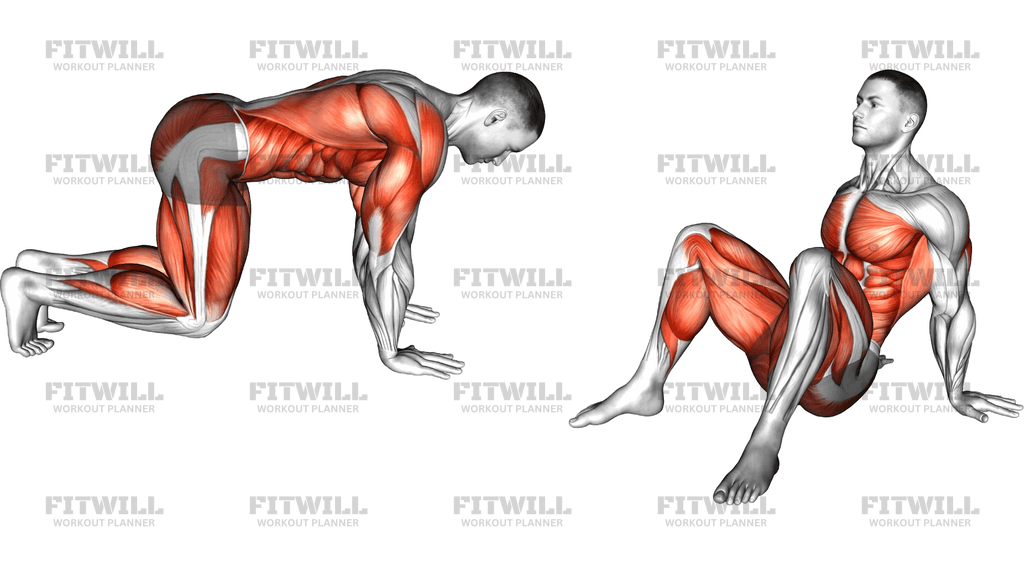
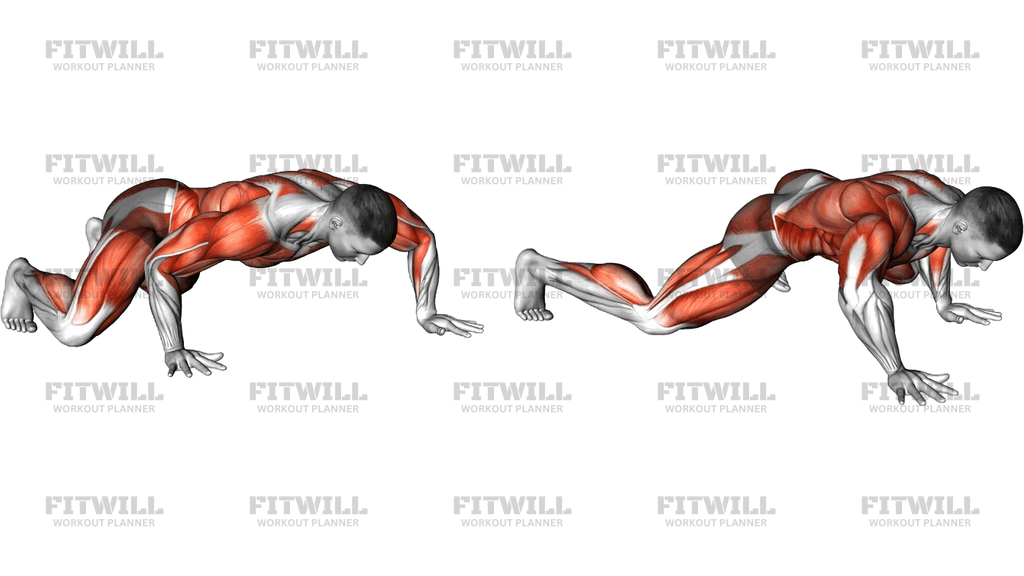
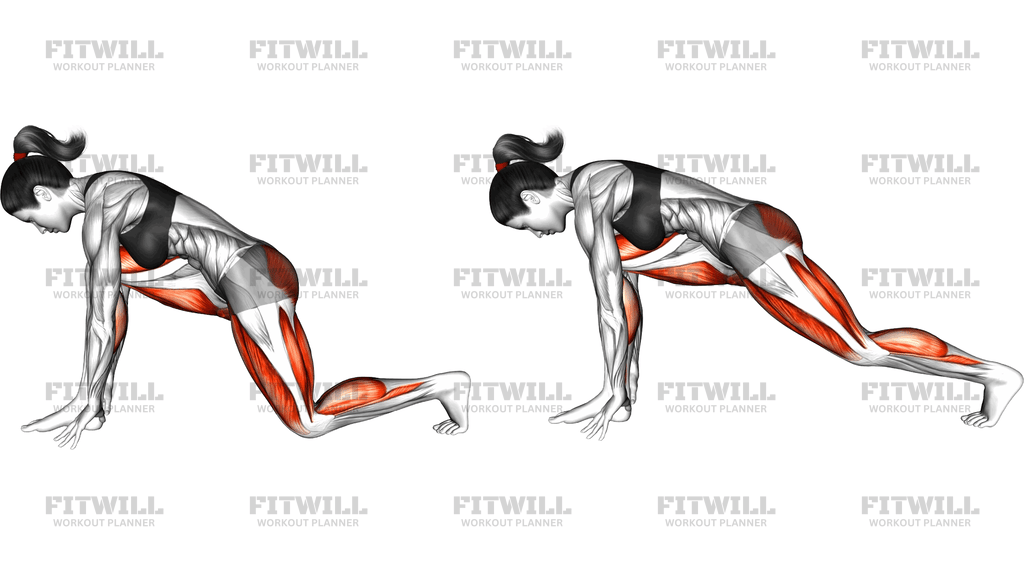
The Sprinter Lunge Stretch is a bodyweight mobility drill that mimics the shape of a sprinter driving out of the blocks: one foot planted forward with both hands inside it, the other leg reaching long behind you. You move from a kneeling lunge into an extended back-leg position, letting the hips settle forward and down. It is one of the most efficient ways to open the front of the hip in a single transition, because the shift in leg position changes which tissues are being lengthened as you go.
This stretch is especially useful for runners, sprinters, cyclists, and anyone who sits for long stretches of the day. Prolonged sitting keeps the hip flexors in a shortened position, which often shows up as tight hips, an exaggerated lower-back arch, or reduced stride length. Athletes commonly place it in a warm-up before sprint work, hill runs, or leg day, and it works just as well in a cool-down or a standalone mobility session.
The primary targets are the hip flexors on the trailing-leg side, particularly the iliopsoas and the rectus femoris, which crosses both the hip and the knee. As the back knee lifts and the rear leg straightens, the stretch travels down the thigh into the hamstring and calf of the extended leg, while the front hip and glutes work to control the position. The hands stay on the floor, so the wrists, shoulders, and core also share some of the load without being heavily challenged.
Setup matters more than depth here. Placing the front foot far enough forward that the knee can stack over the ankle gives you a stable base, and keeping the hands inside the front foot determines how much forward shift your hips can take. If the front foot is too close, the knee drifts past the toes and the position becomes cramped; too far, and you lose the forward hip drive that makes the stretch effective.
To execute well, lower the back knee toward the floor first, then press the hips forward and slightly down while keeping the torso long. From there, lift the back knee and straighten the rear leg so only the ball of the back foot stays in contact with the floor. Breathe slowly and let the hips sink a little further on each exhale rather than forcing range with a hard push.
Keep the movement pain-free and controlled. A mild pulling sensation along the front of the back hip or the underside of the extended leg is normal; sharp pain in the knee, groin, or lower back is a signal to back off. Because the floor contact is on the kneecap area of one leg and the forefoot of the other, a mat or soft surface makes longer holds far more comfortable.
Fitwill
Log Workouts, Track Progress & Build Strength.
Achieve more with Fitwill: explore over 9600 exercises with images and videos, access built-in and custom workouts, perfect for both gym and home sessions, and see real results.
Start your journey. Download today!




Instructions
- Start on all fours, then step one foot forward and plant it flat on the floor between your hands so the knee sits roughly above the ankle.
- Lower the opposite knee to the floor behind you, resting on the top of the kneecap, and let the back toe point down or tuck under for support.
- Place both palms flat on the floor just inside the front foot with the arms straight, and keep a soft bend in the elbows if the wrists complain.
- Brace the core lightly and tuck the tailbone slightly so the lower back does not arch as you move.
- Press the hips forward and down until you feel a stretch along the front of the hip on the kneeling-leg side.
- Keeping the hips low, lift the back knee off the floor and straighten the rear leg behind you so only the ball of that foot stays in contact, reaching the heel back and up.
- Hold the extended position for 15 to 30 seconds, breathing slowly and sinking the hips a touch further with each exhale.
- To release, bend the back knee and lower it gently back to the floor, then shift the hips rearward to ease off the front hip.
- Return to all fours, reset your stance, and repeat on the other side for the same duration.
Tips & Tricks
- If the knee drifts past the front toes, step that foot another inch or two forward; the shin should stay close to vertical for a stable base.
- Avoid letting the lower back sag into an arch as the hips push forward — tucking the tailbone slightly shifts the stretch into the hip flexors and away from the spine.
- A common mistake is lifting the back knee before the hips have moved forward; drive the hips first, then straighten the leg, or you will only feel the hamstring and miss the front-of-hip stretch.
- Roll onto the outer edge of the back foot slightly if the top of that foot presses uncomfortably into the floor.
- Keep weight distributed through the hands rather than collapsing into the front knee; pressing the palm into the floor helps you control depth.
- If the hamstrings of the straight back leg tighten too quickly, keep a small bend in that knee instead of forcing it fully straight.
- Never bounce in the end position — the transition from kneeling to extended leg already provides the progression, so deepen the stretch with slow exhales instead.
- Place a folded mat or towel under the kneeling knee if you are on a hard surface; discomfort there will make you unconsciously shorten the position.
- Expect the two sides to feel different; hold the tighter side longer rather than matching time strictly, since that is where you need the most range.
Frequently Asked Questions
Which muscles does the Sprinter Lunge Stretch target?
It primarily lengthens the hip flexors on the trailing-leg side, especially the iliopsoas and rectus femoris. As the back leg straightens, the stretch also reaches the hamstrings and calf of that leg, while the front hip and glutes stabilize the position.
Why does the back leg straighten in the Sprinter Lunge Stretch instead of staying on the knee the whole time?
Straightening the rear leg lengthens the rectus femoris, which crosses both the hip and the knee, and adds a calf and hamstring stretch on that side. Starting from the knee first lets the hip flexors ease open before you add the longer lever.
Is the Sprinter Lunge Stretch good for beginners?
Yes, as long as you control the range. Beginners can keep the back knee down and skip the straightening phase, and use the hands on the floor to regulate how far the hips travel forward.
How far forward should my front foot be during the Sprinter Lunge Stretch?
Far enough that the front knee stacks over or slightly behind the ankle when the hips press forward. If the knee shoots well past the toes, the stance is too short and the knee joint takes unnecessary stress.
Should I feel the Sprinter Lunge Stretch in my lower back?
No — if you feel it in the lower back, you are likely arching as the hips push forward. Tuck the tailbone slightly, brace the abs lightly, and reduce the forward drive until the sensation returns to the front of the hip.
How long should I hold the Sprinter Lunge Stretch?
Fifteen to thirty seconds per side works well in a warm-up, repeating two to three rounds. For a cool-down or dedicated mobility session, longer holds of forty to sixty seconds are appropriate.
Can I use the Sprinter Lunge Stretch before sprinting or running?
Yes, it is a common pre-run and pre-sprint drill because it opens the hip range you use for stride extension. Keep warm-up holds shorter and add a few gentle leg swings afterward rather than holding one long static stretch.
What can I do if kneeling hurts when I perform the Sprinter Lunge Stretch?
Place a folded mat, towel, or pad under the kneeling knee, and shift a little more weight into the hands. If kneecap discomfort persists, a standing hip flexor stretch with the back foot on a bench is a reasonable alternative.
How do I know I am doing the Sprinter Lunge Stretch correctly?
You should feel a pulling line along the front of the back hip and thigh, possibly into the calf of the extended leg, with the front shin near vertical and hands stable on the floor. There should be no sharp pain in either knee or the lower back.
Should the back heel of the extended leg press toward the floor?
No, let the heel reach back and up with the ball of the foot on the floor, as in a sprint stride. Forcing the heel down turns the position into a different stretch and can strain the Achilles area.