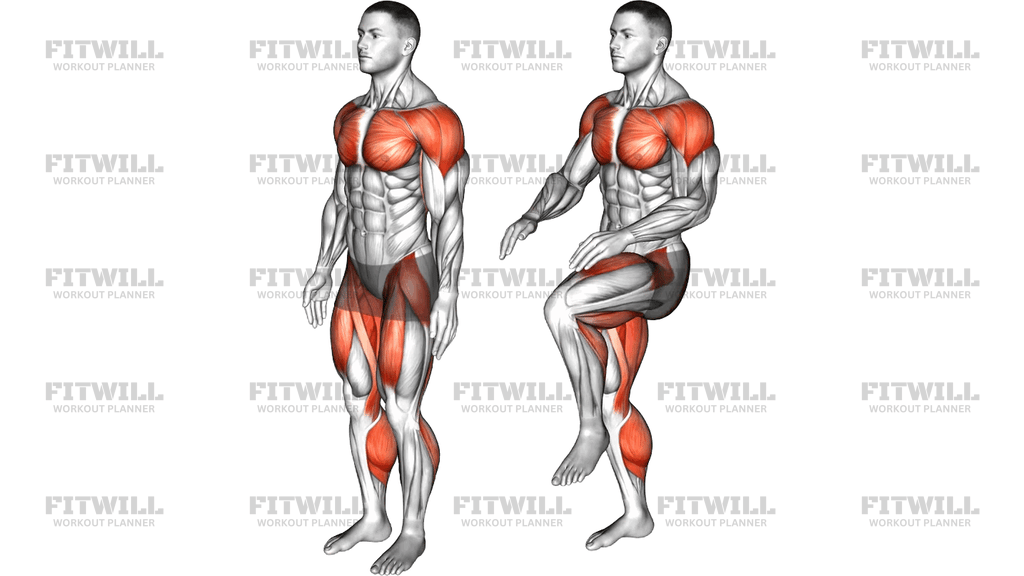
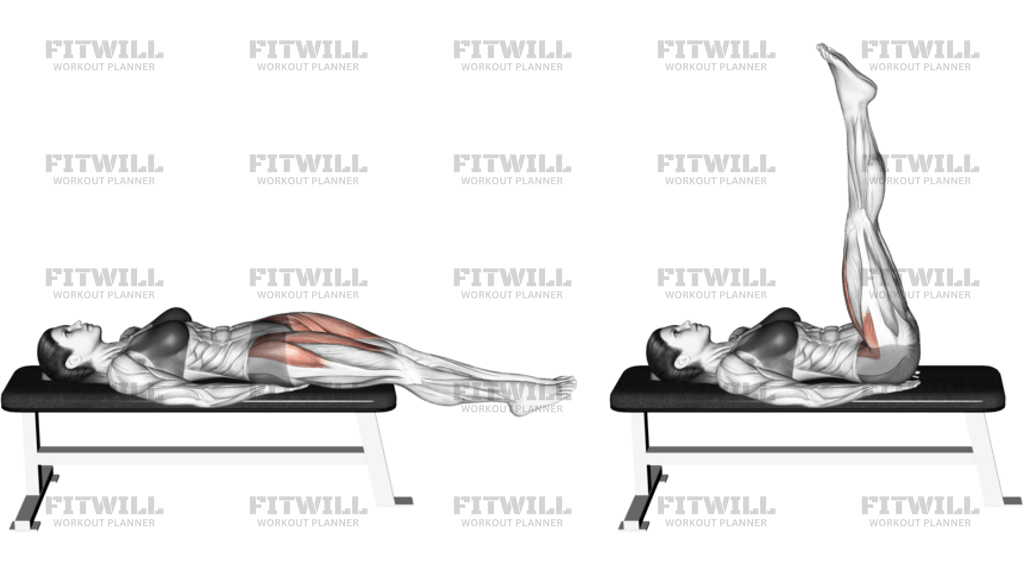
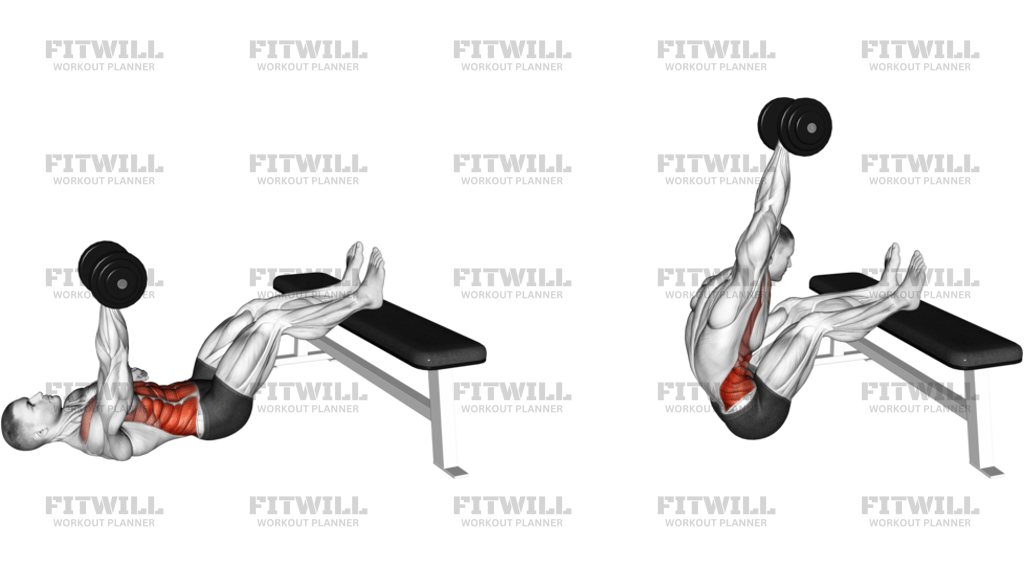
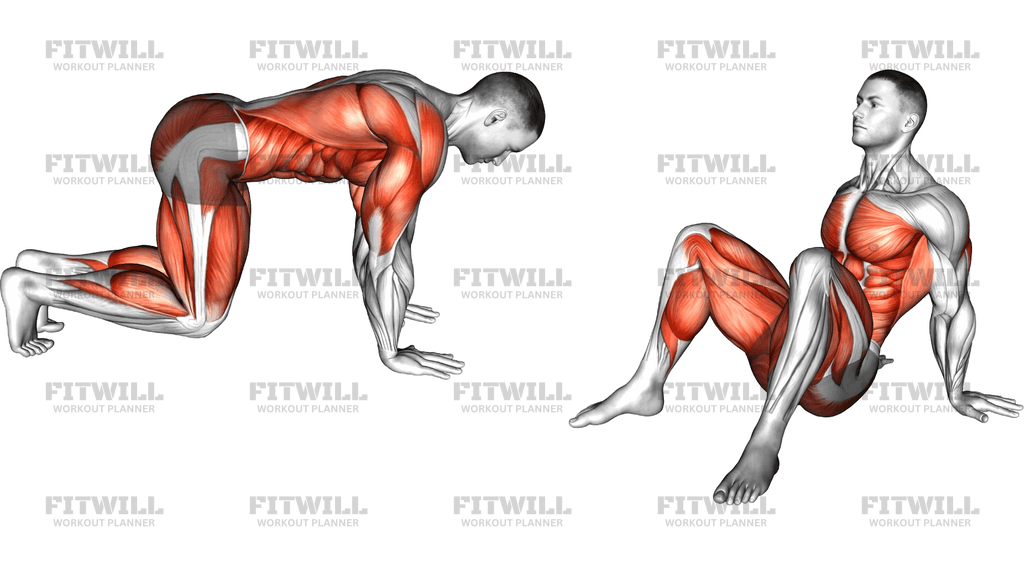
Lying Supine Straight Knee Raise
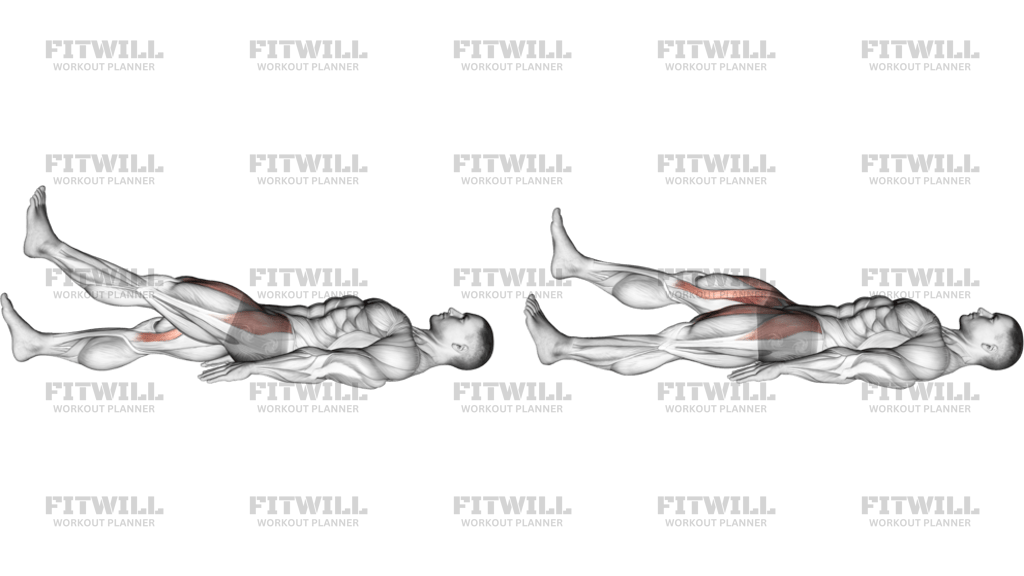
The Lying Supine Straight Knee Raise is a simple body weight exercise performed on the floor or a mat. You lie flat on your back, bend one knee and plant that foot for support, then lift the opposite leg — kept completely straight — up toward the ceiling and lower it back down with control. It looks almost too basic to matter, but lifting a straight-legged limb is one of the most direct ways to load the hip flexors while the abs work to keep your pelvis steady.
The main work is done by the hip flexors at the front of the hip, particularly the iliopsoas, with the rectus femoris at the front of the thigh assisting because the knee stays extended. Your abdominals don't move the leg, but they work hard the whole time to stop your lower back from arching off the floor as the leg travels up and down. That blend of moving hip and bracing trunk is what makes the exercise useful.
This is a great movement for runners, cyclists, martial artists, and anyone who wants stronger, more responsive hip flexion, since the hip flexors are often undertrained compared with the glutes and quads. It also suits beginners well because the bent-knee foot anchors the pelvis, making it easier to keep the lower back neutral than in a two-leg raise. Desk workers with short, dormant hip flexors can use it as a gentle activation drill before training or stretching.
Setup matters more than it appears. Because one leg anchors you to the floor and the arms rest flat at your sides, any loss of control shows up immediately as a tilting pelvis or an arching lower back. Pressing the arms and planted foot lightly into the floor gives you feedback: if you feel your weight shift or your waist hollow out, you have gone further than you can control. The bent-knee position also slightly flattens the lumbar curve, which is friendlier to the lower back than raising both legs at once.
To execute it well, lead the lift with your heel and raise the straight leg until your thigh is roughly vertical — or just before you feel your pelvis begin to lift. Pause briefly, then lower the leg slowly until it hovers just above the floor rather than dropping it. The lowering phase is where most people lose tension, and slowing it down turns a simple raise into a genuinely demanding one.
The most practical safety point is range: stop the lift or the lower at the first point where your lower back leaves the floor. If you feel pinching at the front of the hip, shorten the range and reduce the speed rather than pushing through. Done with that restraint, sets of 8–15 controlled reps per side fit easily into a warm-up, a core block, or a stand-alone hip mobility and strength session.
[ Workout Log & Planner ]
Put your next workout in Fitwill
Keep your plan and training log ready when you are.


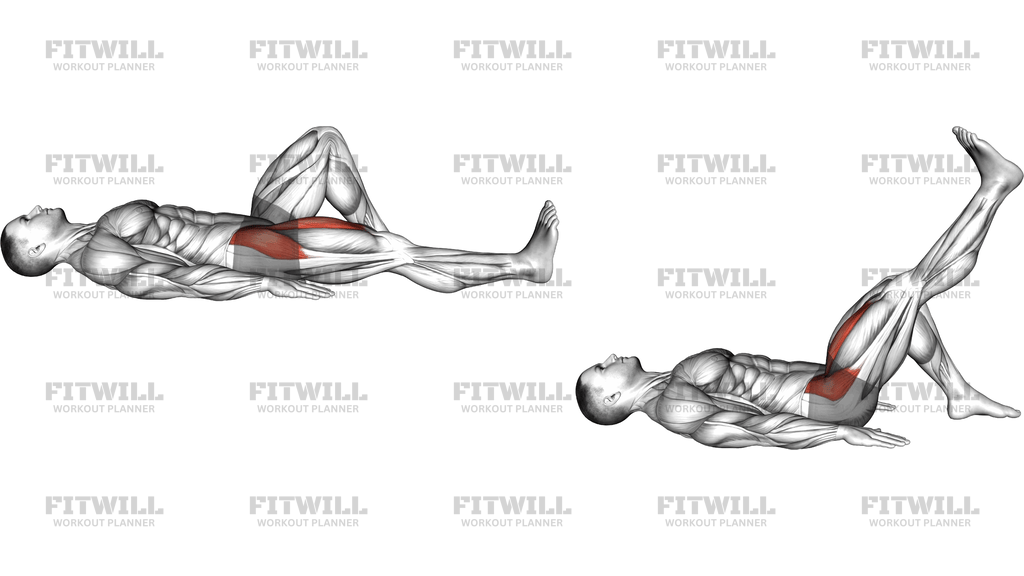
Instructions
- Lie flat on your back on a mat or the floor with both legs extended and your arms resting alongside your body, palms facing down.
- Bend one knee and place that foot flat on the floor close to your glutes; keep the other leg fully straight with the toes pointing toward the ceiling.
- Press your arms and the planted foot lightly into the floor, draw your belly button in slightly, and flatten your lower back against the mat.
- Exhale and raise the straight leg upward, leading with the heel, keeping the knee extended but not locked.
- Continue lifting until your thigh approaches vertical, or stop earlier if your pelvis starts to tilt or your lower back begins to lift off the floor.
- Pause for a beat at the top with the leg straight and your trunk still pressed down.
- Inhale and lower the leg slowly, taking two to three seconds, until it hovers just above the floor without touching down.
- Keep the ankle relaxed and the toes pointing up throughout, letting the hip do the work instead of swinging the foot.
- Complete all repetitions on one side, reset your brace, then switch to the other leg and repeat for the same number of reps.
Tips & Tricks
- If your lower back arches as the leg descends, you are lowering past your control point — stop the descent higher, where your waist stays flat against the mat.
- A common mistake is lifting so high that the working hip and pelvis peel off the floor; the top of the movement ends the moment your hip starts to rise, not at maximum height.
- Keep the planted foot genuinely planted: it should press down and stay still. If it slides or the bent knee flops outward, your pelvis is rotating instead of staying square.
- Don't jerk the straight leg at the start of the rep. If you need momentum to lift it, the hip flexors aren't doing the work — shorten the range and rebuild the lift slowly.
- The lowering phase should take noticeably longer than the lift. Dropping the leg quickly turns the set into a swing drill and removes most of the abdominal demand.
- If you feel a pinch at the front of the hip, rotate your toes slightly outward or reduce the range rather than forcing the leg higher.
- Keep your head and neck relaxed on the floor; craning forward to watch the leg usually tightens the neck and arches the ribs upward.
- Breathe continuously rather than holding your breath — exhale on the lift, inhale on the lower — so the abs stay braced through the whole set.
- For a harder version, slow the lowering to four or five seconds or add a light ankle weight; for an easier one, slightly bend the working knee and re-straighten it as strength improves.
Frequently Asked Questions
What muscles does the Lying Supine Straight Knee Raise work?
The primary movers are the hip flexors at the front of the hip, especially the iliopsoas, with the rectus femoris assisting because the knee stays straight. The abdominals work isometrically to hold your pelvis and lower back down.
Why is one knee bent during the Lying Supine Straight Knee Raise?
The bent knee with the foot flat on the floor anchors your pelvis and flattens the lumbar curve, which keeps the lower back protected. It makes this version more controllable than raising both straight legs at once.
How high should I lift the straight leg?
Lift until your thigh is roughly vertical, or stop earlier the moment your pelvis starts to tilt or your lower back lifts off the floor. Height beyond that point comes from your back, not from extra hip flexor work.
Is the Lying Supine Straight Knee Raise suitable for beginners?
Yes. It requires no equipment, the floor gives constant feedback, and the anchored opposite leg makes it one of the more forgiving ways to train hip flexion. Beginners should start with a shorter range and slower lowering.
My lower back arches when I lower the leg — what should I change?
You are descending past your controllable range and your abs are losing the fight against the leg's leverage. Stop the descent higher, press your palms more firmly into the floor, and slow the lowering to two or three seconds.
Does the Lying Supine Straight Knee Raise build abs?
It challenges the abs, but mainly as stabilizers that hold the pelvis down while the leg moves. For direct abdominal development, pair it with exercises where the trunk actively curls or flexes.
What can I use instead of the Lying Supine Straight Knee Raise?
A lying knee raise with the working leg bent is an easier substitute with less leverage. Standing or lying leg raises with a resistance band, or a hanging knee raise for stronger trainees, train a similar hip flexion pattern.
Is it safe to do if I have lower back discomfort?
Many people tolerate it well because the anchored foot and bent knee reduce lumbar strain, but you should keep the range small, stop before any arching, and avoid the exercise entirely if it provokes pain. Check with a qualified professional for a specific diagnosis.
How many reps and sets should I do of the Lying Supine Straight Knee Raise?
Two to three sets of 8–15 controlled reps per side works well for most people. If you can't finish 8 clean reps without your lower back arching, reduce the range before reducing the sets.
Should my foot stay flexed or pointed as the leg rises?
Keep the ankle relaxed with the toes roughly toward the ceiling. Pointing or flexing the foot hard changes the feel of the lift and often causes you to swing the leg instead of raising it under control.